41
Accessing the Systems
WELCOME Screen –
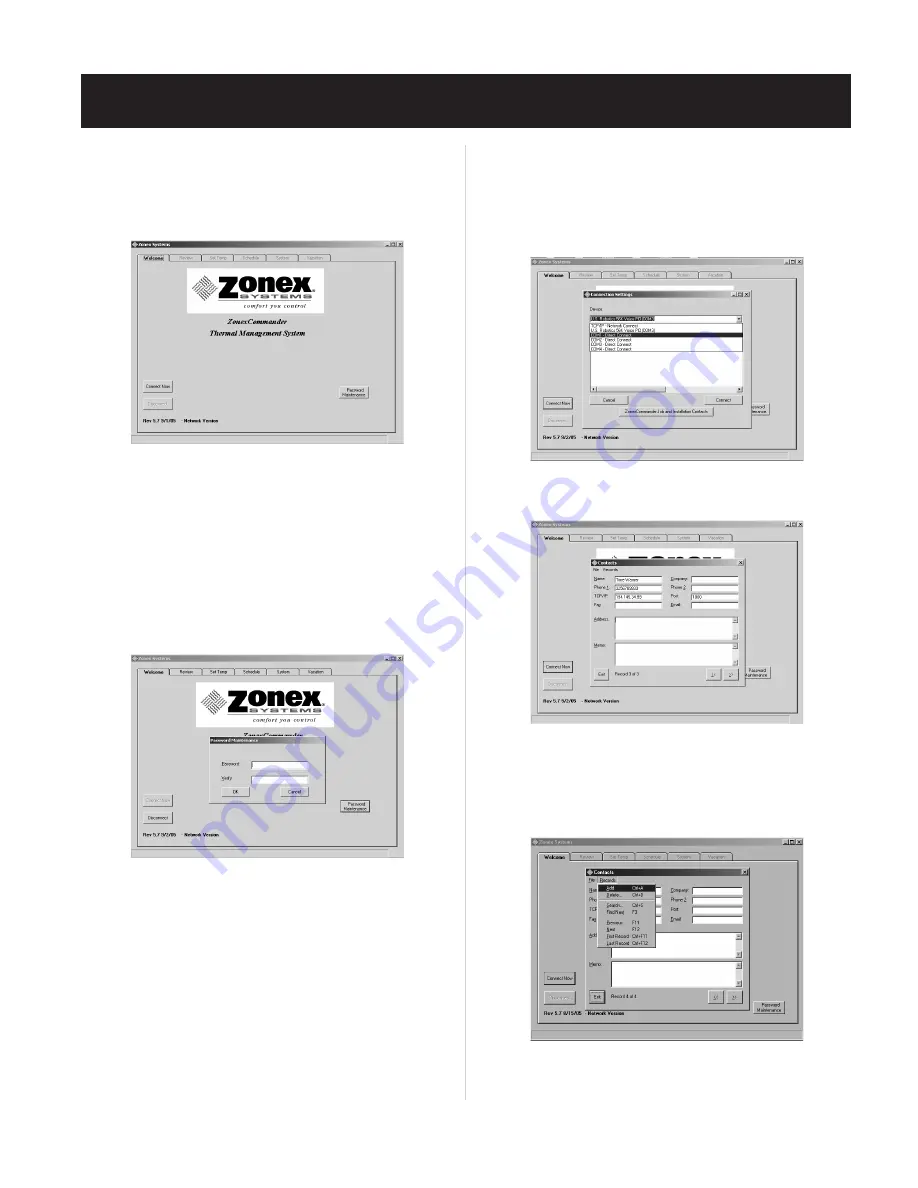
Fig. 1
Double click on the Zonex icon to open the program’s WELCOME screen
(see Fig. 1)
Setting a Password (Optional)
If a password is required, it may be entered now or at a later time. If you
do not require a password and do not need to add or modify a device,
proceed to
Connecting to the Zonex System
section below.
1. Click on the
Password Maintenance
button on the lower right side
of the WELCOME screen.
(see Fig. 2)
2. Enter your new password. The password must not exceed 30 characters
and spaces.
NOTE: the password only affects the computer on which it is entered.
3. Re-enter your password in the
Verify
box.
4. Click on
OK
to store the password.
NOTE: Your password should be retained elsewhere. If it is lost, the
program will have to be re-installed and all information re-entered.
Adding, Modifying or Deleting Records
To add or change a project name, phone number or IP address
:
1. Add a record:
a. Click on the
Connect Now
button from the WELCOME screen.
b. Verify that the
Connection Settings
window appears
(see Fig. 3)
.
c. Click on
Commander Job
and
Installation Contacts
button.
d. Verify that the
Contacts
window appears
(see Fig. 4)
.
e. Click on
Records
.
f. Click on
ADD
(see Fig. 5)
; and enter new project name, phone
number for the dedicated phone line to this job or IP address
and port number, if applicable. Multiple facilities may be
accessed from this software.
g. Click on
File
; then click on
Save
.
h. Click on
Exit
to return to the WELCOME Tab.
SYSTEM START-UP PROCEDURE
Fig. 1
Fig. 2
Fig. 3
Fig. 4
Fig. 5
Содержание ZonexCommander
Страница 13: ...13 ZONEXCOMMANDER WIRING OVERVIEW ROOFTOP UNITS UP TO 20 PER COMMAND CENTER...
Страница 15: ...15 ZONEXCOMMANDER PLUS COMPONENT SELECTION GUIDE...
Страница 53: ......


