46
SYSTEM START-UP PROCEDURE
4. The REVIEW Screen is dynamic and automatically updates every three
minutes. To initiate an immediate update, click on the
Refresh
Thermostat
button.
5. To print a copy of the REVIEW Screen, which displays all
current temperature data, as well as a date and time stamp, click
on the
button.
Thermostat Management
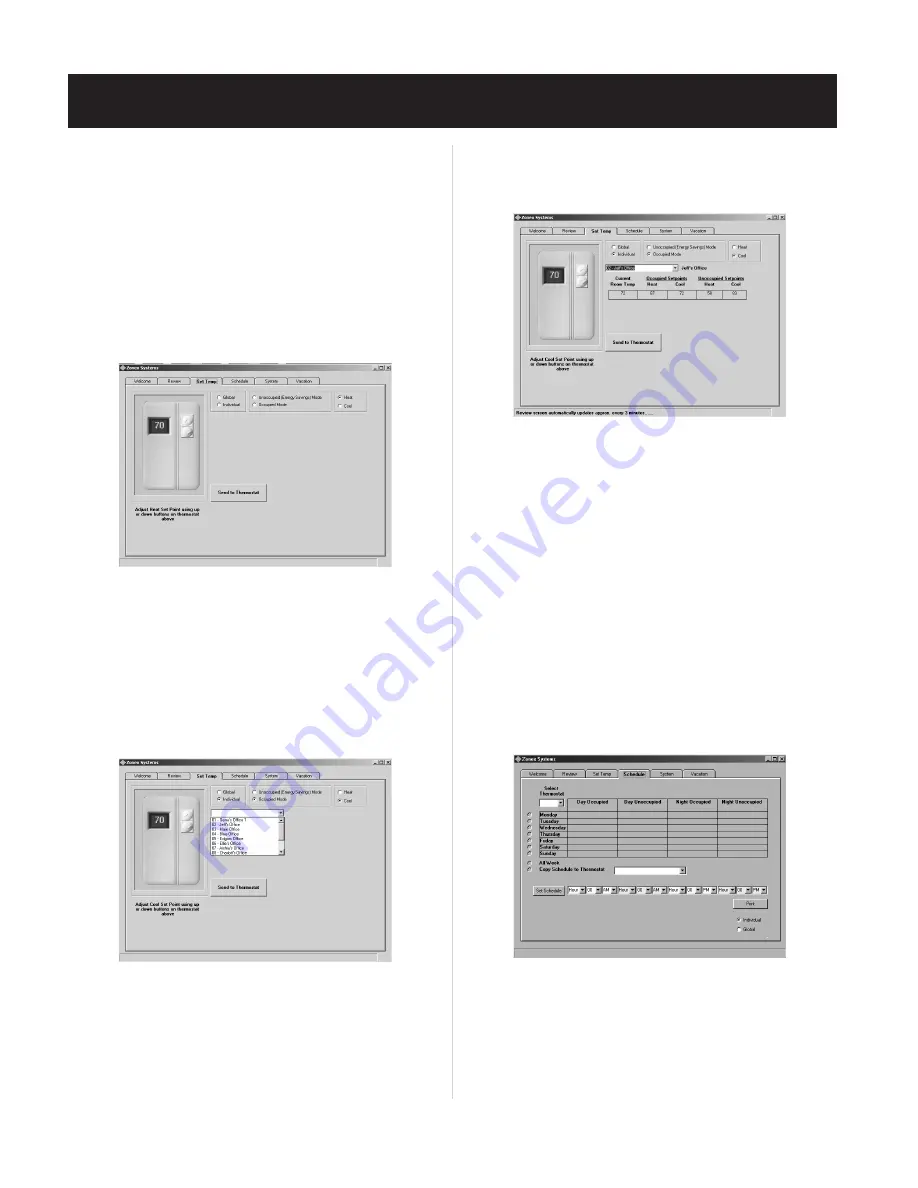
Everything the on-site user can perform at the thermostat can be
performed remotely on the SET TEMP screen. The SET TEMP screen
displays a thermostat feature, which allows the Heat and Cool setpoints
to be changed on individual or all (global) thermostats, for either
Occupied or Unoccupied modes.
1. Click on the SET TEMP Tab.
2. To change temperature setpoints on all thermostats, click on the
3. To change an individual thermostat, click on the
Individual
radio
button.
NOTE: When the Individual radio button is selected, a window will
appear with a
down arrow
button:
a. Click on the
down arrow
button to display thermostat address
numbers and names, and click on an address.
b. After selecting the desired address, the current Occupied and
Unoccupied temperature setpoints for that thermostat will be
4. After the Individual or Global radio button has been selected,
click on either the
Occupied
or
Unoccupied mode
radio button.
5. Click on either the
Heat
or
Cool
radio button.
6. To change the temperature, click on the
Up
or
Down
buttons on
the thermostat until the desired temperature is displayed.
7. Click on the
Send to Thermostat
button to place information
into memory.
8. After adjusting setpoints, click on the REVIEW TAB to confirm entries
have been saved. If a change did not occur, repeat the sequence above.
Scheduling the System
The
ZonexCommander
software provides up to four scheduled events
each day, for each thermostat. To assign Occupied and Unoccupied schedules:
1. Click on the SCHEDULE Tab.
2. Under
Select Thermostat
at the top left of the screen, click on the
down arrow
button; and select a thermostat from the drop down menu.
SET TEMP Screen –
Fig. 21
Fig. 21
Global
radio button
(see Fig. 22)
; or,
Fig. 22
displayed
(see Fig. 23)
.
Fig. 23
SCHEDULE Screen –
Fig. 24
Fig. 24
Содержание ZonexCommander
Страница 13: ...13 ZONEXCOMMANDER WIRING OVERVIEW ROOFTOP UNITS UP TO 20 PER COMMAND CENTER...
Страница 15: ...15 ZONEXCOMMANDER PLUS COMPONENT SELECTION GUIDE...
Страница 53: ......


