47
SYSTEM START-UP PROCEDURE
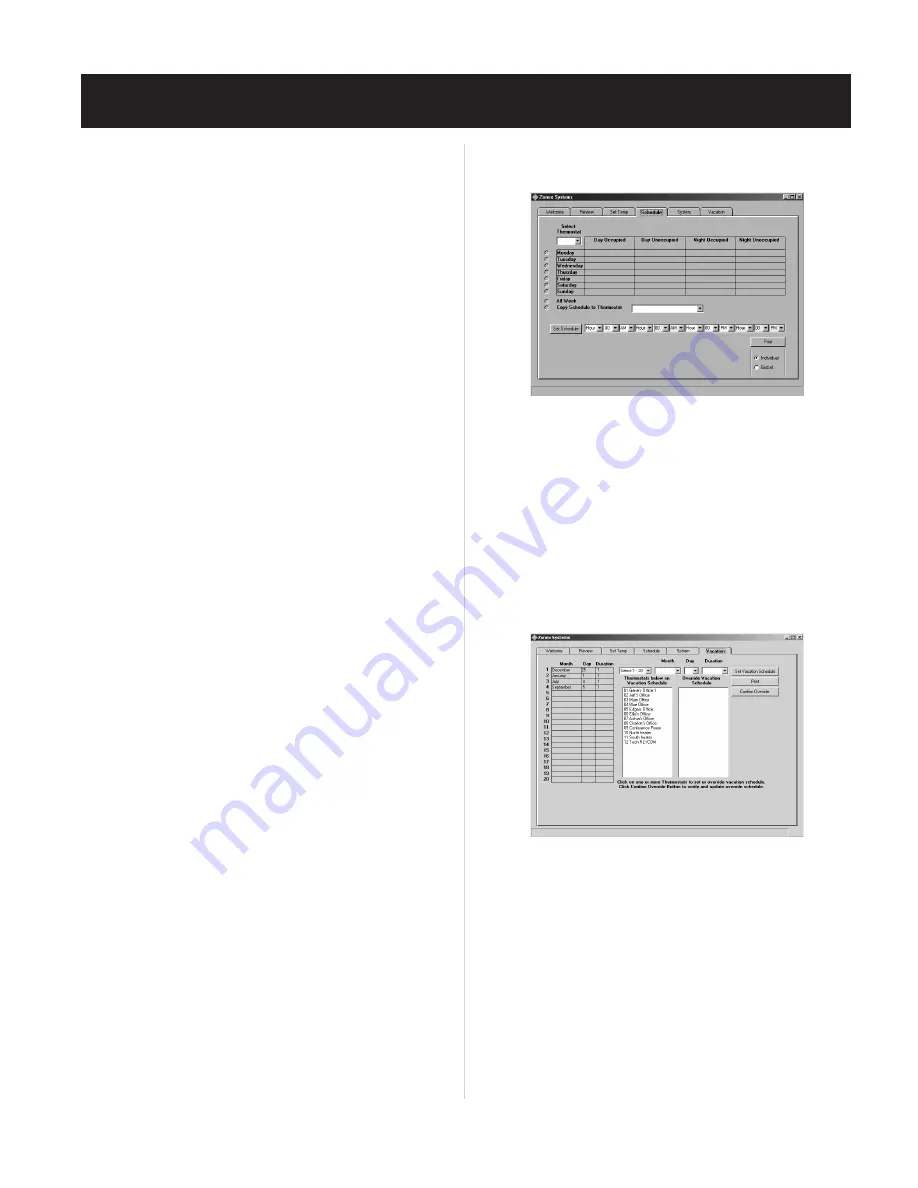
3. Event times can be entered separately for each day or for the entire
week. Click on the
All Week
radio button. This allows a complete
schedule to be assigned to one thermostat for every day of the week.
(If, after the week’s schedule has been set, you would like to change
one day, see No. 6 below for instructions.)
4. To enter the time schedules on the selected thermostat or
RLYCOM
address, use the
down arrow
buttons in each
Hour, Minute
and
AM
or
PM
field to make your selections.
You must make an entry into each time event. If there is no difference
in time between the Occupied and Unoccupied modes, select
NC
(“No Change”) in the appropriate fields.
EXAMPLE: Thermostat 01 will be in the Occupied mode
from 6:30 AM until 5:00 PM –
a. Under
Day Occupied
select
6
in the hour field,
30
in the minute
field, and then
AM.
b. Under
Day Unoccupied
select
NC
in the hour field (this denotes
“No Change”).
c. Under
Night Occupied
select
NC
in the hour field (this denotes
“No Change”).
d. Under
Night Unoccupied
select
5
in the hour field,
00
in the
minute field, and then
PM
.
e. Click on
Set Schedule
to program the schedule into memory.
f. Repeat this process for each thermostat and
RLYCOM
address.
5. To copy the same schedule to another thermostat or
RLYCOM
:
a. Click on the
Copy Schedule to Thermostat
radio button, and
select the destination thermostat address.
b. Click on
Set Schedule
to copy the schedule to the destination
thermostat.
6. Thermostats and
RLYCOMs
can have individual schedules for
every day of the week. To assign a schedule for one day:
a. Select the thermostat or
RLYCOM
address from the pull down
menu under
Select Thermostat
.
b. Click on the radio button next to the day of the week to be
scheduled. Schedule each day individually. After each day’s
schedule is entered, click on the
Set Schedule
button.
7. The schedules can be printed from the SCHEDULE screen:
a. Click on either the
Individual
or
Global
radio button below
the
button. The Global selection will print the schedules
for all thermostats and
RLYCOMs
, and the Individual selection
will print a copy of the SCHEDULE screen displayed.
b. Click on
. It is recommended that this information be printed
following the start-up of the system.
8. The Individual schedules can also be viewed on the REVIEW screen:
a. Click on the REVIEW Tab.
Vacation Scheduling
The vacation schedule provides 20 separate Unoccupied events for up to
30 days. This feature is designed to maximize your energy savings by
placing the thermostat(s) into a 24-hr Unoccupied mode for 1 to 30 days.
To set an event:
1. Click on the VACATION Tab at the top of the screen, and verify all
thermostat and
RLYCOM
addresses are listed under the column,
2. To enter an
Unoccupied
day event, click on the
down arrow
button in the field showing the event numbers [“Select 1-20”]. Begin
by selecting
1
for the first event.
3. Select the
Month, Day,
and
Duration
of the event by using the
down arrow
buttons in the appropriate fields.
4. Click on
Set Vacation Schedule
.
5. Verify that the event
Month, Day
and
Duration
appear in the list on
the left side of the screen.
6. Repeat steps 1 – 4 to set each vacation date, using the next available
event number.
b. Click on the thermostat name
(see Fig. 19)
.
VACATION Screen –
Fig. 25
Fig. 25
Thermostats below on Vacation Schedule
(see Fig. 26)
.
Fig. 26
Содержание ZonexCommander
Страница 13: ...13 ZONEXCOMMANDER WIRING OVERVIEW ROOFTOP UNITS UP TO 20 PER COMMAND CENTER...
Страница 15: ...15 ZONEXCOMMANDER PLUS COMPONENT SELECTION GUIDE...
Страница 53: ......


