6 Setups
132
4.
Enter a 3-digit Address Number using the numeric keypad on the control panel.
5.
Select [Add to this group].
NOTE:
You can use an asterisk to specify multiple Address Numbers at a time. If you
enter “01*”, Address Numbers from 010 to 019 are specified. If you enter “***”, all the
Address Numbers are specified.
NOTE:
To delete a registered Address Number in a group, enter the Address Number,
and then select [Delete from this group].
NOTE:
If a recipient’s name and number in the Address Book is modified after
assignment to a new job flow, those changes are not reflected in the job flow, which
can result in documents being sent to the previous destination. The job flow must also
be updated in order to send documents to the correct destination.
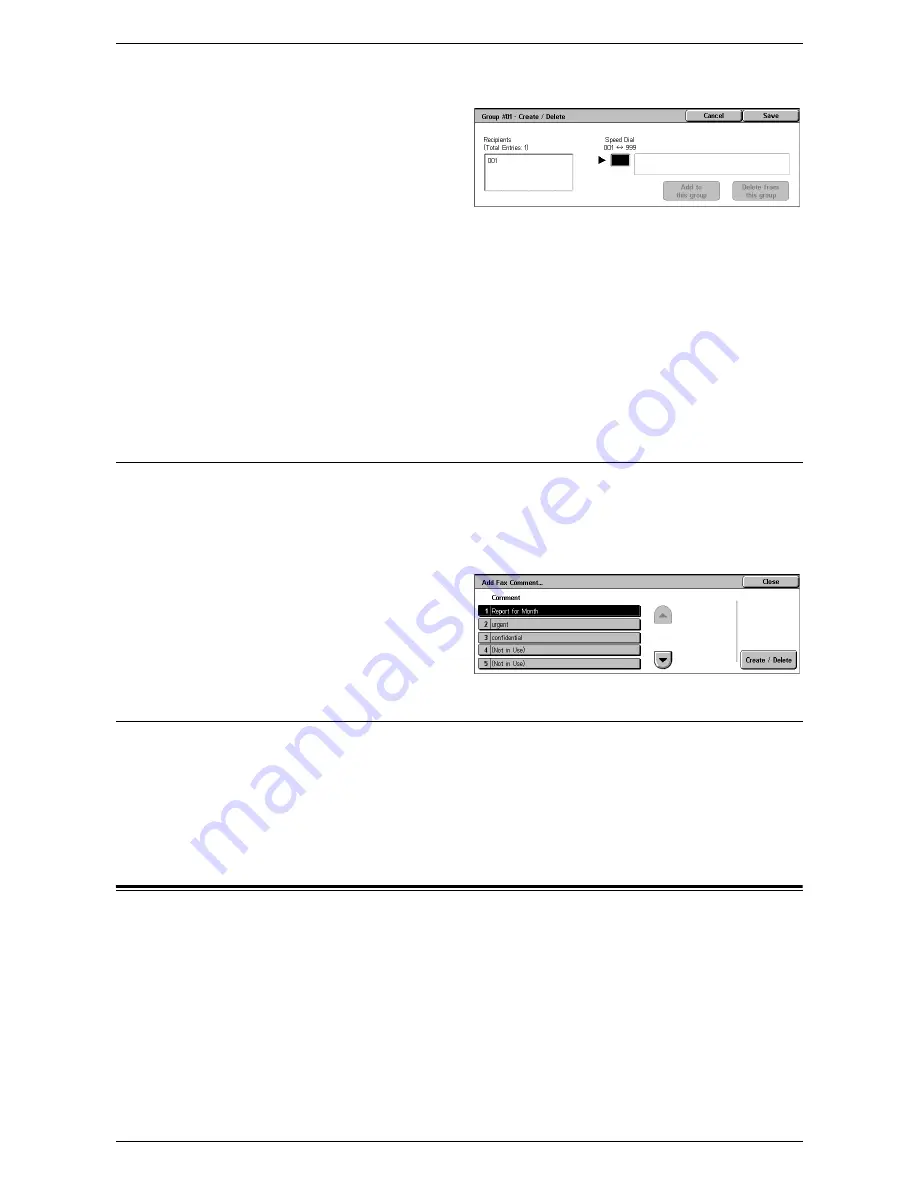
Add Fax Comment
This feature allows you to register a comment to be used when attaching a cover note
to a fax. You can register up to 50 comments; each comment can include up to 18
alphanumeric characters.
NOTE:
This feature is not displayed when the Server Fax service is enabled.
1.
Select [Add Fax Comment] in
the [Group] menu.
2.
Change the required settings.
3.
Select [Close].
Paper Tray Attributes
This is the same as [Paper Tray Attributes] under [System Settings] > [Common
Service Settings] > [Paper Tray Settings]. For details of the settings, refer to
Paper Tray
Settings on page 70.
For information on how to display or hide [Paper Tray Attributes] in the [Setup] menu,
refer to
Paper Tray Attributes on Setup Screen on page 70
.
Accounting
The Accounting feature is used to impose different restrictions on individual users
(accounts), and to track the total numbers of copied, faxed, scanned, and printed pages
for each account. When the Accounting feature is active, users are prompted to enter
their individual user information to use the machine. The type of user information
prompted depends on the Accounting and Authentication settings. The [Accounting]
Содержание WORKCENTER 5222
Страница 1: ...User Guide ME3612E4 1 System Administration Guide XE3022EN0 1 ...
Страница 12: ...12 ...
Страница 62: ...5 Machine Status 62 ...
Страница 266: ...8 Printer Environment Settings 266 ...
Страница 274: ...9 E mail Environment Settings 274 ...
Страница 340: ...14 Authentication and Account Administration 340 ...
Страница 433: ...Xerox Extensible Interface Platform XEIP 433 f Click Apply EIP applications can now register to the machine ...
Страница 434: ...16 Appendix 434 ...


