39
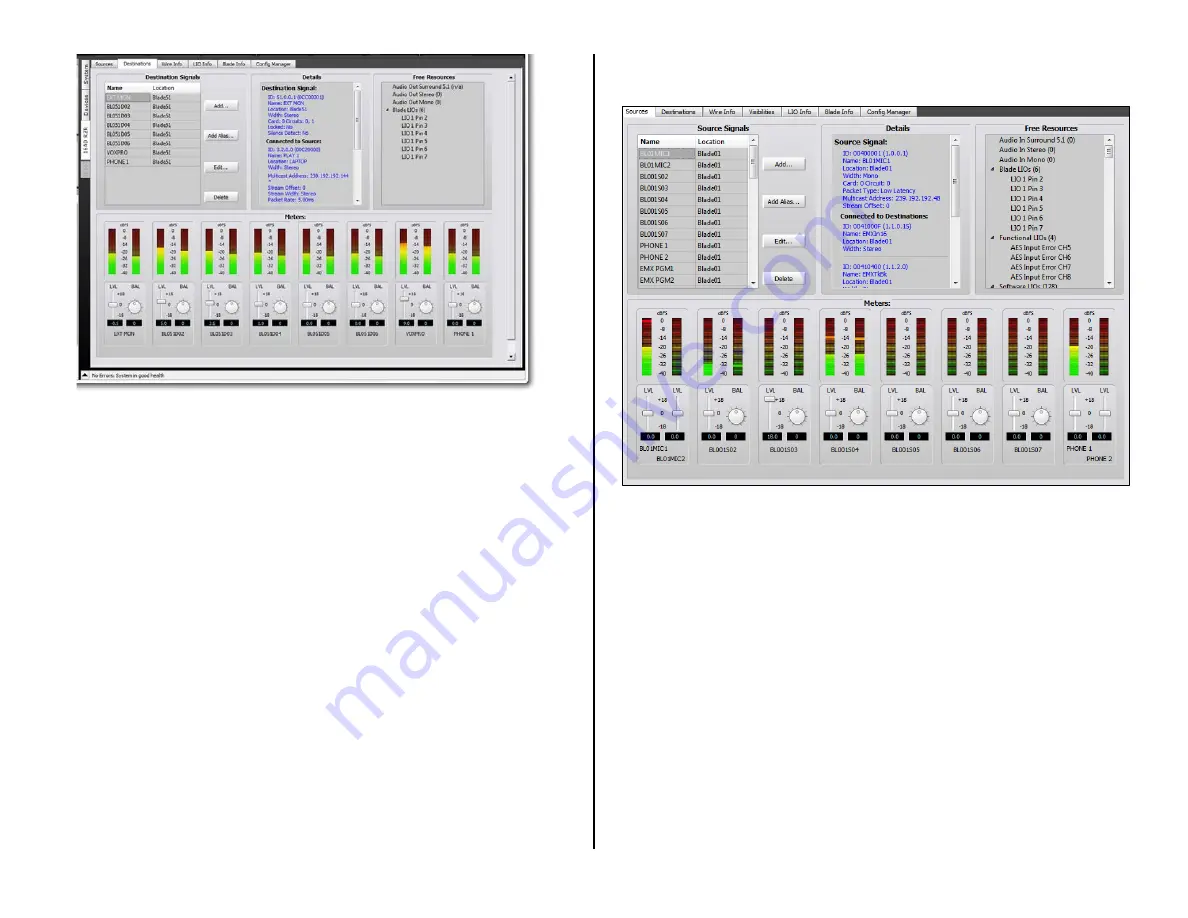
Figure 3-27 Blade Tabs
Sources & Destination Tabs
These two tabs have identical sections and are used to name the Source
or Destination signals; edit the signals; associate logic commands with
audio signals; add or edit logic–only signals; create signal Aliases; and edit
the Blade location name.
The lower half of each tab, the Meters: section, shows the levels of the
physical inputs (on the Sources tab) or outputs (on the Destinations tab)
for that Blade. Just below the meters are level controls and, for stereo
signals, a balance control. The level controls allow each signal level to be
adjusted by up to +/-18 dB from nominal. Details on using the level and
balance control can be found on page 40 in the Levels & Balance Controls
section.
Naming Signal Inputs and Outputs
Every Blade input and output signal has a default name which can be
edited using the Blade > Sources or Blade > Destinations tab to
identify the peripheral devices or signals connected to the various inputs
and outputs. The internal signal names (PGM buses, console channels,
bus-minus signals, etc.) are typically left using their default names.
As an example of how to edit names, the PR&E Mix Engine Analog In 1
signals have the default names of BL01MIC1 and BL01MIC2 since those
two inputs are meant to jumper to MICS OUT. These two signal names
might be edited to MIC 1 and MIC 2, or to HOST and GUEST. Any name of
up to eight characters. Input signals are edited using the Sources tab
(Figure 3-28). To see this tab, click on the Mix Engine icon (Blade01) in
the System Dock then click the Sources tab.
Figure 3-28 Sources Tab
To edit a name, click on the name in the Source Signals section of the
tab then type in a new name of up to eight characters. You can alternately
click once on the name then click Edit… to open the Signal Edit window
(shown in Figure 3-29 on page 40) and edit the name in that window.
Changing the Signal Type
If you aren’t planning on using the two built-in mic preamps on a Mix
Engine or on the Analog-only Razor, two other mono sources, like a pair of
phone hybrids or a phone hybrid and a remote device, could alternately
connect to Analog In 1. If no mono signals are being connected, the two
mono Analog In 1 signals can be changed back into a single stereo input
by clicking on BL01MIC2 to highlight it, then clicking Delete to remove
that signal—after clicking Yes on the “Are You Sure?” pop-up box.
Select the other mono signal (BL01MIC1) and click Edit… to open the
edit window (Figure 3-29). Change the Signal Type selection from Mono
to Stereo. You can then edit the name back to a default name like
BL001SO1, to indicate Analog In 1 or, if you know what stereo device will
be connected to that input, enter the device name in the Name entry box.
Click Finish to close the Edit Window.


