15
Input 1’s configuration since it’s set for two mono mic signals. If the two
built-in mic preamps will not be used, Analog Input 1 can easily be
changed back to stereo using PR&E Navigator (see Chapter 3, page 39).
After the Mix Engine’s physical input signal names you’ll see the internal
signals within the EMX. Many, if not most, of these signals are typically not
set as “visible” on fader channels, but on a new console all signals are set
as visible to ease installing and checking out the EMX. Setting signal
visibility is covered in Chapter 3, starting on page 30.
For right now, rotate the encoder until BL001S02 is highlighted (as
shown in Figure 2-6, on page 14). Press once on the channel encoder to
select that signal. This is called “clicking” the encoder–just like clicking a
PC mouse button. The click “takes” or connects the highlighted signal to
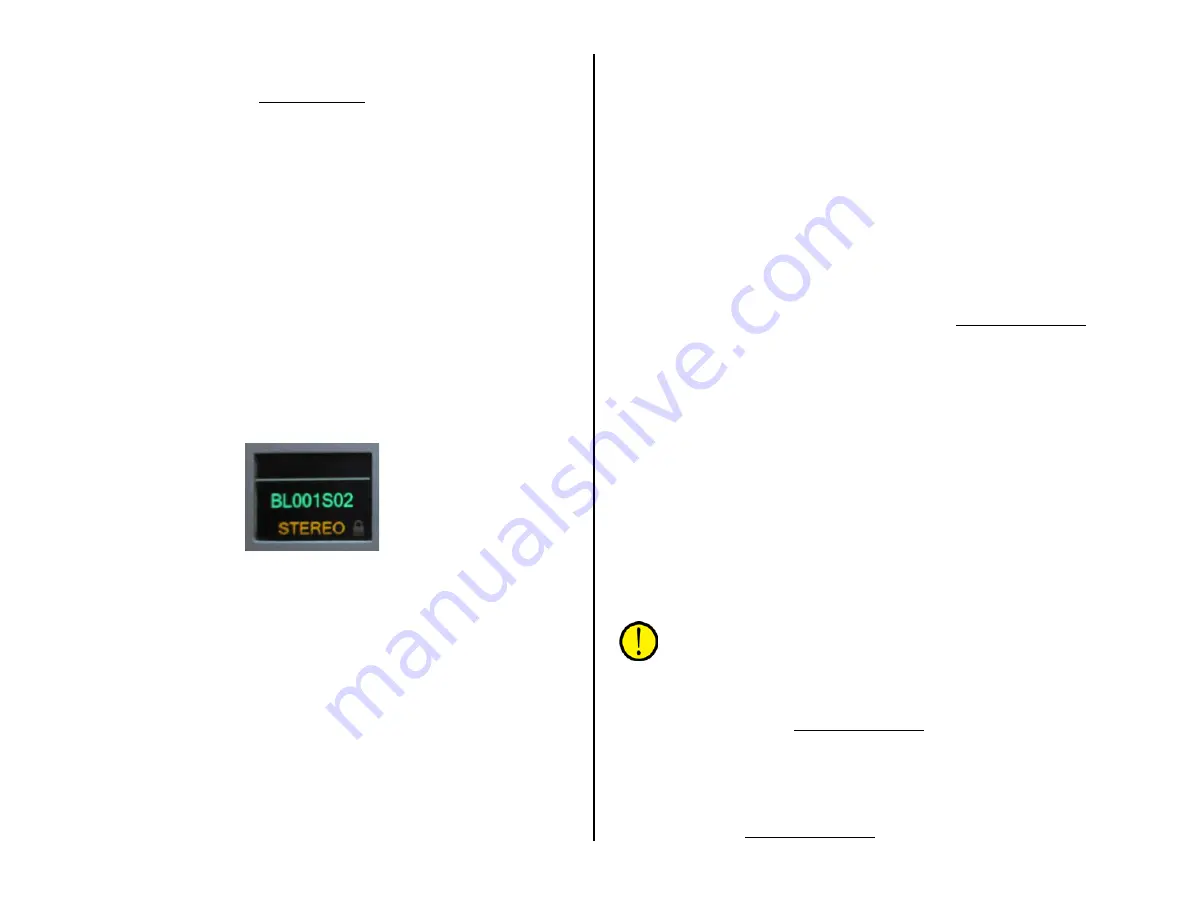
the fader channel. BL001S02 should now be shown, in green, in the middle
of the channel display (Figure 2-7).
The space above the white line is used to show which Advanced Channel
Features (covered in the next section) are active on that channel. There
are icons for the HPF and LPF (High Pass and Low Pass Filters); EQ for
Equalization; and DYN for Dynamics. If that channel’s fader was remotely
adjusted using an ACI fader level command, there would be a small red up
or down arrow in the middle to indicate which way the fader must be
moved to match the ACI command setting and regain local fader control.
Figure 2-7 Channel Display - Source is the Analog 2 Input
Below the name, in orange, is the channel’s mode setting. The default
setting for every channel is STEREO (a mono signal like a mic is fed to
both left and right channels by default). To either side of the mode name
are icons to indicate source status. On the right side you can see a faint
lock icon which indicates the source’s LIO status (logic control status)
when turned on. On the left side—if the channel source is identified as a
mic, there’s a mic icon which turns red when the channel is on.
Advanced Channel Features
Every channel has five Advanced Channel Features which are
accessed by “double-clicking” or tapping twice on the channel encoder.
These advanced features can be selectively locked out from operator
access but, as shipped from the factory, all features are unlocked.
“Double-click” the channel 1 encoder (tap it twice quickly) and Mode
appears above the white line. Rotating the encoder, while Mode is shown
in the display, steps through the four audio modes (Right, Left, Mono, and
Stereo). Make sure STEREO is shown then double-click the encoder again.
Now Pan is shown above the white line. Rotating the encoder now pans
or balances the signal to the left or right of center. Readjust the encoder
so CENTER is shown then double-click the encoder again.
Now the first eight channel displays switch to show the various EQ &
Dynamics control screens. Each channel on the console can have its own
EQ & Dynamics settings applied just like the Mode and Pan settings. The
Chapter 4 section, EQ & Dynamics, covers how to use these controls. For
now, double-click the channel encoder again. The other channel displays
return to normal and channel 1’s display switches to show AUX1 above
the white line.
The AUX1 screen shows the current settings for how that channel is
feeding the Aux 1 Send bus, including: whether AUX 1 is set for Pre / Post
Fader and Pre / Post On operation (set using the EMX Surface Setup app);
whether that channel is feeding the bus (On) or is unassigned (Off); and
the current channel level setting, shown in a bar graph display. To change
the On/Off assignment, click the channel encoder once and the On/Off
setting is highlighted. Rotate the encoder CW to select on (the channel is
now feeding the Aux 1 bus), rotate it CCW to select off (to unassign that
channel to the Aux 1 bus). Leave it set to off then click the encoder again
to highlight the bar graph. Rotating the channel encoder now adjusts the
level of that channel’s signal going to the Aux 1 bus.
Double-click the encoder to switch to the AUX2 adjustment screen
(AUX 2 is now shown above the white line). It has the same controls as
the Aux1 screen, so double-click the encoder one more time to exit from
the Advanced Channel Features.
The channel display reverts to showing the channel source name as
shown in Figure 2-7. If any EQ or Dynamics settings had been set in then
EQ, DYN, or the symbols for the HP or LP filters would be shown above
the white line.
Note: The Advanced Channel Features have a timeout period of
twenty seconds. If no control is touched over that time the channel
displays revert to their normal source name displays. When this
happens the current settings for that Advanced Channel Feature
are auto-saved. This twenty-second timeout period can be
defeated—which is especially useful when setting up EQ &
Dynamics, in the EMX Surface Setup app by unchecking Timeout
Enabled on the Talent Access tab and clicking Apply to upload the
new setting to the Surface.
The Mode, Pan, EQ & Dynamics, and Aux Send controls should be
selectively disabled from board operator access prior to releasing
the console for daily use. This is also done on the Talent Access
tab in the EMX Surface Setup app (see page 24).


