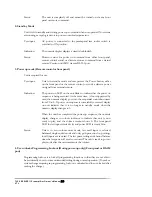
5. Check to ensure that the inputs are correctly configured for the preferred mode of
connection for each of the sources in either balanced or single-ended mode.
Inputs
CD and Aux 1 are set to balanced by default.
If you wish to set the selected input
to single-ended, hold down the button for that input for three seconds. The LED for
this input will now change from blue to green to indicate that the input has been
changed to single-ended. Note that only the first two inputs can be configured for
either balanced or single ended use, and all others are single ended only.
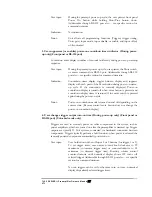
6. Press the Input Selector to the input source you would like to use.
7. If not connected to the triggers, turn on the power amplifier(s) in your system.
8. Set the source component to play mode.
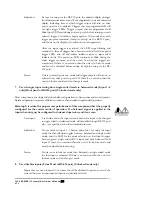
9. Turn the volume control up to the desired playing level, by either turning the Volume
Control knob clockwise or the volume up button on the remote control. If the
preamplifier is in mute, (i.e. the Mute LED is flashing), either push the mute button to
reset the system out of mute and into operating mode, or raise the volume control,
either via the front panel knob or the remote control, to release the mute.
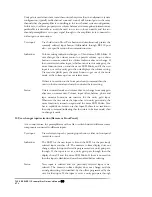
10. The LEDs on the unit’s front panel indicate the operating mode of the preamplifier.
For more details on the different operating modes indicated by the LEDs, please refer
to the section below on “Operating modes and LED Indications”:
Ground Loop Hum
If you get a ground loop hum from your stereo system after installation and power up
you should immediately turn off the TL5.5 and consult your VTL dealer or the VTL
factory.
Caution: Under no circumstances should you attempt to lift or defeat any
grounds on electrical equipment plugged into the AC, as these grounds are
installed for your and the equipment’s safety, and an ungrounded component can
present an extremely hazardous condition and is illegal under most electrical
safety codes. For your own safety please refer all questions of this nature to a
properly trained service technician
Using the Preamplifier with the Remote Control
1. If not already done, open the back of the remote control by removing the two Phillips
head screws and gently shaking the back cover off the remote unit. Locate the battery
holder and install the two AAA batteries supplied in the correct directions as marked
in the battery holder, with plus on each battery corresponding with the plus sign in the
holder. Replace the back cover of the remote and re-install the screws. (Fit the battery
as shown in the instruction.)
2. The system can be powered on and off with the power button on the remote control.
TL5.5 SERIES II Preamplifier Owner’s Manual
VTL
19
Содержание TL5.5 Series II Signature
Страница 1: ...VTL TL5 5 Series II Signature Preamplifier Owner sManual...
Страница 3: ......

