


5. Configuring Your System
139
Enabling HTTPS on Your Vidyo Server
Note
Do not use the Enable HTTPS button until you’ve completed the steps for securing your
Vidyo server. Do not Enable HTTPS Only mode until you are certain HTTPS is working
properly. For more information, see
Securing Your VidyoGateway System with SSL and
HTTPS
.
Enabling HTTPS
To Enable HTTPS:
1.
Log in to the Admin portal using your System Console account.
For more information, see
Logging in to the Admin Portal
.
2.
Click the
Maintenance > Security
tab.
3.
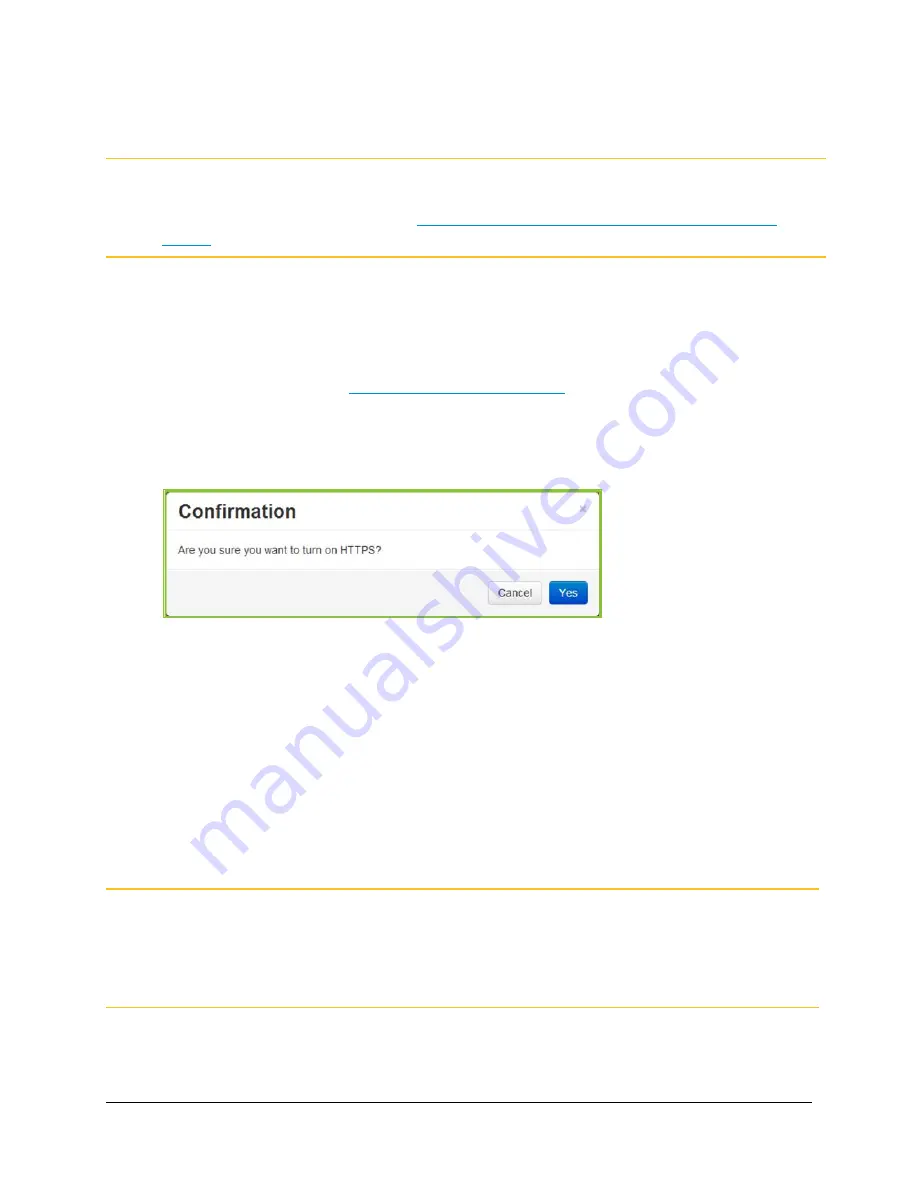
Click Enable HTTPS.
A
Confirmation
dialog displays.
4.
Click Yes.
If the changes are applied to your Vidyo server, a system notification displays indicating
that HTTPS is enabled.
You can now browse your Vidyo server over HTTPS.
5.
Browse to the Admin pages to confirm that HTTPS is working properly and that the browser
does not post any security errors.
Be sure to include the HTTPS header in the URL (e.g.,
https://[
FQDN
]
). Verify that
HTTPS displays on the left side of the address bar and that a lock icon displays (typically in
the lower right corner). Some browsers emphasize an HTTPS session with a color like
green or blue.
Note
You can also verify your signed certificate by displaying information for it in your web
browser. See the documentation that came with your web browser for information.
If your browser generates a root certificate error, first check that your operating system has
the latest root certificates update applied.
6.
If you are successful browsing to your Vidyo server using HTTPS and you do not receive
any browser errors, continue with the next procedure.


