


43
D UNIZ SOFTWARE
3. Remote Control
The purpose of remote monitoring is to make it convenient for users in the WAN to check the
real-time status of the printer registered under their names and carry out control functions
which include Take Photo, Pause Job and Cancel Job. The remote monitoring function is
completely cloud based, so only printer owners have access to the remote monitoring functions
and pictures. UNIZ does NOT have access to the remote monitoring functions nor the pictures.
Users may manually turn on/off the remote control function.
When this function is started for the first time, the system needs to register the printer to the
IoT which may take considerably long time.
(1) Preparations:
①
. Activate your printer and link it to your UNIZ account.
②
. Enable the remote monitoring.
Method 1: Enable the remote monitoring in UNIZ Desktop
a. Click the printer icon
/
to open the Printer Control Panel
b. Click Printer Settings Button
to open submenus
c. Click menu
to turn on remote monitoring.
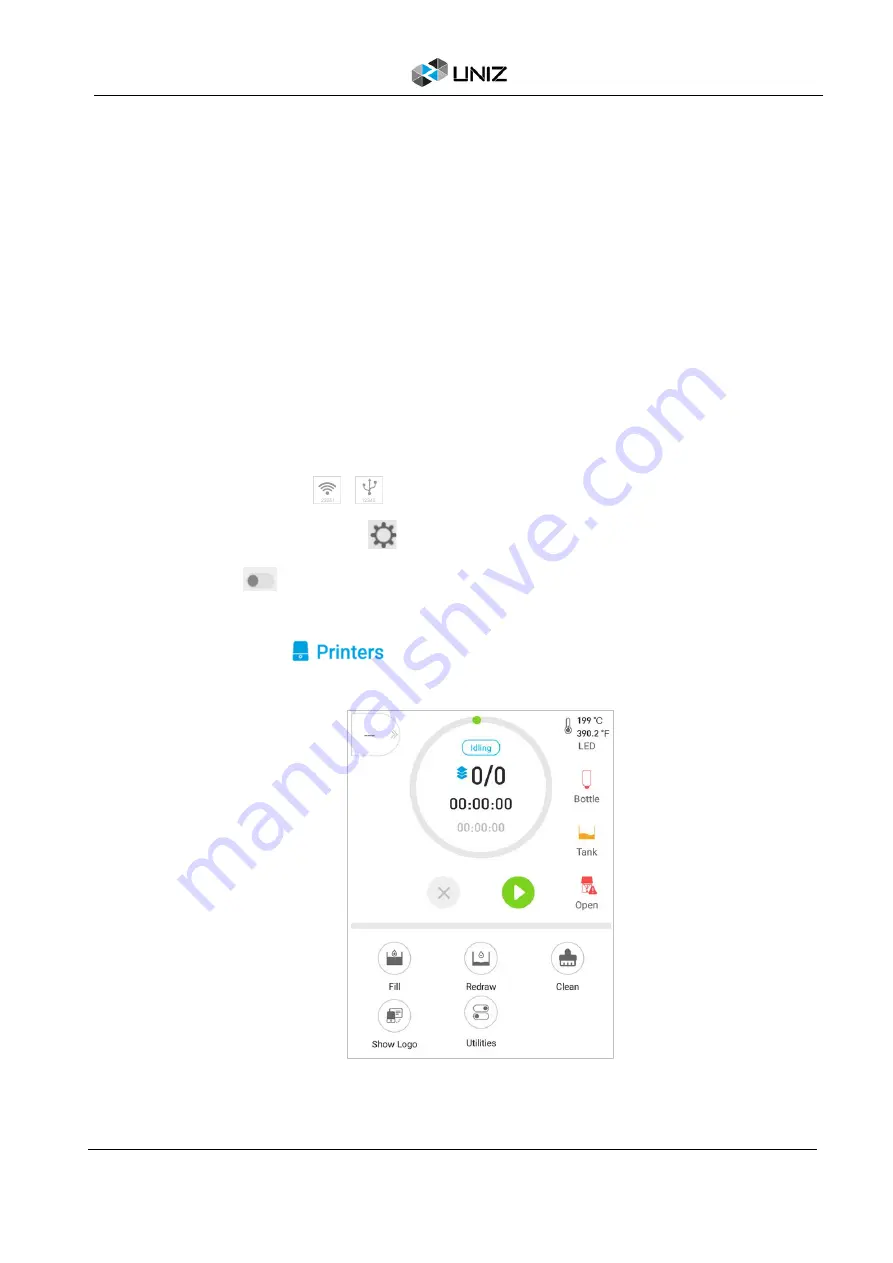
Method 2: Enable the remote monitoring in UNIZ App
a. Click the ‘Printers’ in the main menu, and select your printer in the list.
b. Open the printer control interface and click ‘Utilities’.
Содержание SLASH 2
Страница 1: ...USER MANUAL UNIZ DESKTOP PRINTER APPLICABLE TO SLASH 2...
Страница 2: ......
Страница 4: ......
Страница 6: ......
Страница 8: ...2 A SLASH 2 3D PRINTER...
Страница 9: ...3 A SLASH 2 3D PRINTER SLASH 2 3D PRINTING SYSTEM...
Страница 10: ...4 A SLASH 2 3D PRINTER FRONT BUTTON COLOR GUIDE...
Страница 28: ...22 D UNIZ SOFTWARE 3D Model Viewer Main Tools Printer Control...
Страница 84: ...78 G CERTIFICATE G CERTIFICATE...
Страница 85: ...79 G CERTIFICATE...
Страница 86: ...80 G CERTIFICATE...
Страница 87: ......
Страница 88: ......


