21
BarcodeGuy.com® - UnionNet SP2100 User’s Guide
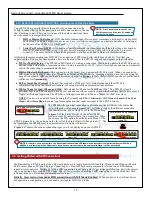
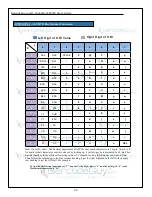
Historically, the characters on the keyboard are defined as having standard hexdecimal equivalents. Each character is
assigned the same hex number regardless of input device. That way the host’s keyboard buffer can understand what its
being sent from the keyboard. Hexdecimal numbers are base 16. The numbers representing what we understand to be the
ones column in our decimal numbers are represented by the numbers 0-9. In Hexdecimal, the ones column is represented by
the numbers 0-E, where the letters A-E represent the decimal equivalents of 10-15 in decimal math. This
ASCII standard
goes back to the 1960’s in an effort to make keyboards and HID devices standardized in the way they talk to a host. You
can find the ASCII standard characters and their hexdecimal equivalents listed in the chart in
Appendix A
of this Guide. As
an example, the capital letter “
A
” converts to hexdecimal “
41
” while lower case “
a
” converts to hexdecimal “
61
”. The
ASCII standard makes sure that there’s a standard conversion between keyboard characters the user types (on any input
device) and what the host computer understands. Each time you press a key on a keyboard, soft keypad or peripheral that
enters characters, this hexdecimal conversion number is sent to the host.
HID connected barcode scanners that are programmed to send a
<CR>
or
Carriage Return
at the end of the barcode
characters demonstrates the most common usage of
suffixes
. After all the characters are converted to hexdecmal and sent to
the host, the SP2100 by default is programmed to send a
<CR>;
equivalent to the user pressing the
<Enter>
key on the
keyboard or soft keypad of the device. The
Carriage Return
is a hexdecimal
0D
. In most applications this either drops the
cursor to the next line or hits the “action key” for the program or application (i.e. sends the form data to the web
application).
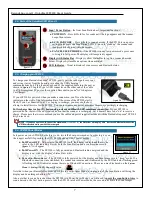
5.3- Default Suffix and Introduction to ASCII & Hexdecimal Equivalents
5.4- SP2100 System Menu for Pre/Suffix - The Carriage Return Suffix
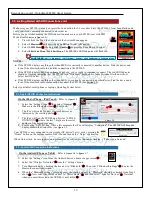
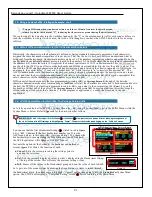
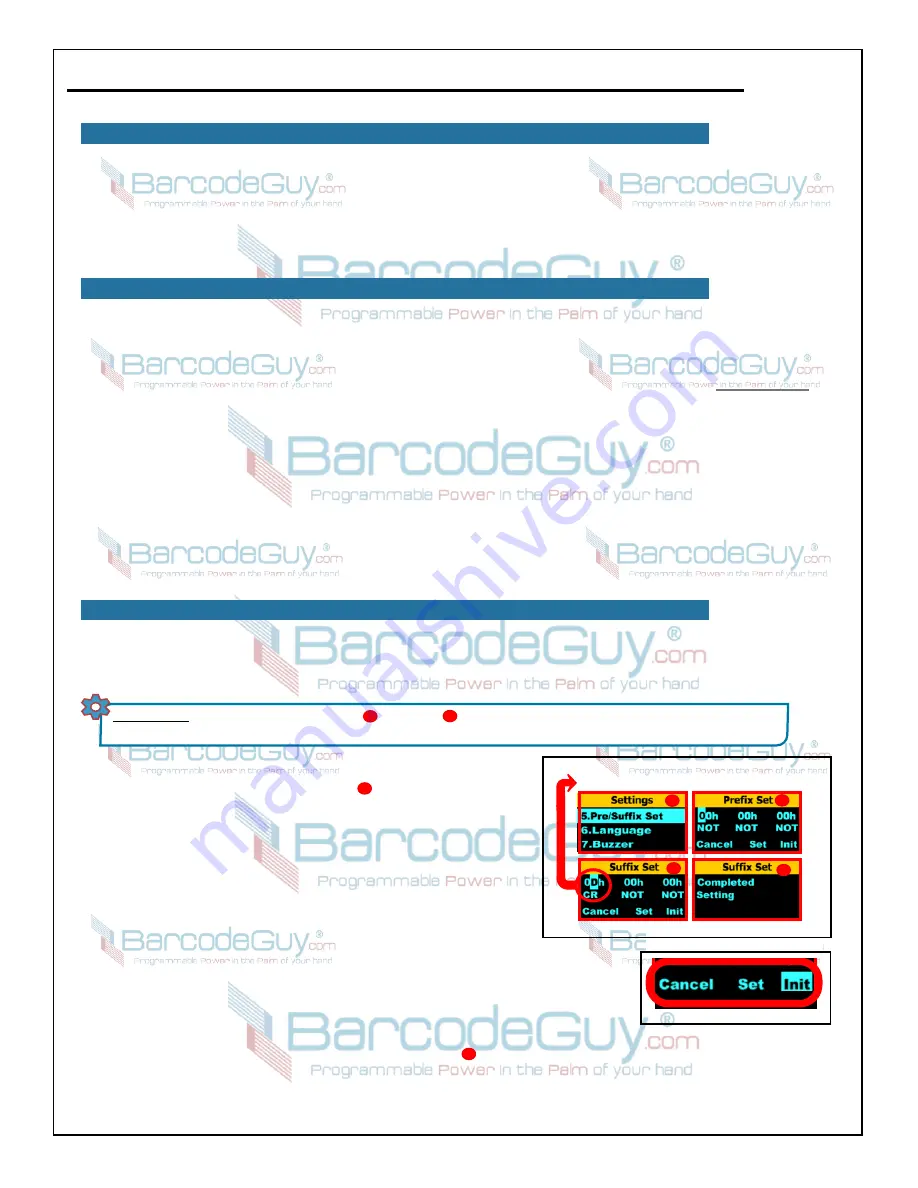
Let’s take a quick look at the SP2100’s System Menu the <
CR
> setup. The shorthand to get to the Suffix Menu within the
System Menu is below. Refer to
figure 38
for the discussion that follows:
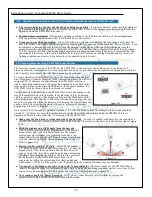
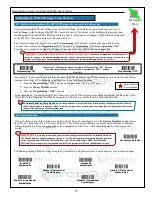
“Using a HID connection, scan barcodes into a worksheet. Column 1 contains the asset barcode,
column 2 contains the character “Y”, indicating that the asset was present during the asset inventory.”
We could scan all the barcodes into the worksheet and enter the “Y” in the column next to it after each scan or before we
send the worksheet to where it will be used. But with a little thought we can have the SP2100 do the work for us using
suffixes.
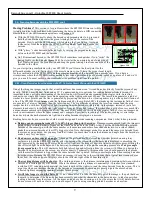
5.2- Using a Custom Suffix - Stating an Example - con’t
Figure 5.2
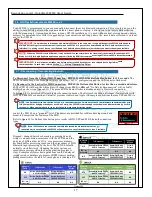
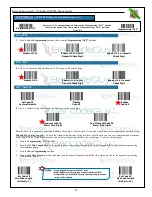
SHORTHAND:
SM>>2.Settings>>Pre/Suffix Set >>Suffix Set Now press the scan button 6 times, indexing through each of
the six 0’s in the prefix ASCII settings and highlighting “Cancel”. Then press the Scan Button bringing up the “Suffix Set” screen.
1
2
figure 5.1
Suffix Default Setting = Carrige Return
HexDecimal “0D” is ASCII Carriage Return
2
1
4
3
You can see that the first Hexdecimal Group ( circled in red in
figure
5.1
) is “
0D
”. Underneath the first hexdecimal number you’ll see the
ASCII equivalent - in this case
<CR>
(Carriage Return). You change the
hexdecimal digit by manipulating the Side Buttons of the SP2100 and
the ASCII equivalent will change as well. But for now….
3
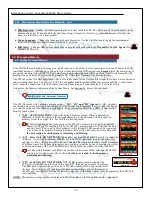
Just note the options at the bottom of the
Prefix Set
and
Suffix Set
screens
(figure 5.2)
. Here’s the function of each:
●
Cancel:
Exits the screen, preserving the settings prior to
entering the set screen
●
Set:
Sets the currently displayed values to what’s displayed in the Hexdecimal Group
at the top of the screen. This will erase the previous settings, if any.
●
Init:
Erases all the values in the Hexdecimal group and sets the value of each to
NOT
.
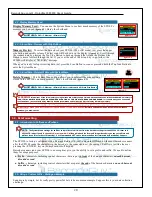
Let’s get out of the menu system by pressing the Scan Button six times to index through
the hexdecimal digits, then once more to highlight “Cancel” option, then again to exit the
Pre/Suffix Set
System Menu
option. The SP2100 will display a “Completed Setting” screen before returning to the Main Menu.
4
Содержание SP2100
Страница 64: ...64 BarcodeGuy com UnionNet SP2100 User s Guide APPENDIX E Android UniLinker and SP2100 in SPP Mode ...
Страница 69: ...69 BarcodeGuy com UnionNet SP2100 User s Guide APPENDIX G SP21001D Scan Engine Symbology Default ...
Страница 71: ...71 BarcodeGuy com UnionNet SP2100 User s Guide APPENDIX I SP21001D Scan Distance Chart ...

