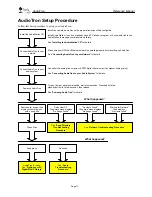
AudioTron
Reference Manual
Page 21
Connecting the Audio Outputs
Before you begin…
AudioTron includes both analog and digital audio (“S/PDIF”) outputs, which operate slightly
differently:
ü
The digital output supports a fixed number of sample rates that adhere to the S/PDIF standard.
Thus, music files that are formatted in non-S/PDIF sample rates will not play out of the digital
output. For a list of supported sample rates, see the Appendix called “
Product Specifications
”.
ü
The Volume control will not affect the digital output.
ü
On most audio systems, the digital output may have a higher volume than the analog output.
To connect AudioTron’s analog audio outputs…
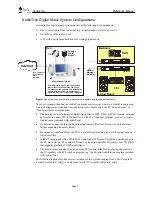
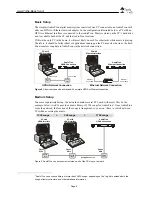
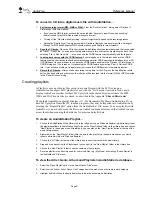
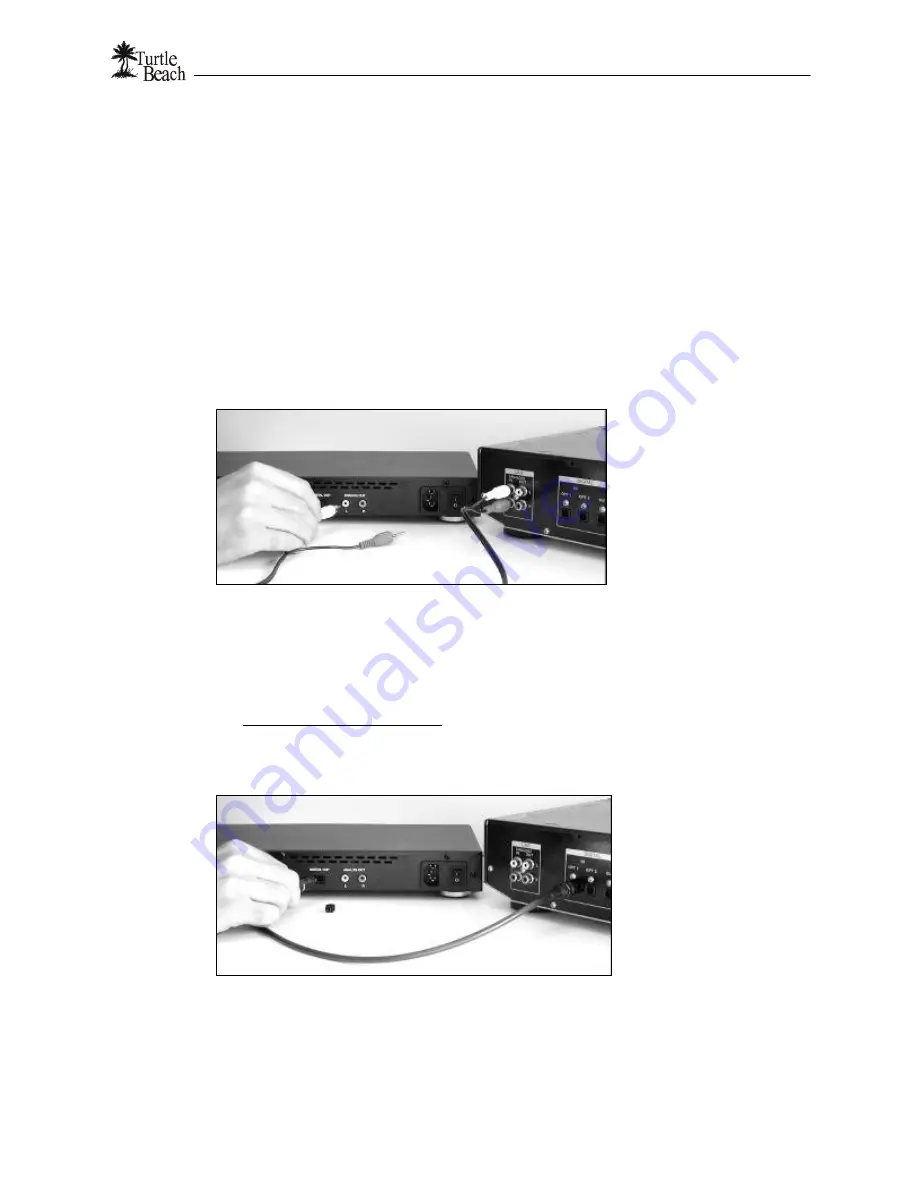
Figure 13
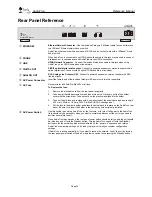
Use the included RCA-to-RCA cable to connect the Analog outputs to a stereo receiver.
1.
Use the RCA-to-RCA cable included with your AudioTron to connect the AudioTron analog outputs to the
line inputs on your stereo receiver or amplifier. The line level inputs on your stereo receiver may be labeled
AUX, CD or LINE IN. Please refer to your equipment's documentation for details.
2.
If your stereo system or powered speakers require a 1/8” connection, you’ll need to obtain an RCA-to-1/8”
adapter to connect AudioTron to the stereo or speakers. This is available from the Turtle Beach web site.
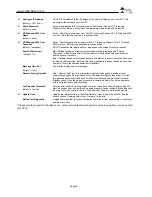
3. Connecting the headphone output:
AudioTron is also equipped with a 1/4" stereo headphone jack on the
front panel for use with headphones.
To connect AudioTron’s digital audio output…
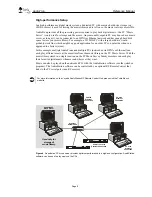
Figure 14
Connecting the optical digital output requires an optional fiber optic cable (which may be purchased
from the Turtle Beach web site.)
1.
Remove the plastic covers from the DIGITAL OUT connector on the AudioTron rear panel.
2.
Connect one end of the optional fiber optic cable (available from the Turtle Beach web site) to the stereo
component's Digital Input and the other end to the Digital Out on the AudioTron back panel.

