TRENDnet User’s Guide
TV‐IP328PI
© Copyright TRENDnet. All Rights Reserved.
41
(3)
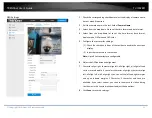
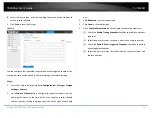
Select the mounting type. NFS and SMB/CIFS are selectable. And
you can set the user name and password to guarantee the security
if SMB/CIFS is selected.
Note:
Please refer to the
NAS User Manual
for creating the file path.
For your privacy and to better protect your system against
security risks, we strongly recommend the use of strong
passwords for all functions and network devices. The password
should be something of your own choosing (using a minimum of
8 characters, including at least three of the following categories:
upper case letters, lower case letters, numbers and special
characters) in order to increase the security of your product.
Proper configuration of all passwords and other security
settings is the responsibility of the installer and/or end‐user.
(4)
Click
Save
to add the network disk.
2.
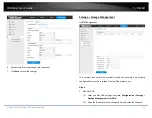
Initialize the added network disk.
(1)
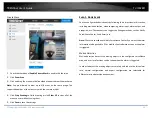
Enter the HDD Settings interface,
Configuration > Storage > Storage
Management > HDD Management
, in which you can view the
capacity, free space, status, type and property of the disk.
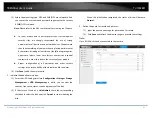
(2)
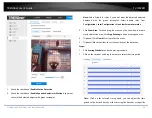
If the status of the disk is
Uninitialized
, check the corresponding
checkbox to select the disk and click
Format
to start initializing the
disk.
When the initialization completed, the status of disk will become
Normal.
3.
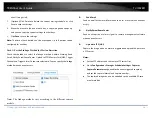
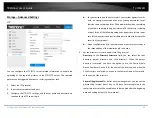
Define the quota for record and pictures.
(1)
Input the quota percentage for picture and for record.
(2)
Click
Save
and refresh the browser page to activate the settings.
Note:
Up to 8 NAS disks can be connected to the camera.

