TRENDnet User’s Guide
TV‐IP328PI
© Copyright TRENDnet. All Rights Reserved.
22
3.
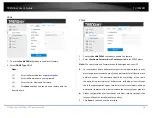
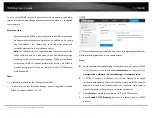
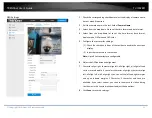
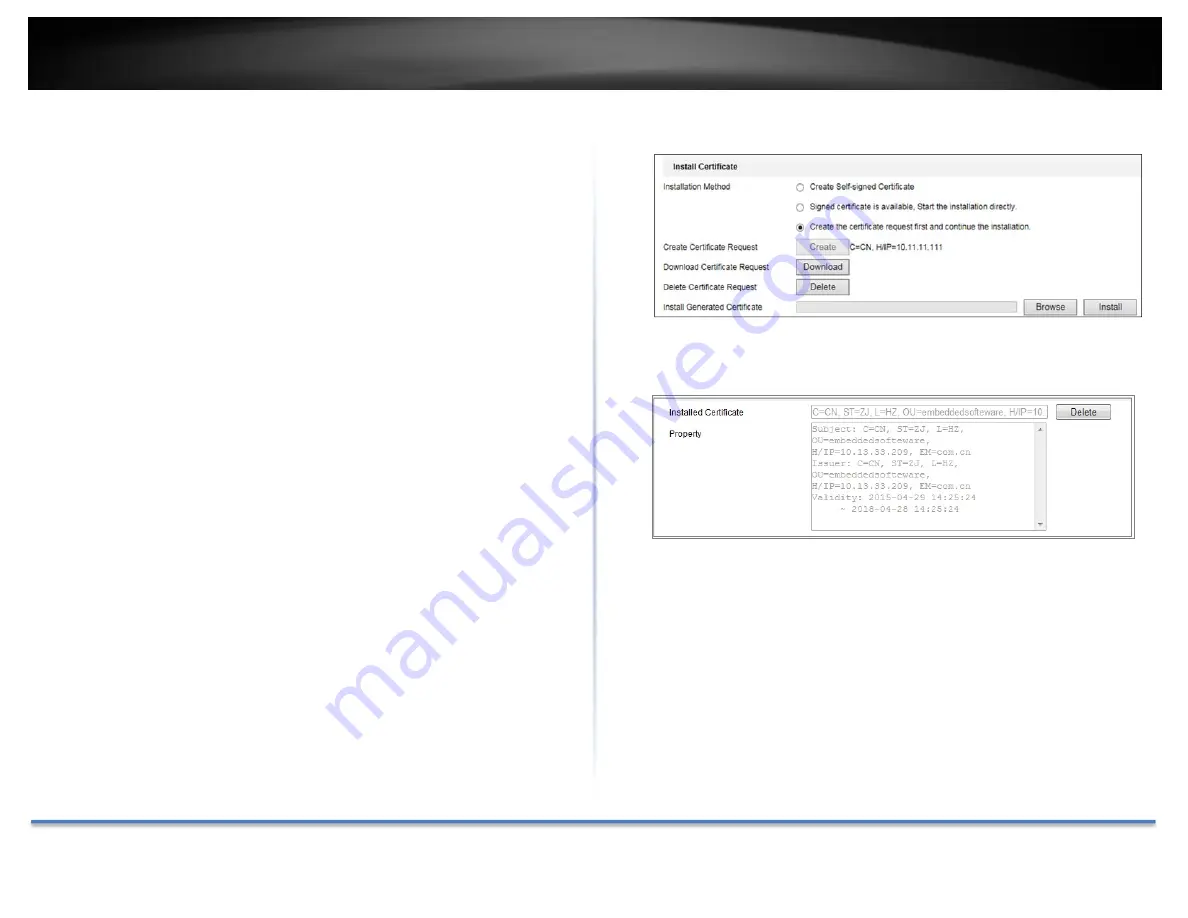
Create the self‐signed certificate or authorized certificate.
Create the self‐signed certificate
(1)
Select
Create Self‐signed Certificate
as the Installation Method.
(2)
Click
Create
button to enter the creation interface.
(3)
Enter the country, host name/IP, validity and other information.
(4)
Click
OK
to save the settings.
Note:
If you already had a certificate installed, the Create Self‐signed
Certificate is grayed out.
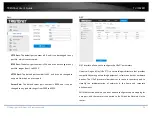
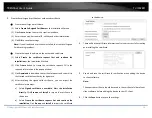
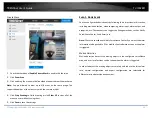
Create the request and import the authorized certificate
(1)
Select
Create the certificate request first and continue the
installation
as the Installation Method.
(2)
Click
Create
button to create the certificate request. Fill in the
required information in the popup window.
(3)
Click
Download
to download the certificate request and submit it to
the trusted certificate authority for signature.
(4)
After receiving the signed valid certificate, you can import the
certificate in two ways:
a)
Select
Signed certificate is available, Start the installation
directly
. Click
Browse
and
Install
to import the certificate to
the device.
b)
Select
Create the certificate request first and continue the
installation
. Click
Browse
and
Install
to import the certificate
to the device.
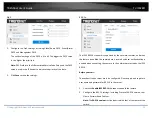
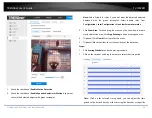
4.
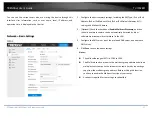
There will be the certificate information after your successfully creating
and installing the certificate.
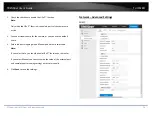
5.
Export and save the certificate for verification when adding the device
to client software.
Note:
The exported certificate should be saved in the certificate folder of your
client software before adding the device to your PC client.
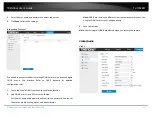
6.
Click the
Save
button to save the settings.


