2 PRINTING FROM WINDOWS
130 Printing With Best Functions for Your Needs
3
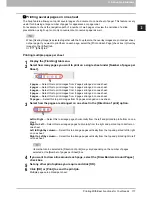
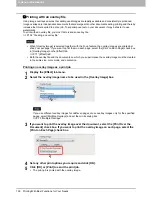
In the [Tab Manufacturer] box, select the product name of the tab paper that you use, or
select [Custom] when you use other manufactured tab paper.
4
When you select [Custom] in the [Tab Manufacturer] option, enter the width of the tab
extension in the [Tab Extension] box.
5
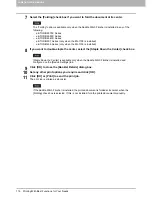
Enter the width to shift the printed image in the [Image Shift Width] box.
If you created a document as described in Step 1, enter the width of the tab extension here.
The selectable range of the edge margin differs depending on the model. See the following for
setting this option:
- For the e-STUDIO6570C Series, e-STUDIO6550C Series, e-STUDIO4540C Series,
e-STUDIO2550C Series and the e-STUDIO2551C Series
The margin between the shifted text and right edge of the tab extension must have at least 0.17
inches (4.2 mm) of space because any data in this space are not printed. Enter the same value in
the [Tab Extension] box and the [Image Shift Width] box.
- For the e-STUDIO456 Series and the e-STUDIO856 Series
The margin between the shifted text and right edge of the tab extension must have at least 0.08
inches (2.0 mm) of space because any data in this space are not printed. Enter the same value in
the [Tab Extension] box and the [Image Shift Width] box.
For models other than the above, refer to the corresponding
Printing Guide
.
6
Click [OK].
7
Set any other print options you require and click [OK].
8
Click [OK] or [Print] to send the print job.
9
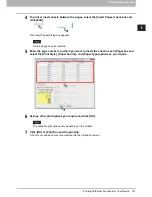
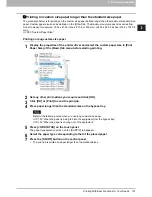
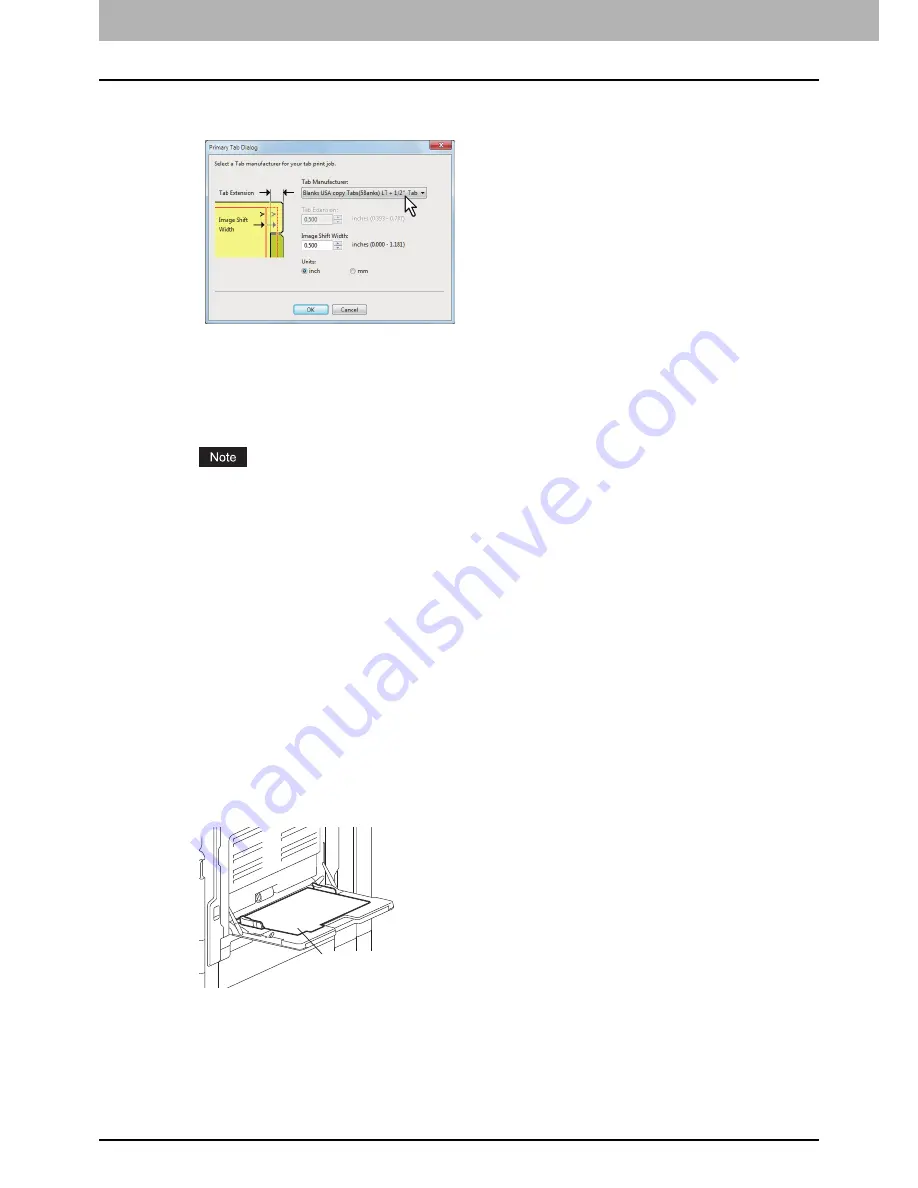
Place the tab paper with the tab outside.
10
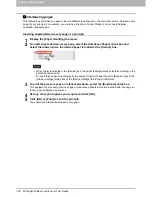
Press [JOB STATUS] on the touch panel.
The printing status screen on the [SUPPLY] tab appears.
11
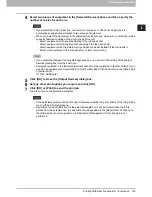
Press the [START] button on the control panel.
The print job is printed on the tab paper.
Place the tab paper
with the tab outside.
Содержание e-STUDIO305CP
Страница 1: ...MULTIFUNCTIONAL DIGITAL COLOR SYSTEMS PRINTER Printing Guide ...
Страница 8: ......
Страница 10: ...8 CONTENTS ...
Страница 138: ......
Страница 141: ...FC 3050CS 3050CP DP 3850S 3850P 5250P OME14006900 ...

