DRIVE SYSTEM
7-62
Rev. 000
TX525 Service Manual
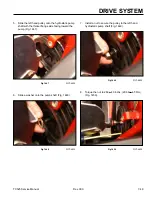
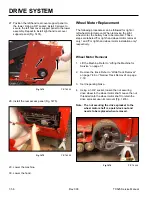
25. Rotate the wheel motor 90° so the ports are facing
upward, this will allow the raised portion of the wheel
motor to fit through the notch in the frame. Remove
the wheel motor (Fig. 1497).
Fig 1497
PICT-4466
26. For wheel motor service, Refer to the Parker / Ross
Wheel Motor Service Manual (Toro p/n: 492-4753).
Wheel Motor Installation
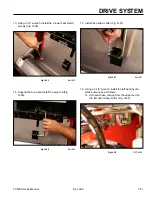
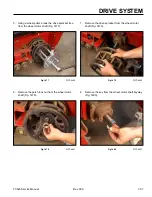
1. Insert the wheel motor into the frame with the
ports facing up. After the wheel motor is inside the
frame, rotate the wheel motor 90° clockwise so the
hydraulic ports are facing to the rear (Fig. 1498).
A. Wide Side
B. Narrow Side
Fig 1498
PICT-4471
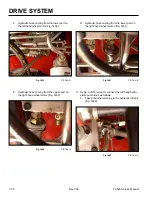
2. Wheel motor mounting plates have a wide side and
narrow side. The wide side faces up when installing
the wheel motor (Fig. 1499).
Fig 1499
PICT-4473a
A
B
Содержание Dingo TX 525
Страница 1: ...TX525 Service Manual Sitework Systems Form No 492 9195...
Страница 3: ...ii Rev 000 TX525 Service Manual 8 01 10 Revision 000 REVISIONS...
Страница 11: ...x Rev 000 TX525 Service Manual TABLE OF CONTENTS THIS PAGE INTENTIONALLY LEFT BLANK...
Страница 243: ...ENGINE 4 190 Rev 000 TX525 Service Manual THIS PAGE INTENTIONALLY LEFT BLANK...
Страница 263: ...ELECTRICAL 5 20 Rev 000 TX525 Service Manual THIS PAGE INTENTIONALLY LEFT BLANK...
Страница 377: ...HYDRAULIC SYSTEM 6 114 Rev 000 TX525 Service Manual THIS PAGE INTENTIONALLY LEFT BLANK...
Страница 479: ...DRIVE SYSTEM 7 102 Rev 000 TX525 Service Manual THIS PAGE INTENTIONALLY LEFT BLANK...
Страница 533: ...BRAKES 8 54 Rev 000 TX525 Service Manual 12 Install the rear access panel Fig 1836 Fig 1836 PICT 4505a...
Страница 553: ...HYDRAULIC TESTING 9 20 Rev 000 TX525 Service Manual THIS PAGE INTENTIONALLY LEFT BLANK...
Страница 554: ...TX525 Service Manual Form No 492 9195...


