Finally, you can view your planned route on a traditional top-down map. Choose '
Browse map of
route
'
to overlay the route onto a map that you can zoom and scroll around. See the chapter
' for more details of using this screen to your advantage. Or choose '
Show route summary
'
to display again the graphical overview of your route that was shown when it was first
calculated.
Clear route
Clear route
Choose '
Clear route
'
if you'd like to remove the currently planned route from all views. From
here on, your position will still be tracked on the map, but no instructions or guidance will be
provided.
Tip
: You do not need to clear a route before planning a new one: this happens automatically.
Itinerary planning
Itinerary planning
Although '
Navigate to...
'
is fine for casual travel, it may be that you're planning a journey
that's more ambitious. You may even want to save the details of this journey for future use or to
pass them on to other users. Choose '
Itinerary planning
'
to create a new itinerary or
amend an existing one.
An itinerary is essentially just a list of 'waypoints' and 'destinations'. Your best route is calculated,
visiting each in turn (in the exact order you specify). In general, you'd add a 'destination' when you
wanted countdown information to arrival on the main navigation view, otherwise you'd add a
location as a 'waypoint' that simply has to be traveled through (i.e. it's the 'way you want to go').
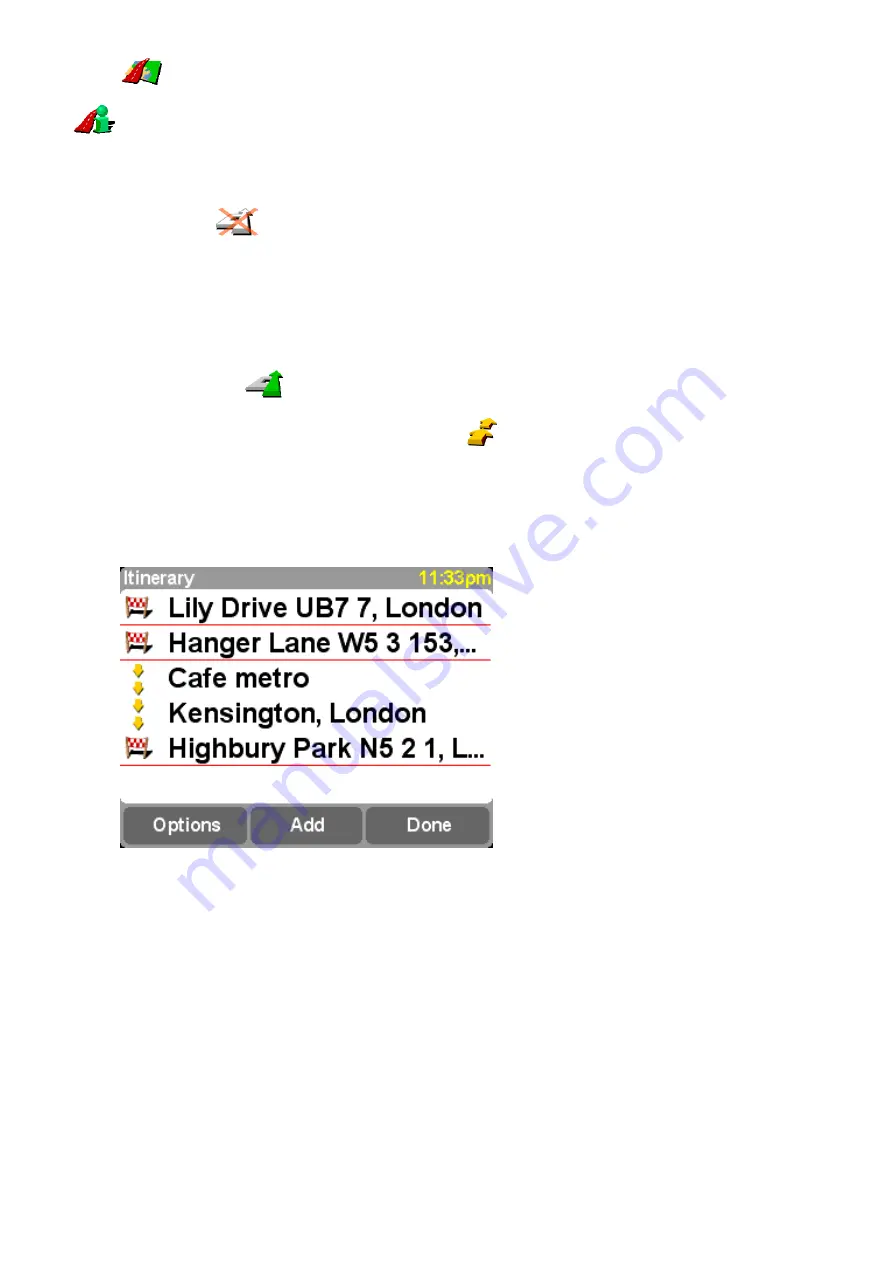
A typical itinerary, showing both waypoints to be traveled through and destinations you want
to arrive at.
When first started, the itinerary planner will be empty, of course. Use '
Add
' to select locations in the
normal way, choosing from 'Home', 'Favorite', 'Address', 'Recent destination', and so on. Each
location will be added as a waypoint if the previous one was also a waypoint, otherwise it will be
added as a destination.


