Getting started
EN
7
Switching on
Follow the instructions on this page on how to switch on your TV set and the remote
control before going on to the following pages that describe how to use the remote
control and the channel set-up procedure.
1.
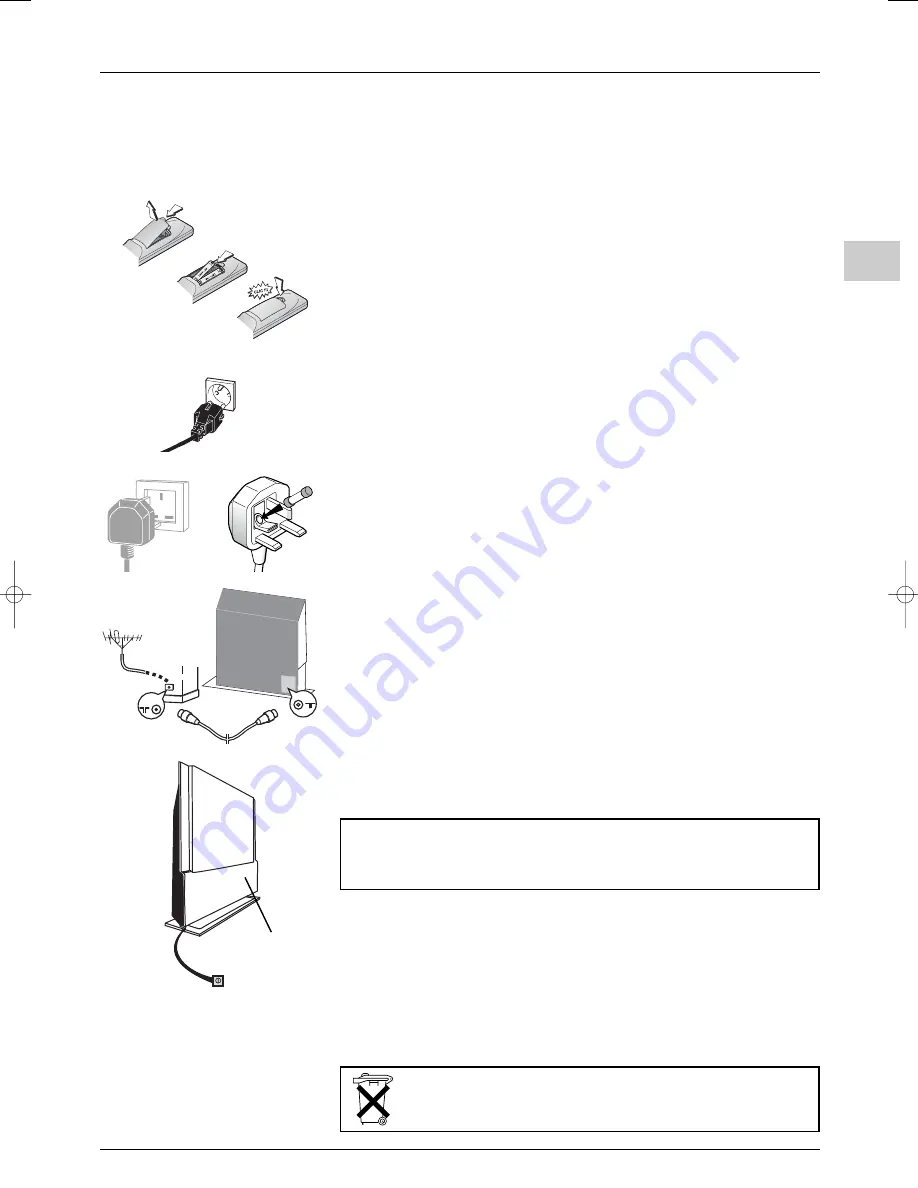
Insert two LR06 or AA batteries in the remote control.
Precautions on using batteries:
- Only use the battery types specified.
- Make sure you use the correct polarity.
- Do not mix new and used batteries.
- Do not use rechargeable batteries.
- Do not expose batteries to excessive heat, throw them in a fire, recharge them or try to open
them, as this could cause them to leak or explode.
- Remove the batteries from the remote control if you are not using it for a long period of time
(several weeks).
2.
Connect the power cable
FIRST
to the television,
THEN
to a mains socket.
Your TV set should only be connected to a 220 - 240 V ~ 50 Hz AC supply.
It must not be connected to a DC supply. If the plug is detached from the cable, do not, under
any circumstances, connect it to a mains socket, as there is a risk of electric shock.
Equipment for the UK and Ireland is supplied with a mains cable fitted with a moulded plug.
This plug contains safety components and must not be replaced by one sold by general
retailers. It is fitted with a fuse that protects your television. If your set has stopped
working, the fuse may have blown. If it has, replace it with an identical ASTA or BSI certified
(BS 1362) 5-amp fuse.
3.
Connect the outside aerial or cable network to the TV ANT socket inside the front
panel of the TV set (see page 24).
The aerial socket (75 Ohms - VHF / UHF / cable) can be used for connecting an external aerial
or other equipment fitted with a modulator (video recorder, satellite receiver, etc.).
We recommend that you do not connect other equipment (video recorder, satellite receiver, etc.)
to your TV set to begin with, so as not to complicate the set-up procedure with the additional
steps involved. Connect them when you have finished setting up the channels by referring to
page 24 of this manual.
If you have a NexTView Link video recorder (refer to the connecting diagram at the end of this
manual, inside the cover), you must connect it to the AV1 socket of the TV set using a Scart cable
before proceeding to the initial set-up.
4.
Switch the TV on by pressing the on/off button
under the front panel of the TV set.
The TV set takes up to 40 seconds to come on.
Note: The first time you switch on the television, the language selection menu appears.
You will find a description of how to use the remote control on page 4.Then go to page 8
for information on the initial set-up, or to page 9 for information on manual set-up (if the
channels have already been set up on your TV).
Note: Before connecting other devices to the AV sockets, carry out the initial channel set-up
(described on the next page) in order to avoid any problems with equipment selection.
A
220 - 240 V ~ 50 Hz
Mains socket in
continental Europe
5A
Please respect the environment and the relevant regulations. Before you dispose of
batteries (or accumulators), ask your dealer whether they require special recycling and if
he is able to take them back.
Important: read carefully the sections “Specific precautions for DLP™
TV sets” on page 3 and “Switching the TV set on and off ” on page 10,
which give a detailed description of the procedure for switching the TV
set on and off.
Front panel
itc250s-en 27/08/04 18:01 Page 7


