


Other information
EN
25
Audio CINCH sockets (output) inside the front panel
These can be used to connect a stereo amplifier, a hi-fi system or amplified speakers (see
below).
AV3 audio and video CINCH sockets (input) at the front
or side
These can be mainly used to connect camcorders (VHS or 8 mm format).
S socket and AV3 audio CINCH sockets (input) at the
front or side
These can be mainly used to connect camcorders (S-VHS or Hi 8 format).
To display images using the equipment connected, press the
AV
button on the remote
control: once to select AV1, twice to select AV2 and three times to select AV3. For some
equipment (connected to the SCART sockets), this selection is done automatically.
Connecting headphones
Use the relevant socket on the front of the TV set to connect headphones or stereo
earphones. Refer to page 12 on how to adjust the headphone volume.
Connecting active speakers
The audio CINCH sockets inside the front panel of the television can be used to connect
active speakers (with a built-in amplifier) replacing the television’s built-in speakers.
Left and right speakers: connect the left speaker to the CINCH L socket and the right
speaker to the CINCH R socket.
Subwoofer: connect the subwoofer to the SUB-WFR socket.
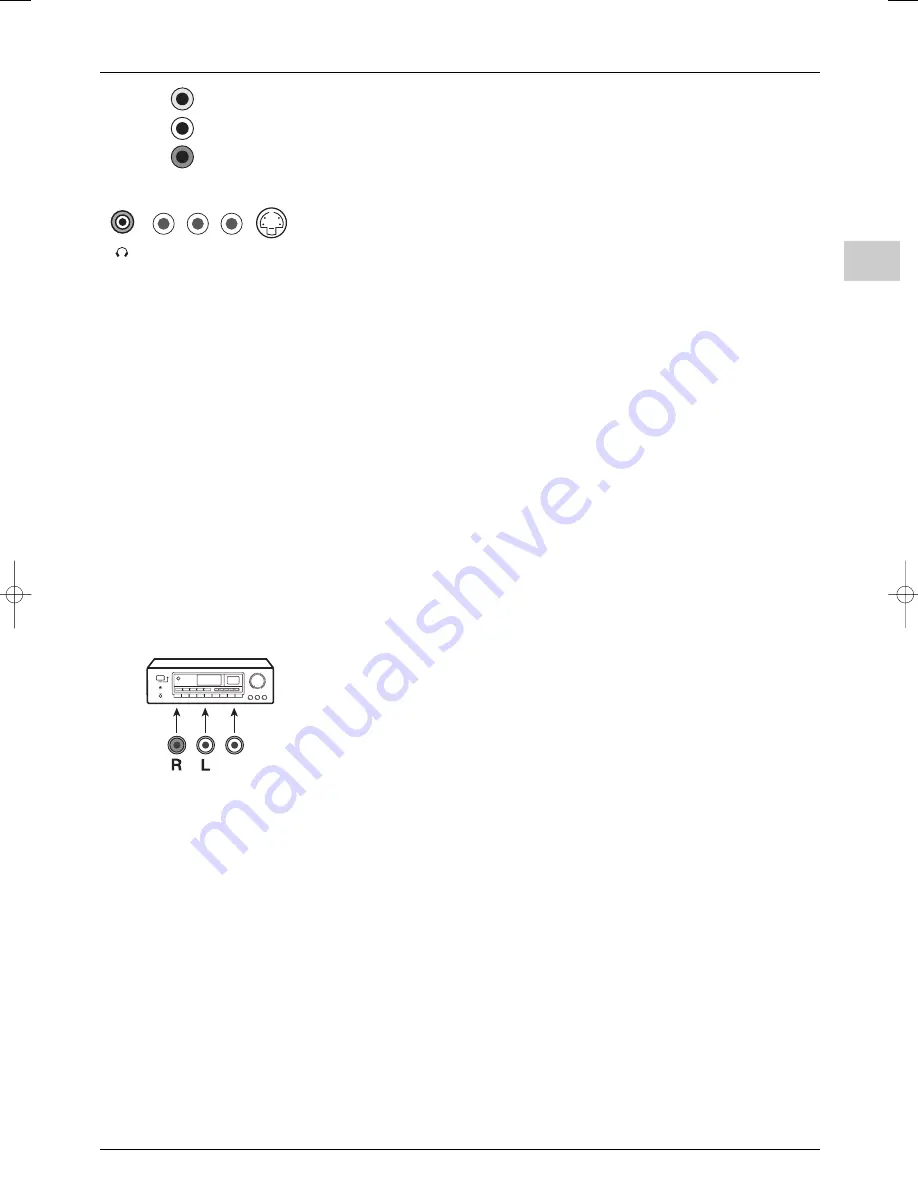
Connecting an amplifier
You can connect an amplifier and 2 speakers to replace your television’s side speakers:
Connect your television’s left L and right R CINCH sockets to the amplifier’s L and R
inputs. Configure the set as follows (see page 12):
Sound
menu
Set
menu
Sound type
:
Stereo
Left/Right speakers
:
External
Sound mode
:
Normal
Subwoofer
:
None
The television’s side speakers and subwoofer are now disabled. Adjust the volume using the
amplifier.
Connecting a video recorder
To obtain optimum picture quality, use a SCART cable. However, you can also connect a
video recorder to the television using the aerial socket.
Refer to the diagram on the inside cover at the end of the manual, which illustrates how
this is done.
If you connect a video recorder only via the aerial socket (without using the SCART
socket), switch it on and play a tape.
Then use the
Auto-update
option of the
Installation
menu to search for the video
recorder signal (refer to the Manual set-up section).
If you connect a video recorder via the aerial socket, you should assign channel 99 to it in
order to improve the picture quality when tapes are being played and in pause mode.
However, we recommend you connect your video recorder via the SCART socket, as it
provides better picture and sound quality.
L.
R.
AUDIO
VIDEO
S
R
L
SUB-WFR
SW
itc250s-en 27/08/04 18:01 Page 25


