Startup & the Setup Wizard
The Setup Wizard
3
-
14
DensityPRO User Manual
Thermo Scientific
16.
Enter the polynomial coefficients for polynomials A, B, C and D.
17.
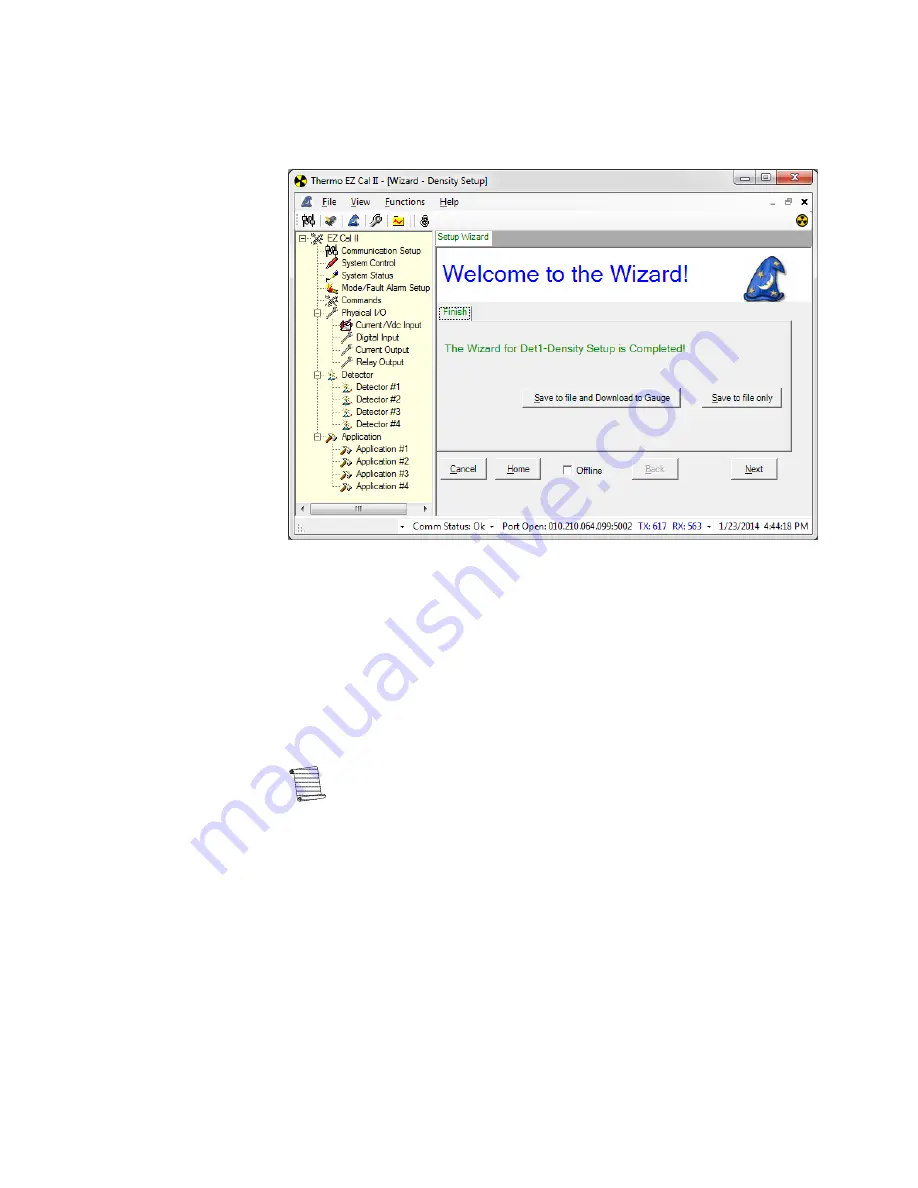
Click Next to complete Density Setup.
Figure 3-10.
Setup Completion
18.
Once the density setup is complete, the user may save the file to the computer, or
save the file to the computer and download it to the gauge by clicking the
appropriate button.
19.
Click the Next button to return to the Wizard Type Selection screen, Figure 3-5,
and complete the device configuration.
20.
The remaining gauge setup parameters can be configured from the Wizard Type
Selection screen by selecting Temperature Compensation, Standardization or
Gauge Calibration.
Note:
The Standardization and Gauge Calibration options only configure
these parameters. Configuring the parameters does not initiate any action.
Temperature
Compensation
Material density varies with temperature. In many applications, this variation is
insignificant. However, for certain materials, temperature compensation is required to
provide accurate density measurements as the process temperature changes.
Temperature compensation is used to compensate for the effects of process material
temperature variations. Gauges configured with the temperature compensation option
will display the process density corrected back to the customer-supplied reference
temperature.
Содержание DensityPRO NAI Series
Страница 2: ......
Страница 4: ......
Страница 6: ...This page intentionally left blank ...
Страница 8: ...This page intentionally left blank ...
Страница 14: ...xiv DensityPRO User Manual Thermo Scientific This page intentionally left blank ...
Страница 22: ...A xxii DensityPRO User Manual Thermo Scientific Quick Setup This page intentionally left blank ...
Страница 124: ...Operation Application Screens 4 72 DensityPRO User Manual Thermo Scientific Figure 4 39 High and Low Alarms ...
Страница 134: ......
Страница 158: ......
Страница 195: ......


