Telex Communications
19
Screen Item
Field Type
Description
different pages to edit page setups.
1. From the Keypanel/Port Settings drop down list,
select the keypanel type you are configuring.
Edit
button
Use the Edit button to open the Keypanel/Port Configuration
screen.
For more information on the Keypanel Port Configuration screen,
see Keypanel Port Configuration.
Gain Setup for Output
Port
button
Opens the Gain Setup for Output Port screen
1. Click the Gain Setup button.
The Gain Setup for Output Port screen appears.
For more information on Gain Setup, see Gain Setup for Output
Port.
Port Status
icon display
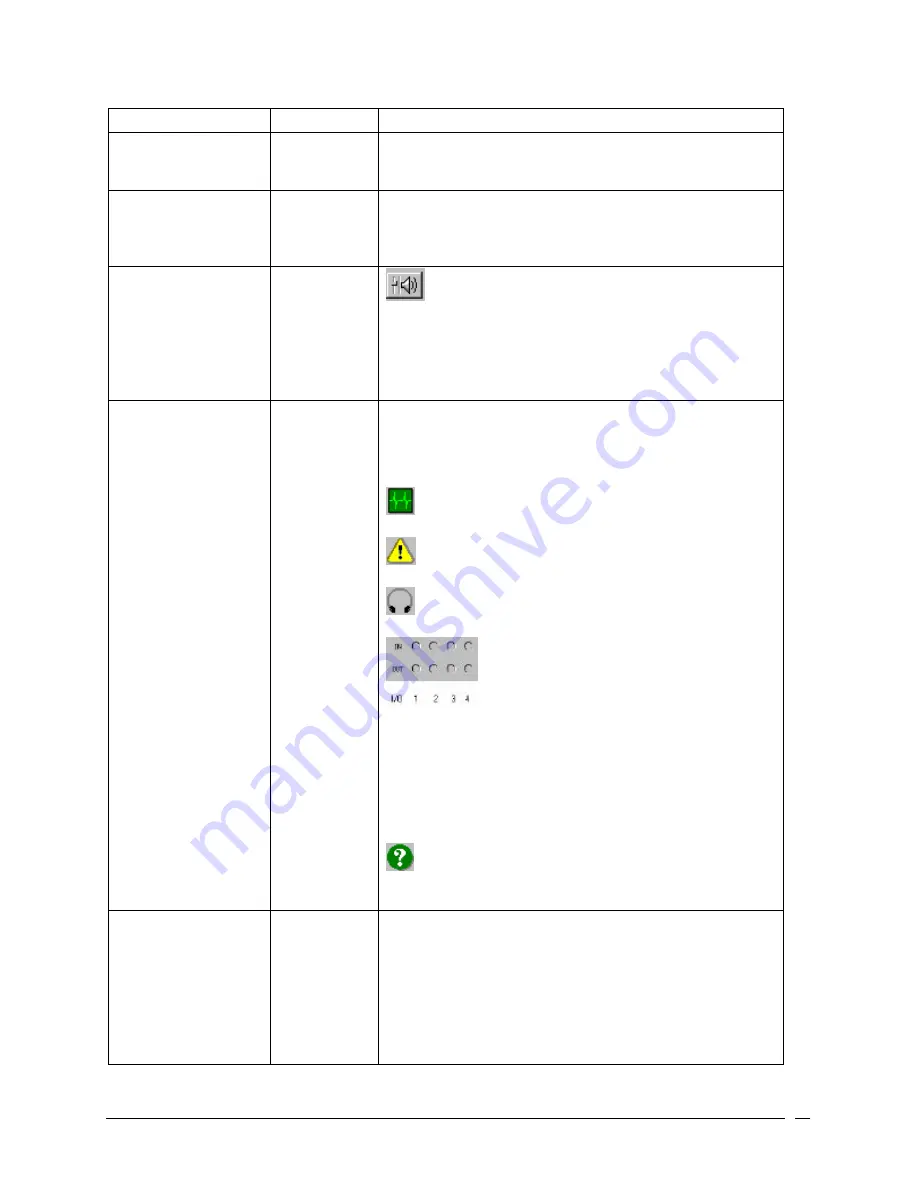
The following informational icons are displayed in the Port
Status group (located in the upper-right corner of the Keypanels
/ Ports screen): Most of these icons are activated based on
keypanel features detected by the intercom system master
controller.
Heartbeat Icon: Indicates a data device (keypanel, TIF, or
Camera Delegate Panel) is connected to the intercom port.
Warning Icon: Indicates the intercom port is defined as an
IFB output (in the IFB Setup screen).
Headset Icon: Indicates the connected keypanel has a
headset selected.
LED Icons: Indicate the on/off state of any local
GPI inputs and outputs. These indicators function only when a
keypanel with a local GPI port is connected, and the operation is
controlled by UPL
Green = ON (Asserted)
Red = OFF (Inhibited)
Gray = None
IN = GPI Input
OUT = GPI Output
Question Mark Icon: Indicates the keypanel type selected
(with the Edit button) does not match what is reported by the
intercom.
Listen Keys
check box and
text field
The Listen keys are assigned different ports or alphas. These
alphas can only listen on these keys.
Use the D and/or R check box to either latch disable or restrict
the alpha assigned to that key.
1. In the Listen Key 1 text field, enter the alpha or port
number you wish to assign to the key.
2. Select the relevant D check box to disable the key
Содержание Azedit
Страница 1: ...1 9350 7532 000 Rev A October 30 2003 ...
Страница 2: ...2 ...
Страница 3: ...3 ...
Страница 4: ...4 This Page left Intentionally Blank ...
Страница 15: ...Telex Communications 15 ScreenDescriptions ...
Страница 133: ...Telex Communications 133 ...
Страница 134: ...Telex Communications 134 Appendix A AZedit Keyboard Shortcuts ...
Страница 138: ...Telex Communications 138 ...
Страница 139: ...Telex Communications 139 Appendix B AZedit Quick Start ...
Страница 143: ...Telex Communications 143 ...
Страница 177: ...Telex Communications 177 W Warn on Exit A Warn on Exit message appears to confirm whenever you attempt to exit AZedit ...


