Chapter 04:
Using Your eo TufTab with Windows XP
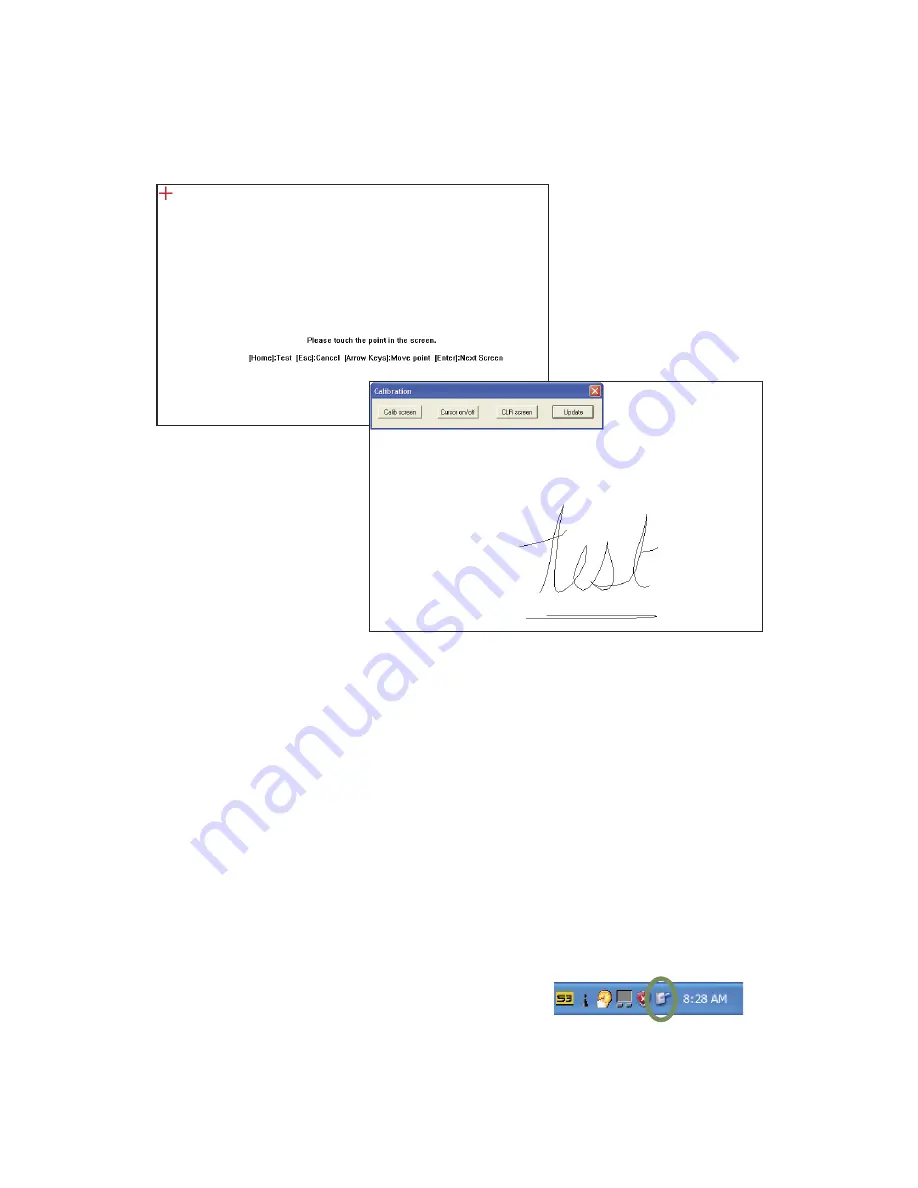
judge the screen’s tracking relative to the position of the
pointer. “Tap “CLR screen” to clear the screen of your
drawing.
4.
When your are happy with the calibration results, tap the
“Update” button to complete the calibration and return to
the Touch Panel Utility.
NOTE: Do not check the “Use onboard EEPROM to store calibration
result”. This EEPROM is not used on the eo TufTab and the pointer
will not accurately track your stylus if this option is enabled.
Programming the Function Buttons
Your eo TufTab has two user-programmable function buttons
located on the front panel to the right of the display screen. See
the chapter
Touring Your eo TufTab
to
locate the function buttons. You can
use the “Tablet and Pen Settings”
panel, located in the system tray, to
reprogram the buttons to activate a
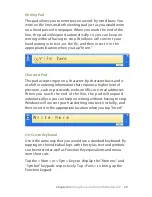
Touch Screen Calibration
Routine: Tap in the center
of the red crosses as they
appear to calibrate the
touch screen’s input.
Touch Screen Draw Test:
Draw on the screen with
the stylus to test the
screen’s accuracy after
calibration.
Double-tap this icon to
launch the “Tablet and
Pen Settings” panel.


