WiseScript Package Editor Reference
235
Creating Custom Billboards
Editing Billboard Polygon Objects
The polygon object consists of a series of points that are connected by lines.
1. Access the Custom Billboard Editor.
See
Accessing the Custom Billboard Editor
on page 230.
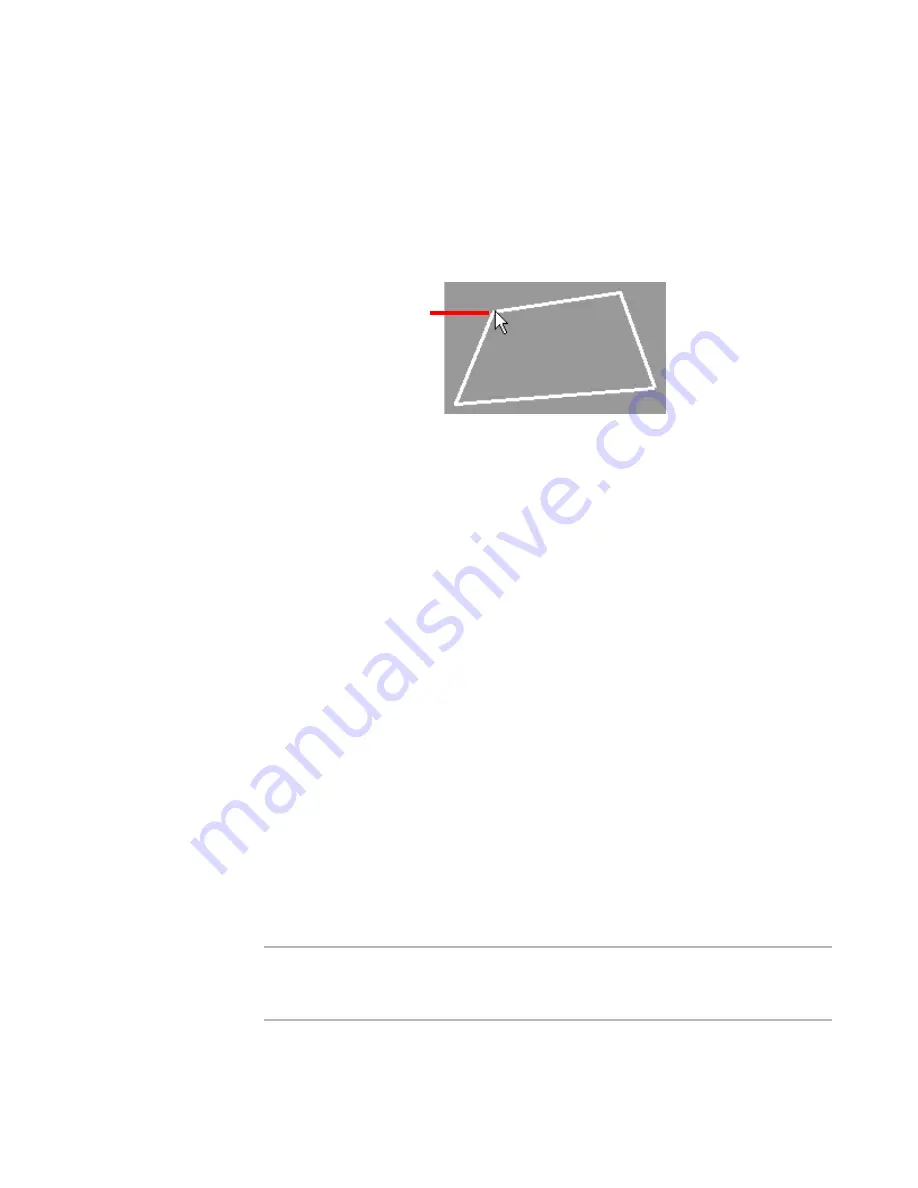
2. Select Add menu > Polygon, click where the points should be located, and close the
polygon’s path by double-clicking on the starting point.
When you double-click the mouse button, the Polygon Settings dialog box opens.
3. Complete the dialog box:
Line Style
Choose the texture for the line that outlines the polygon.
Fill Style
Select a pattern to fill the object.
Line Width
The width of the object’s outline in pixels.
Polygon Points
The list of points that define the polygon’s vertices. Click Delete to delete a
selected point, or use the X and Y fields to move the selected point to new
coordinates.
Line Color / Fill Color
Click Pick to choose a color for the line and fill.
4. Click OK.
Editing Billboard Bitmap Objects
Use the Bitmap object to import bitmaps into a custom billboard. Use the text tool in the
Custom Billboard Editor to add captions and content to the bitmap, rather than making
the text part of the bitmap, so that you can edit the text later.
The Custom Billboard Editor supports 256-color and true-color bitmap (.BMP) files.
When using multiple bitmaps, it is important that they all be created using the same
graphics editor so the files share a common color palette. Otherwise, the colors can shift
when the bitmaps display on-screen.
Note
Imported bitmap objects can appear distorted when the billboard is run with the Scale
to Screen option enabled on the Billboard Settings dialog box. This is not true of objects
created in the Custom Billboard Editor.
1. Access the Custom Billboard Editor.
Closing the polygon.
Содержание WISESCRIPT PACKAGE EDITOR 8.0
Страница 1: ...WiseScript Package Editor Reference ...


