


39
S
Visum LED - HyperTerminal Screen
This screen indicates that a connec-
tion has been established between
your laptop and the Visum LED
system.
9.4.4
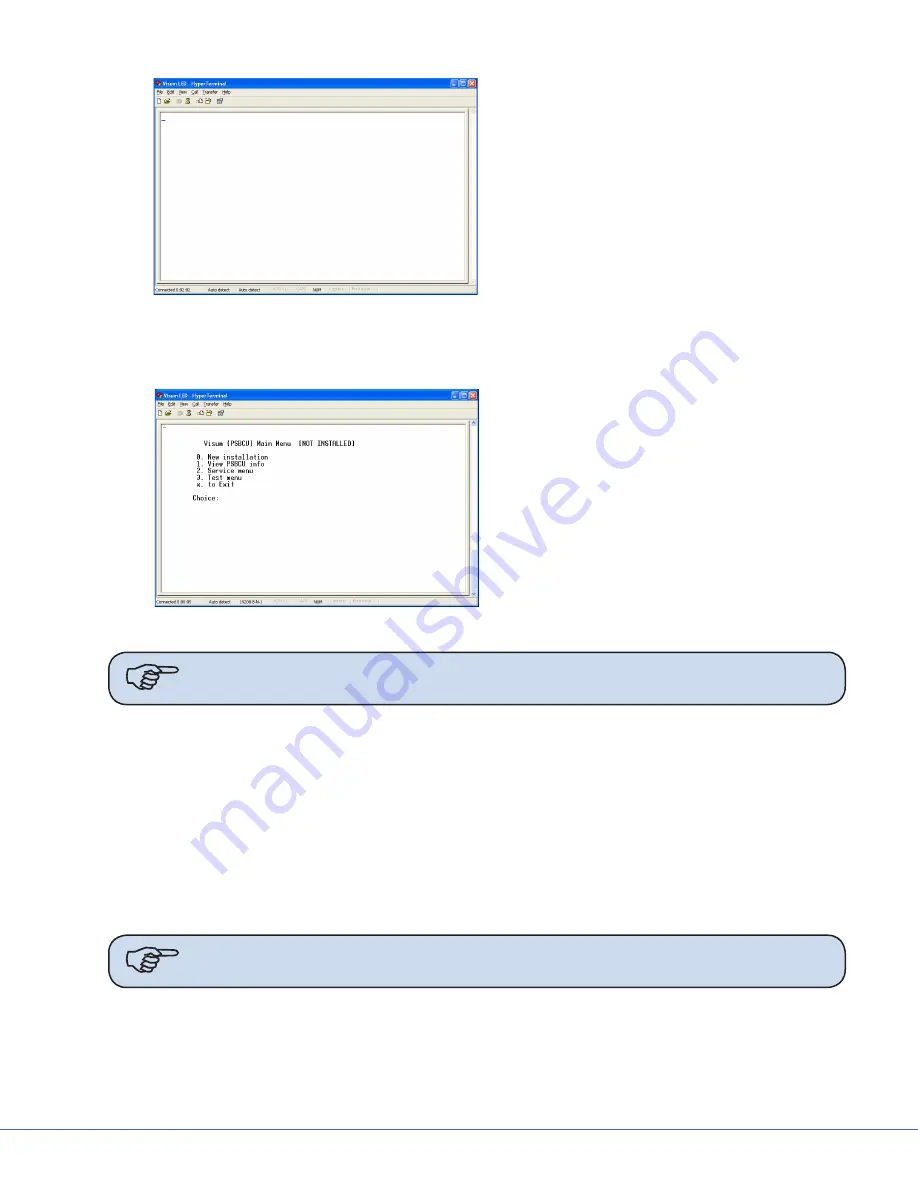
Visum LED Main Menu
Visum LED Main Menu
To view the Main Menu, press “~” on the
laptop keyboard. The Visum LED Main
Menu should display.
The following information can be accessed
from the main menu:
•
New Installation
•
Service Menu
•
View power supply boxCU info
•
Test Menu
Note
Notice that [NOT INSTALLED] displays after the menu name in the figure above
to indicate the LED Light System has not been installed.
9.4.5
New Installation
To set up a new installation press “0” on your keyboard. The system will prompt you to provide the fol-
lowing information:
•
Region Number
•
Account Number
•
Location of the Installation (room number or operating room number)
•
Light Indication: L1 and L2 or L3 and L4.
•
Finished Installation, Are you sure ‘y’ or ‘n’ (program is case sensitive)
Note
Obtain the Region Number and Account Number from your Project Manager if
this information is unknown to you.
The system completes the installation after your response to the last inquiry. Enter <x> to exit the
installation.
The installation is successful if the LED lights on the Wall Control Unit are not flashing.
Содержание MMP200
Страница 2: ......
Страница 4: ......
Страница 68: ...68 S 5 Ensure that the cover 5 and the retaining screws 4 are fixed securely Adjusting the Mounting Flange ...
Страница 106: ...106 S Front View of Connector ...
Страница 125: ... 125 S Schematics of Bladder Installation at Bearing 2 Raceway ...
Страница 140: ...140 S 18 Servicing the LED Refer to Visum LED Surgical Lights Service Manual 1004400195 for servicing instructions ...
Страница 148: ...148 S ...
Страница 149: ...Stryker Communications 1410 Lakeside Pkwy Flower Mound TX 75028 t 972 410 7100 www stryker com ...


