background image


EyeLink II Scene Camera User Manual 

©

 2004-2007 SR Research Ltd.    


29

on the eyelink2\exe directory for the “vidovl.ini” and “scenecam.ini” files.  
Make sure both files are present.  Also, open eyelink2.ini to make sure  
the following two lines are included in the file. 

include "vidovl.ini"   

// vidovl settings 

include "scenecam.ini" 

// scene camera setting 


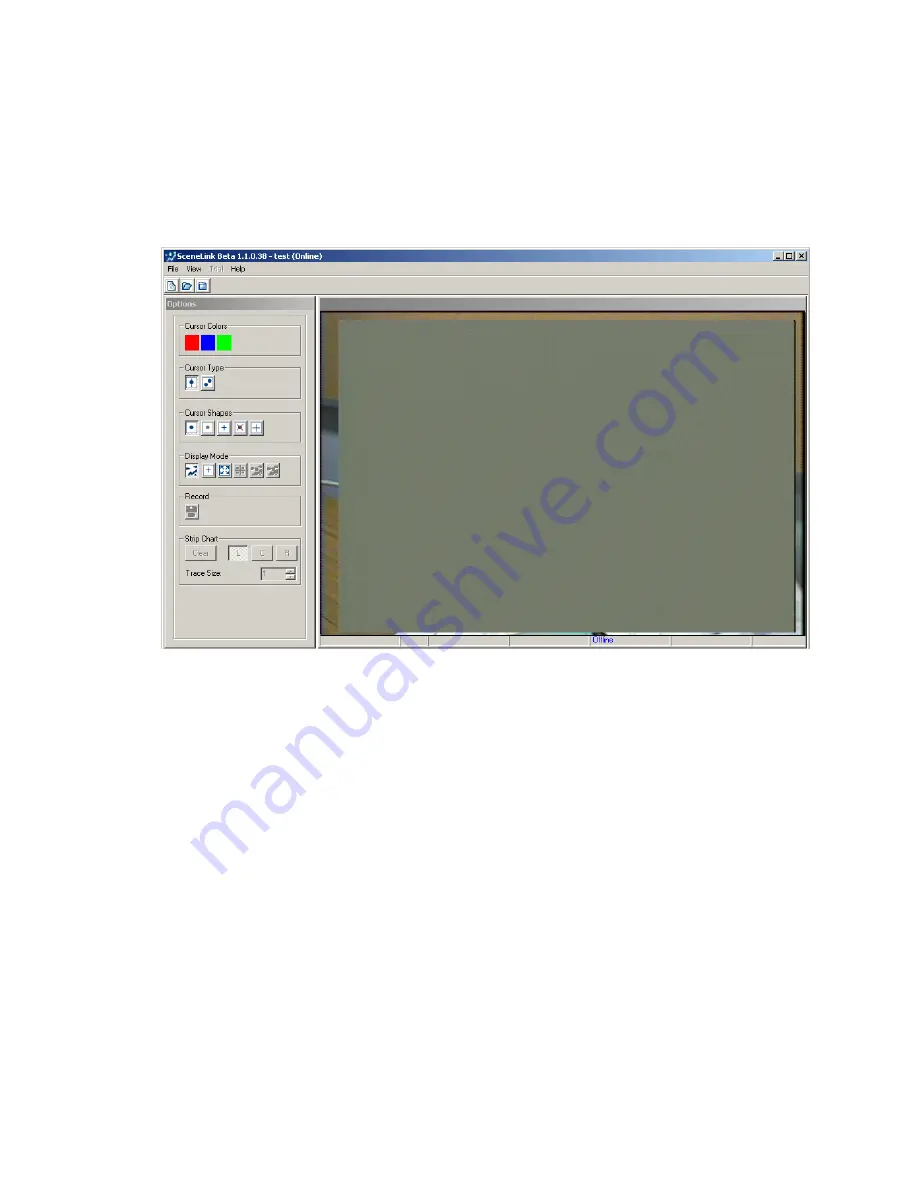
Figure 


3-14. Gray Background Over Video, Check 

EyeLink2 Settings 

Содержание EyeLink II

Страница 1: ...EyeLink II Scene Camera User Manual SceneLink Application version 1 2 1 Copyright 2004 2007 SR Research Ltd EyeLink is a registered trademark of SR Research Ltd Toronto Canada...

Страница 2: ...2 5 Record Screen 15 2 5 1 Purpose 15 2 5 2 Main Functions 15 2 5 3 Key Shortcuts 16 3 Setting up and Configuring the SceneLink Application 17 3 1 System Requirements 17 3 2 Installing Scene Camera 17...

Страница 3: ...with Third Party Recording Devices 44 4 8 3 Performing Online Drift Correction 45 4 8 3 1 Online Drift Correction from the Display PC 45 4 8 3 2 Online Drift Correction from the Host PC 46 4 9 Record...

Страница 4: ...onnection 24 Figure 3 8 General Tab of the Preferences Dialog Box 25 Figure 3 9 Strip Chart Tab of the Preferences Dialog Box 25 Figure 3 10 Advanced Tab of the Preferences Dialog Box 26 Figure 3 11 O...

Страница 5: ...48 Figure 4 16 Error in Closing a Recording Session 49 Figure 5 1 Creating Lookup Table for a Recording 50 Figure 5 2 Error in Finding Fame to Time Lookup Table 51 Figure 5 3 Scene Camera Recording Pl...

Страница 6: ...0 Frames 60 fields of scene video recording per second The scene video is streamed to an external video overlay box which can be used to superimpose real time overlay graphics current gaze position ti...

Страница 7: ...an be performed The current chapter serves as a supplement to the EyeLink II User Manual and only highlights those operations and components that are relevant to the use of scene camera option on the...

Страница 8: ...ease and decrease threshold If available use the arrow buttons to manually increase or decrease the selected camera s corneal threshold Keys and increase decrease corneal reflection threshold If avail...

Страница 9: ...nd to move left or right on image row Select the eye s to track during recording Here the Right eye is selected Press the Lock Tracked Eye button to lock the current selection on the display PC Keys R...

Страница 10: ...ng you need to Calibrate the system Keys C go to Calibrate screen Select Validation to be taken to the Validation Screen Validation allows you to get a sense of the gaze position accuracy of your Cali...

Страница 11: ...r recording Keys Z go to Scene Camera Depth Setup screen 2 1 3 Key Shortcuts Key Function and Select between left eye camera head camera and right eye camera R Select Right eye for recording L Select...

Страница 12: ...2 2 1 Purpose This screen Figure 2 2 is used to perform video overlay or scene camera setup This is essential to ensure accurate gaze position mapping onto the scene camera overlay display 2 2 2 Main...

Страница 13: ...These buttons are related to the scene camera setup operations Scenecam Align Pressing this button will take the use to the Scene Camera Alignment Screen see section 4 3 for details Scenecam Mode If e...

Страница 14: ...de is selected the timecode displays the milliseconds elapsed since the start of the trial No timecode will be shown if Off is selected Keys T Select timecode type Video Ref Pattern Will be used by fu...

Страница 15: ...aze cursors are drawn separately for each eye Keys B Binocular or Cyclopean cursor 2 2 3 Key Shortcuts Key Function G Gaze cursor type C Gaze cursor color T Timecode type X No feedback cursors in the...

Страница 16: ...lens type then using the mouse to place the four boxes around the four IR markers on the calibration monitor The alignment should be done anytime the relative position of the scene camera changes fro...

Страница 17: ...he camera lens type Make sure this setting matches exactly with the actual type of lens installed in the scene camera Keys L Select the scene camera lens type 2 3 3 Key Shortcuts Key Function L Select...

Страница 18: ...ess Return to the EyeLink II tracker setup screen Keys Enter return to camera setup Press Help F1 to access the online help page for Camera Setup All available key shortcuts are also listed on the Hel...

Страница 19: ...ous parameters By clicking this button again both the previous data points and the more recent data points collected will be kept Note that this button will only be visible following an initial depth...

Страница 20: ...to be recorded and other output related options This mode see Figure 2 5 always precedes manual entry into Output mode to allow parameter preview 2 5 2 Main Functions Stops the recording of data to th...

Страница 21: ...ed see section 4 8 for full details Keys F Online offset correction 2 5 3 Key Shortcuts ESC Exit to output screen CTRL ALT A Abort trial menu F Online offset correction B Cyclopean binocular display A...

Страница 22: ...isplay PC Please note that ADVC 100 or 110 is required for scene camera recordings with audio A fast display computer 2 0 GHz or faster CPU and at least 512 MB RAM with two large hard disks installed...

Страница 23: ...amera bracket see Figure 3 1 Figure 3 1 Remove Screws on the Head Camera Bracket Insert the scene camera bracket between the head camera bracket and the head camera clamp see Figure 3 2 Align the hole...

Страница 24: ...cene Camera Cables Loosen the screws of the scene camera and angle the scene camera appropriately so that it sees as much of the scene of interest as possible and then tighten the camera screws 3 3 Wi...

Страница 25: ...er and VGA OUT to the monitor of the host Next connect the scene camera output to the overlay input and the overlay output to the Canopus DV converter box with proper cables Figure 3 5 illustrates the...

Страница 26: ...o the computer If you are using the ADVC 100 Converter box or you are using a laptop as display PC please plug in the AC adapter of the DV converter box If you use the ADVC 55 or ADVC 110 Converter bo...

Страница 27: ...les and add a number of extra files final ini scenecam ini and vidovl ini The vidovl ini and scenecam ini contain all of the settings for using the video overlay option and scene camera option respect...

Страница 28: ...Files SR Research EyeLink bin folder if you have installed the Windows Display Software https www sr support com forums showthread php t 6 Run the scenelink exe installer supplied by SR Research Ltd...

Страница 29: ...u of the application will be disabled This means that the scene camera application can be used to play back previous recordings but not perform new recordings 3 6 Configuring SceneLink Options If this...

Страница 30: ...function of the current tracker time see section 4 11 The duration of the gaze history 5 30 seconds can be adjusted from the slider bar control The frequency of data updating Refresh Rate in times pe...

Страница 31: ...tab of the preferences dialog box see Figure 3 10 In addition the user can set the foreground and background colors of the calibration screen Figure 3 10 Advanced Tab of the Preferences Dialog Box 3...

Страница 32: ...quality you may turn the audio volume down while recording so that the high frequency noise does not occur or you do not hear an echo You may turn the volume up when playing back the recording sessio...

Страница 33: ...er Graphics 3 7 2 Seeing a Gray Screen If you see a gray screen with part of video visible at the four edges of the video window see Figure 3 14 and you don t find Video Setup Scenecam Align and Scene...

Страница 34: ...r the vidovl ini and scenecam ini files Make sure both files are present Also open eyelink2 ini to make sure the following two lines are included in the file include vidovl ini vidovl settings include...

Страница 35: ...e camera system setup again Has the cap of the scene camera been removed Have you plugged in the right power adapter of the scene camera Have you connected the video cable from the scene camera to the...

Страница 36: ...ADVC 100 or 110 converter the blue light indicator on the front will be set at Digital In mode by default Press the silver input select button to switch video input mode to Analog In If you are using...

Страница 37: ...ows for greater flexibility in scene camera data recording and playback With this application the user has a real time gaze overlay preview during recording and can change the gaze cursor and shape on...

Страница 38: ...Settings Important If you see any menu items of the EyeLink host PC screen shown in the video please make sure Button 5 of the overlay remote control has been pressed to zoom in the host PC video outp...

Страница 39: ...ich is indicated by the crawling box Note also the drawing of a square with arrows located just inside the top left or bottom right corner of the crawling box Click the select button on the dialog box...

Страница 40: ...reference boxes do not appear the user may need to adjust the values of the Vertical and Horizontal brightness threshold downwards by 10 and then click on the Detect button again Repeat this step unt...

Страница 41: ...era is used for the first time By performing the alignment the gaze accuracy on the overlay display at the calibrated depth is ensured To perform the alignment From the Camera Setup Screen of the host...

Страница 42: ...here is only one marker in each quadrant of the overlay display separated by colored lines and that each marker is reasonably distant from other markers see Figure 4 6 Avoid having the markers showing...

Страница 43: ...can then be performed on several depth levels in the target space e g by fixating at several points on a desk If a recording must be done in a monocular mode for some reason try to perform the calibr...

Страница 44: ...on 4 5 1 Calibration Colors The colors of the calibration target and background can be configured through preferences prior to starting a recording session Click View Preferences from the application...

Страница 45: ...button The modified settings will be used for the current session Always redo a calibration if the physical setup values are updated Enable the Automatically send physical and marker cords for future...

Страница 46: ...th correction behaving like a drift correction point performs a global offset adjustment and changes the value of offx and offy in the fitting function The subsequent data points change the correction...

Страница 47: ...ssary by entering this mode again When in the depth correction mode several active or grayed buttons grouped under Depth Correct are displayed in the left panel of the scene camera application If the...

Страница 48: ...nd stop recording operations should be done on the display PC only Figure 4 10 Recording Screen In the recording display the gaze cursor will be overlaid on the scene camera image with the calibrated...

Страница 49: ...fix this issue 1 Close the current experiment session From the application menu bar click View Preferences and select the Advanced tab of the preferences dialog box Set the Time Code Threshold to a lo...

Страница 50: ...ith a SCENELINK_TTL IN START_TTL message in the EDF file The end signal will immediately stop the eye tracker recording this signal is marked with a SCENELINK_TTL IN END_TTL message in the data file P...

Страница 51: ...the host PC which will flash periodically if enabled see Figure 4 10 Move the mouse cursor yellow circle of the host PC over the intended drift correction target on the scene camera video preferably...

Страница 52: ...g Messages edit box if enabled allows the user to send a message to the EDF file at the beginning of each recording trial The Calibrated area box if checked will display the calibration area drawing F...

Страница 53: ...ke sure the View Strip chart option on the application menu is checked Figure 4 15 SceneLink Strip Chart Window Several aspects of the strip chart display can be modified User can choose to display th...

Страница 54: ...rogress see Figure 4 12 Press the Record button to stop recording before the session can be closed Figure 4 16 Error in Closing a Recording Session 4 12 Exiting the SceneLink Application Before exitin...

Страница 55: ...ecent sessions SceneLink recording sessions are listed in the File Recent Sessions menu This will prompt for an EDF file name Go to the directory where the EDF files are stored and select the target f...

Страница 56: ...camera video file s are loaded without any problem the beginning of the first trial is displayed in the video window The following buttons can be used to control the playback behaviors for each trial...

Страница 57: ...gaze position between the two eyes If the corresponding ETT file which contains the frame time lookup table is not found for the trial the conversion between EDF time and scene frame is not supported...

Страница 58: ...SceneLink recording containing multiple trials navigation between trials can be done through the Trial menu see Figure 5 4 User can jump to a particular trial by choosing Trial Select option 5 3 Savi...

Страница 59: ...e scene video see section 5 1 the EDF2ASC converter can also be used to insert scene camera frame number messages in the ASC file The following command line switches can be used with the EDF2ASC conve...

Страница 60: ...at the start of the eye event VIDEO_FRAME_INDEX_END Index of the video frame that was visible at the end of the eye event VIDEO_NAME_START Name of the video frame that was visible at the start of the...

Отзывы: