EyeLink II Scene Camera User Manual
©
2004-2007 SR Research Ltd.
8
screen.
Keys: F1 = open Help screen
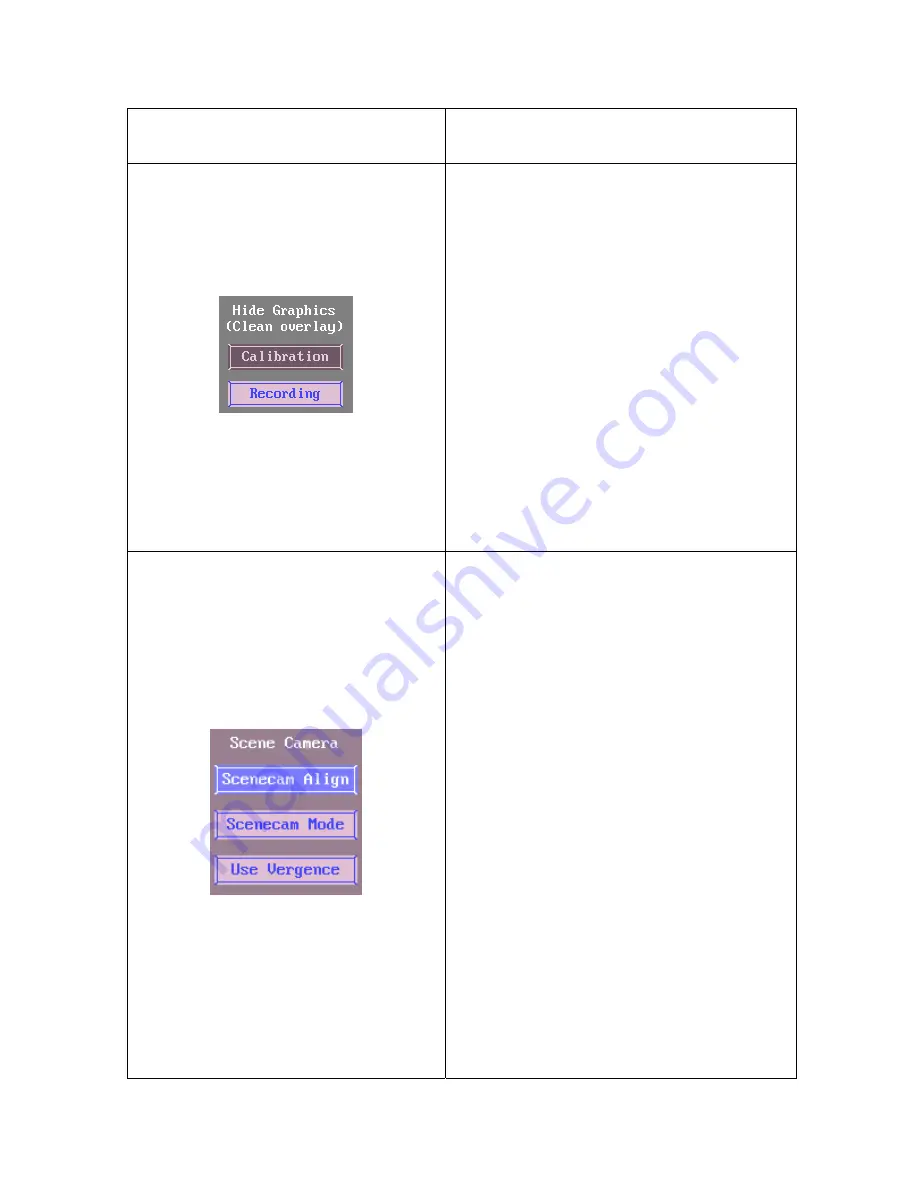
If “Calibration” button is disabled,
additional feedback values are printed
out on the overlay graphics during
validation.
If the “Recording” button is disabled, the
user-drawn graphics can be drawn on
the host PC screen and therefore
displayed behind the gaze cursor during
recording. These graphics may aid
analysis or serve illustrative purposes.
Keys:
X = Toggle feedback/cursors in
calibration/validation screen.
R = No user-drawn graphics in recording
These buttons are related to the scene
camera setup operations.
“Scenecam Align”: Pressing this button
will take the use to the Scene Camera
Alignment Screen (see section 4.3 for
details).
“Scenecam Mode”: If enabled, will apply
adjustments to the gaze cursor position
in the overlay graphics, taking into
consideration the scene camera
alignment settings, as well as the camera
distortion correction. This mode should
be enabled for a recording using the
scene camera for tracking gaze positions
involving different scene depths. With a
recording using the standard overlay
mode, “Scenecam Mode” button should
be disabled – as a result, the “Scenecam
Align” and “Use Vergence” buttons will
also be disabled on the camera setup
screen.
“Use Vergence”: If enabled, depth


