EyeLink II Scene Camera User Manual
©
2004-2007 SR Research Ltd.
27
Figure
3-11. Openning a Recording Session.
Click on “File
→
Open Record Session” to start a scene camera recording
session. (If this menu option is disabled, please see section 3.5 “Checking
Firewire Connection”.) This will bring a dialog box, prompting for a recording
session name (see Figure 3-11). The recording session name should contain no
more than eight ASCII characters (no space or special characters allowed).
Enter the filename and press “OK” button. If you want to record audio data as
well, make sure the “Enable Audio Stream” box is checked. To get better
quality, you may turn the audio volume down while recording so that the high
frequency noise does not occur or you do not hear an echo. You may turn the
volume up when playing back the recording session.
If you see a “connection timed out” or “EyeLink Not Initialized” error message,
please make sure the EyeLink II program is running on the host PC. If
necessary, also check your network settings and the ethernet cable connection
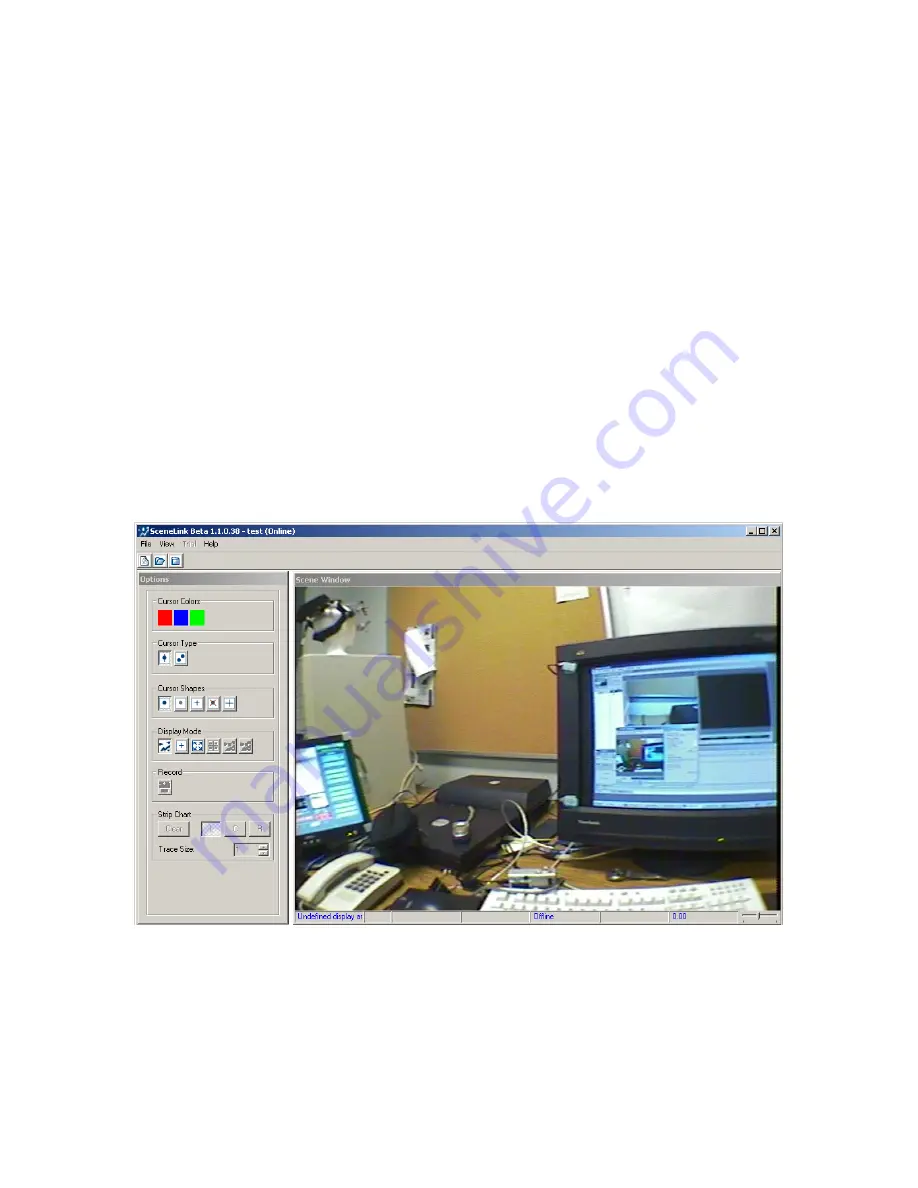
between the host and display PCs. If everything runs fine, the video from the
scene camera should now be displayed on the main window of the SceneLink
application (see Figure 3-12).
Figure
3-12. Initial View of the SceneLink Application
The following sections illustrate initial screens the user may see if the scene
camera option is not properly set up:
•
Seeing tracker graphics (section 3.7.1)


