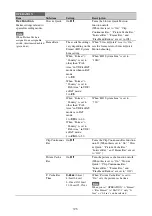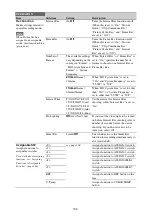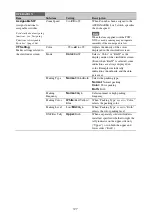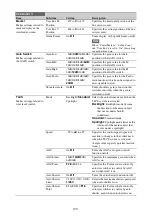
119
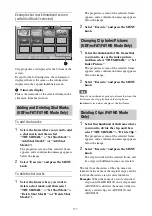
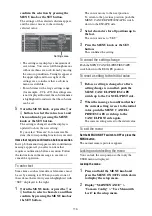
Adding an item and all sub-items
1
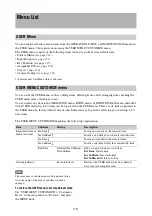
Display the USER MENU
CUSTOMIZE menu.
The currently registered menu items are
displayed.
2
Select the item in the position where you
want to insert an item, then press the
MENU knob.
3
Select “Ins Item
R
” or “Ins Item
r
,” then
press the MENU knob.
Ins Item
R
:
Inserts an item above the selected
item.
Ins Item
r
:
Inserts an item below the selected
item.
A list of the items that can be added is
displayed.
4
Select the item you want to add, then
select “Execute” and press the MENU
knob.
The selected item and all its sub-items are
inserted in the position specified in steps
2
and
3
.
Adding an item and selected sub-item
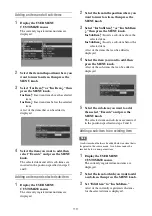
1
Display the USER MENU
CUSTOMIZE menu.
The currently registered menu items are
displayed.
2
Select the item in the position where you
want to insert an item, then press the
MENU knob.
3
Select “Ins SubItem
R
” or “Ins SubItem
r
,” then press the MENU knob.
Ins SubItem
R
:
Inserts a sub-item above the
selected item.
Ins SubItem
r
:
Inserts a sub-item below the
selected item.
A list of the items that can be added is
displayed.
4
Select the item you want to add, then
press the MENU knob.
A list of the sub-items that can be added is
displayed.
5
Select the sub-item you want to add,
then select “Execute” and press the
MENU knob.
The selected item and sub-item are inserted
in the position specified in steps
2
and
3
.
Adding a sub-item to an existing item
Note
A sub-item should always be added below an item that is
its parent in the source menu. A sub-item cannot be
inserted below a non-parent item.
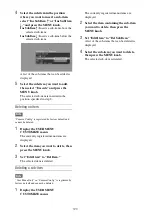
1
Display the USER MENU
CUSTOMIZE menu.
The currently registered menu items are
displayed.
2
Select the item to which you want to add
a sub-item, then press the MENU knob.
3
Set “Edit Item” to “Ins SubItem.”
A list of the currently registered sub-items
for the selected item is displayed.
Содержание PXW-X320
Страница 223: ......


