Page 28
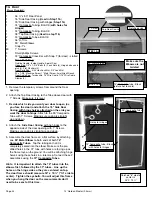
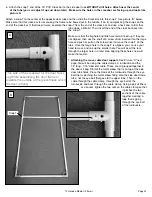
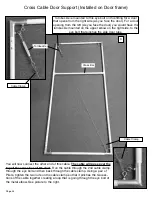
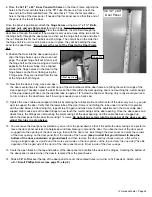
12’ Garden Master (3.5mm)
D
E
F
I
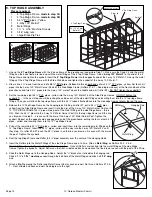
Lock cam touching the door
casing
16.
Inside Door Handle
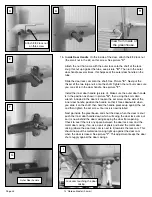
On the inside of the door, attach the 8/32 lock nut
(the small nut in the kit) on this screw. See picture
“C”
.
Attach the nut that came with the outer lock onto the shaft of the lock,
snug this nut up against the tube, see picture
“D”
. Then turn the outer
door handle several times, this helps seat the outer door handle on the
tube.
Slide the door lock cam onto the shaft. See Picture
“E”
. Next put the
thicker of the two large nuts onto the shaft. Tighten the nut but make sure
you can still turn the door handle. See picture
“F”
.
Install the inner door handle (picture H). Make sure the outer door handle
is in the position as shown in picture
“G”
, then using the 4mm allen
wrench included in the door kit, loosen the set screw on the side of the
inner door handle, position the handle so that it faces downward when
you slide it on the shaft, then hold the handle pressed up against the nut
and then tighten the set screw. Your lock is now installed.
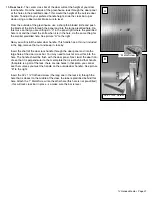
Next go inside the greenhouse and shut the door, when the door is shut
push the inner door handle down which will swing the door lock cam out
so it is now behind the door casing keeping the door from opening.
Check to see if there is any space between the door lock cam and the
metal door casing, if so, use a pair of pliers and bend the metal door
casing (where the door lock cam is next to it) towards the lock cam. This
should now put the metal door casing right up against the door cam
when the door is closed. See picture
“I”
. This adjustment keeps the door
shut snuggly against the door casings.
C
Attach 8/32 lock nut
on this screw
Outer Door handle
G
View from Inside of
the greenhouse.
H

