12’ Garden Master, Page 25
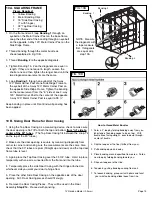
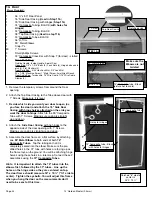
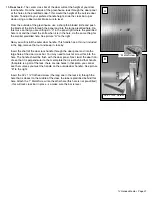
8. Place the
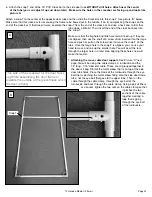
36 1/2” x 80” Door Panel with holes
on the Door Frame, aligning the
holes in the Panel with the holes in the
75”
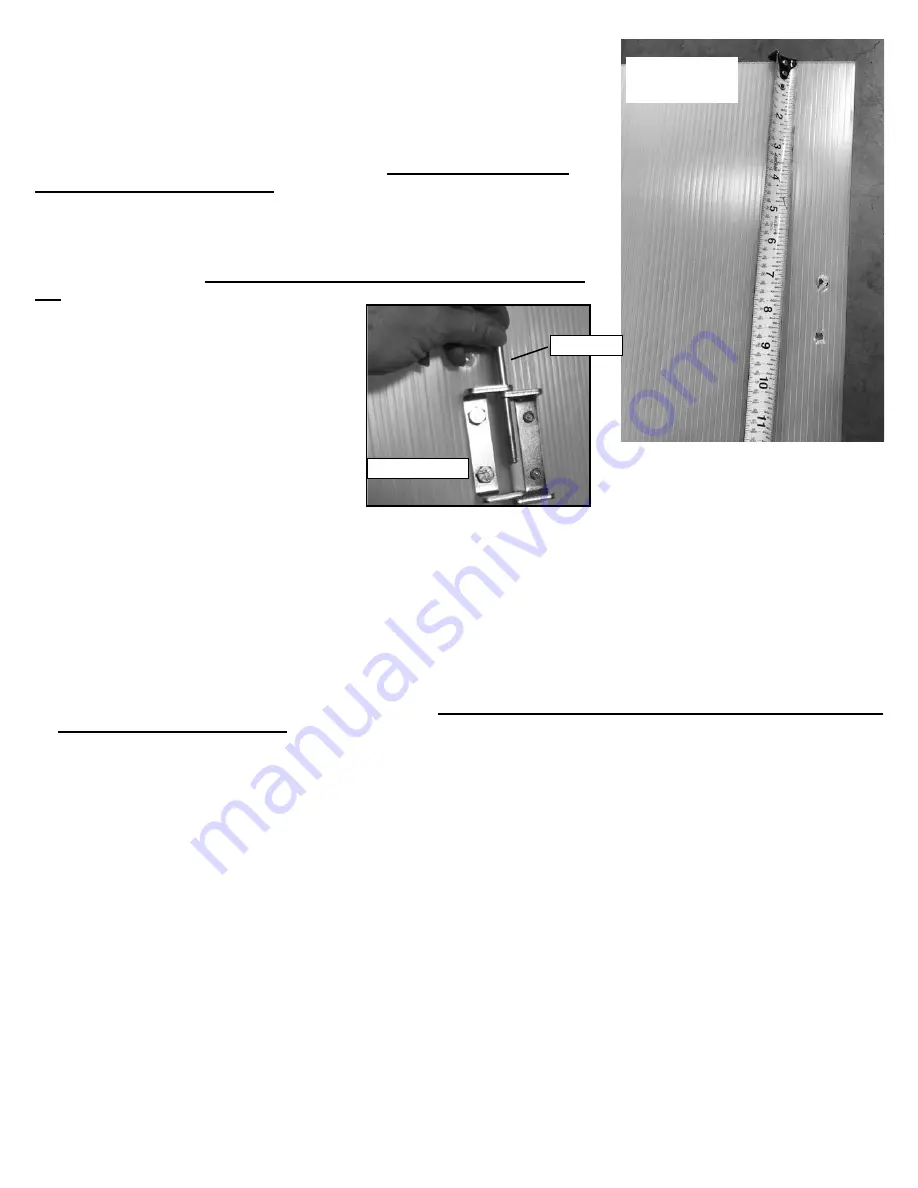
Tube. Measure in from one of the
two ends to the first predrilled hole. The side that is 7” from the first predrilled
hole is the top of the door panel. If needed, flip this panel over so that this end of
the panel is the top of the door.
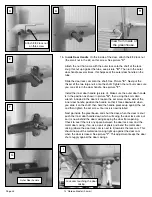
Once the panel is positioned, attach the
hinge halves
using two
¼” x 1 ¾” Bolts
,
two lock nuts and one flat washer
for each hinge.
See next page for washer
placement and hinge attachment.
From the underside, Insert a bolt through the
door frame, through the washer (The washer is only used on one of the two bolts for
the hinge half), through the door panel and then put the hinge half on top and attach
the nut. Repeat this for the 2nd bolt and 2nd hinge. The nut will be on the side that
the hinge half is on. Once all 4 bolts are put in place, they will be holding the door
panel to the door frame.
Do not screw the rest of the Panel to the Door Frame
yet.
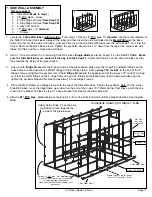
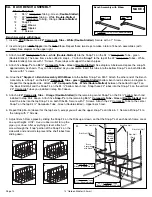
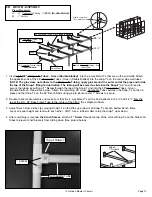
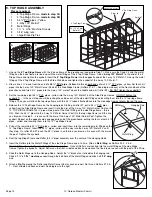
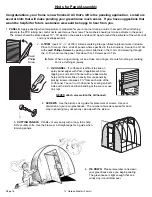
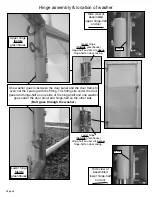
9. Position the Door into the door opening and
align the hinge halves up as shown on next
page. The upper hinge half will sit on top of
the hinge half on the door casing and it will be
opposite for the lower hinge. Once aligned
connect the hinge halves on the Door to the
hinge halves on the Door Casing using the
2 hinge pins. They are inserted from the top
of the hinge for both hinges.
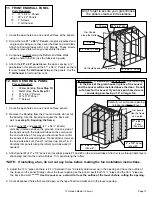
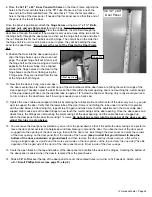
10. Now that the door is hung, close and open
the door several times to make sure that none of the metal elbows of the door frame are hitting the metal casings of the
door opening. If needed, adjust the door frame so that it fits within the door opening and is not touching the metal casings
of the door opening. Make sure the top door tube is approx. 1/8” below the Top Door Casing. Very rarely would you need
to trim a tube in the door frame but if trimming is needed, use a hack saw.
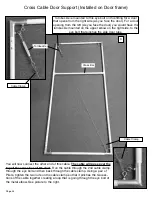
11. Tighten the cross cable door support a little bit by rotating the turnbuckle. Be careful not to lift the door very much - you just
want to support the door. Verify that the lower tube of the door frame is not hitting the tube under it and that it is parallel
with the tube below it. After doing this, repeat step 10 again and make sure that the adjustment on the cross cable door
support didn’t cause one of the door fittings to now touch the metal casings of the door opening. Once the door opens and
closes freely, the fittings are not touching the metal casings of the door opening, and the cable has been snugged up,
attach the door panel to the door frame using 1” screws.
Do not put any screws into the cross bar of the door, you will
adjust this tube in a step below.
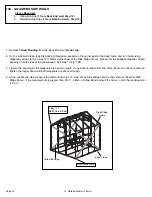
12. You can leave the door panel oversized or you can trim the panel down so that it fits within the door casings. We prefer to
leave the door panel oversized to help keep wind from blowing in around the door.
If you like the look of the door panel
snugged into the opening of the door casings, then with the door shut, look through the door panel and mark the corners
of the door opening on the door panel from the outside of the house.
(keep in mind that you still want to keep the
bottom of the door panel down at ground level)
and then remove the door and lay it back down on a flat surface.
Using a straight edge as a guide and the marks you made on the door panel, cut the top and only the one side (The side
opposite of the hinged side of the door) of the door panel down to fit just inside of the door casings.
13. Caulk the open flutes on the top and bottom of the door panel and reattach the door to the Hinges. Caulking the bottom of
the door panel is easiest when the door is removed from the greenhouse.
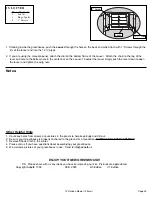
14. Slide a
36” U-Trim
over the top of the door panel to cover the caulked flutes (cut u-trim to fit if needed). Attach u-trim
with 3
Small Phillips Screws (see page 15, step 2).
36 1/2” x 80”
Door Panel
Attaching Hinge
Hinge Pin

