Operating Instructions
Chapter
6
CLV 42x bar code scanner
Operation
8 009 981/O078/16-08-2004
©
SICK AG · Division Auto Ident · Germany · All rights reserved
6-15
Displaying the reading result in the terminal emulator
1.
Click
in the toolbar.
The T
ERMINAL
E
MULATOR
dialog box is then displayed.
2.
Click R
EADING
M
ODE
under D
EVICE
M
ODE
.
3.
Present the bar code pattern from
to the CLV and activate the
reading pulse. The "Laser On" LED lights up. The red scan line then appears.
See also
Chapter 6.3.1 Starting up the line/raster scanner with the factory default
4.
Terminate reading pulse.
The CLV outputs a tone via the beeper to indicate that the reading result is displayed in
the window of the T
ERMINAL
E
MULATOR
. The "Result" LED lights up for duration of 100 ms
(default setting).
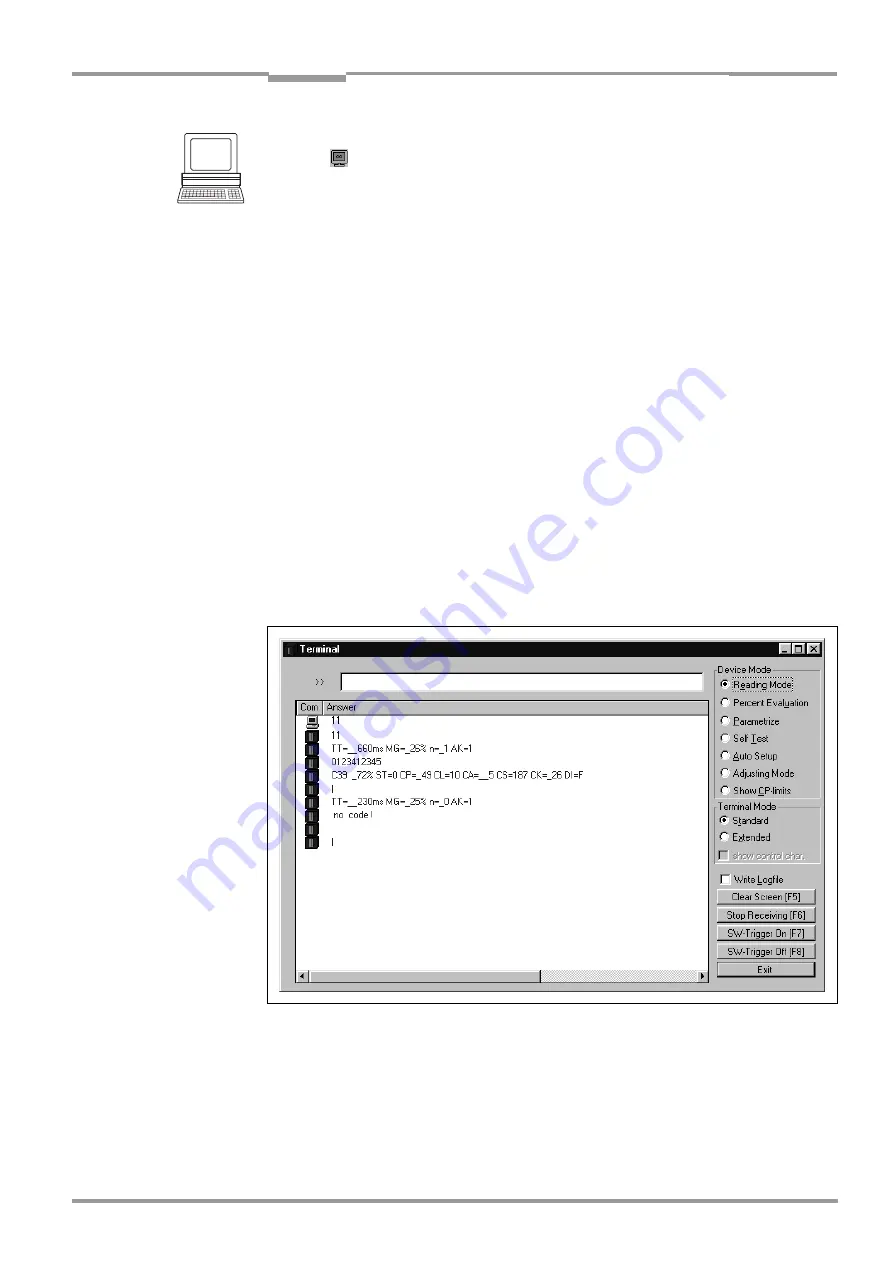
shows two examples of reading result output: "good read" and "no read". The
reading result comprises the data contents of the bar code(s) and the reading diagnosis
data
.
explains the structure and function of the reading diagnosis data for good
read,
and
for no read.
Note
The CLV only outputs several bar codes in the reading result of the
host interface
if the
parameterized minimum and maximum number of bar codes is > 1, and several bar codes
have been presented. The number of bar codes to be read/output for each reading interval
can be selected on the C
ODE
C
ONFIGURATION
tab in the N
UMBER
OF
C
ODES
group.
The reading result of the
host interface
can also be displayed.
Chapter 6.5.7 Monitor host interface, Page 6-21
describes the procedure and the structure
of the read result in the default setting.
Fig. 6-3:
CLV Setup: output of the reading result of the terminal interface
in terminal emulator


