Chapter
4
Operating Instructions
CLV 42x bar code scanner
4-12
©
SICK AG · Division Auto Ident · Germany · All rights reserved
8 009 981/O078/16-08-2004
Installation
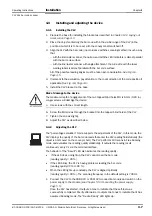
Once the CLV has started, it outputs a tone to indicate that the self-test was
successfully completed. Shortly afterwards, it outputs two tones consecutively to
indicate that it has assumed Reading mode. The "Device Ready" LED lights up.
2.
Align the CLV optimally with the bar code on the object (
see
3.
Choose a suitable polling reflector for the device type, as shown in
. Other ranges available on request.
4.
Secure the polling reflector directly opposite the CLV on a suitable base (movable
bracket, wall) temporarily so that the CLV has an unobstructed view of the reflector in
the gaps between the objects and can scan them reliably. The reflector must be in the
center of the scan line, see
.
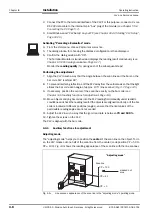
Activating “Percentage Evaluation“ mode
5.
From the V
IEW
menu, choose P
ERCENTAGE
EVALUATION
.
The dialog window for choosing the
DISTANCE
CONFIGURATION
is then displayed.
6.
Confirm the dialog window with "OK".
The Terminal Emulator is launched and displays the reading result continuously
(
see
Chapter 6.5.2 Percentage evaluation, Page 6-17
).
Fine-adjusting and securing the polling reflector
7.
Align the reflector with the CLV (not vice versa!) until a good read rate of
95 to 100 %
is reached. In doing so, prevent any surface reflection (
see
between the CLV and the bar code, Page 4-4
The CLV outputs the data content of the unconcealed polling reflector with the identifier
"REPO".
8.
Once the device is in the final attachment position, remove the protective film from the
rear of the reflector and stick it to the base.
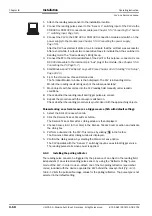
Activating “Reflector Polling pulse“ mode in the CLV
9.
Select the D
EVICE
C
ONFIGURATION
tab.
10. Click the R
EADING
T
RIGGER
P
ARAMETERS
button.
The R
EADING
T
RIGGER
P
ARAMETERS
dialog window is displayed.
11. Activate the R
EFLECTOR
P
OLLING
option in the R
EADING
T
RIGGER
S
OURCE
section.
12. Confirm the dialog box with "OK".
13. Perform a download to the CLV. This is done by clicking
in the toolbar.
The D
OWNLOAD
P
ARAMETER
dialog window is displayed.
14. Confirm the dialog window by selecting the P
ERMANENT
save option.
The CLV is then operating in the "reflector polling" pulse mode.
15. Check whether the device operates correctly with objects moving under realistic
conditions on the conveyor belt. Readjust the reflector if necessary.
4.5
Removing the device
1.
Switch off the power supply to the CDB 420 or CDM 420 connection module.
2.
Loosen the screws and remove the CLV connector from the CDB 420 or CDM 420
connection module.
3.
Unscrew the CLV from the installation device.
When removing the device from service for the last time, please dispose of it in an
environmentally-friendly manner, as described in


