Chapter
10
Operating Instructions
CLV 42x bar code scanner
10-32
©
SICK AG · Division Auto Ident · Germany · All rights reserved
8 009 981/O078/16-08-2004
Appendix
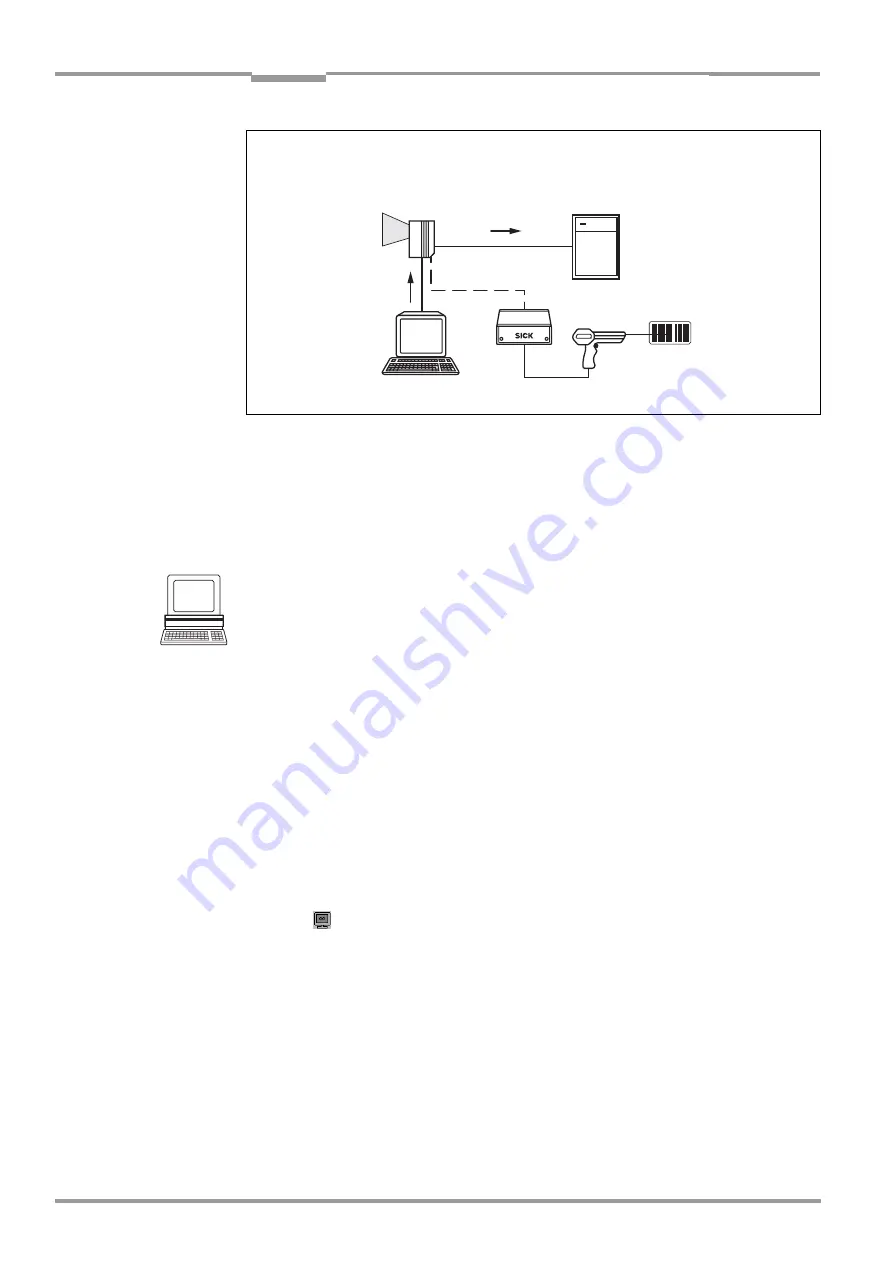
The CLV sends the data content of the bar code that it receives via the terminal interface to
the host in the same format as the other reading results on the host interface. Each string
can contain the data content from a bar code with a maximum length of 50 characters. The
CLV automatically enters the status ST = 7 if the error status has been enabled for transfer.
The values of the other reading diagnosis data in the data string are of no significance.
To enable the CLV to receive the data content of the bar code on the terminal interface, you
must switch the operating mode on the interface to "auxiliary input".
1.
Connect the PC to the terminal interface of the CLV using a 3-core RS 232 data cable
(null modem cable) (CDB 420 or CDM 420: connect the PC to the internal, 9-pin "Aux"
plug,
see
Chapter 5.5.6 Connecting the PC, Page 5-7
.)
2.
Start "CLV Setup" on your PC.
(See
Chapter 10.4.3 Starting "CLV Setup", Page 10-10
.)
3.
Choose the A
UXILIARY
I
NTERFACE
tab.
4.
Choose the A
UXILIARY
I
NPUT
option from the drop-down list.
5.
Perform a download to the CLV.
To do so, click the A
UXILIARY
I
NPUT
option again with the right mouse button and choose
D
OWNLOAD
P
ARAMETER
in the context menu.
CLV-Setup copies the parameter to the CLV temporarily.
The terminal interface then operates temporarily in "Auxiliary Input" mode.
Entering bar code using the terminal emulator in CLV Setup
1.
Click
in the toolbar.
The terminal emulator window is then displayed.
The CLV is in Reading mode.
2.
Click the E
XTENDED
radio button in the T
ERMINAL
M
ODE
group.
The start and stop characters used by the terminal emulator are displayed at the top of
the screen, on the left and right of the text input field.
shows the terminal emulator window in extended mode.
3.
Use the drop-down list to set the start and stop characters to NUL.
4.
Enter the data content of the bar code (character string) via the keyboard.
Use the backspace key to correct input errors.
The data content may not contain control characters.
Fig. 10-12: Auxiliary input via the terminal interface of the CLV
Data c
status ST = 7
Data content


