


Bluetooth Installation & Operation
9711QOR-86 C & Ku-Band TXRX
21-2
21.3.
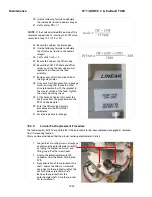
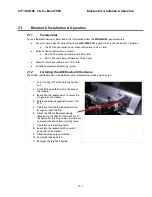
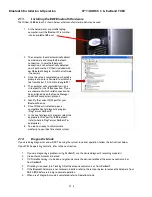
Installing the BDE Bluetooth Hardware
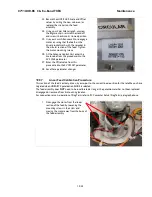
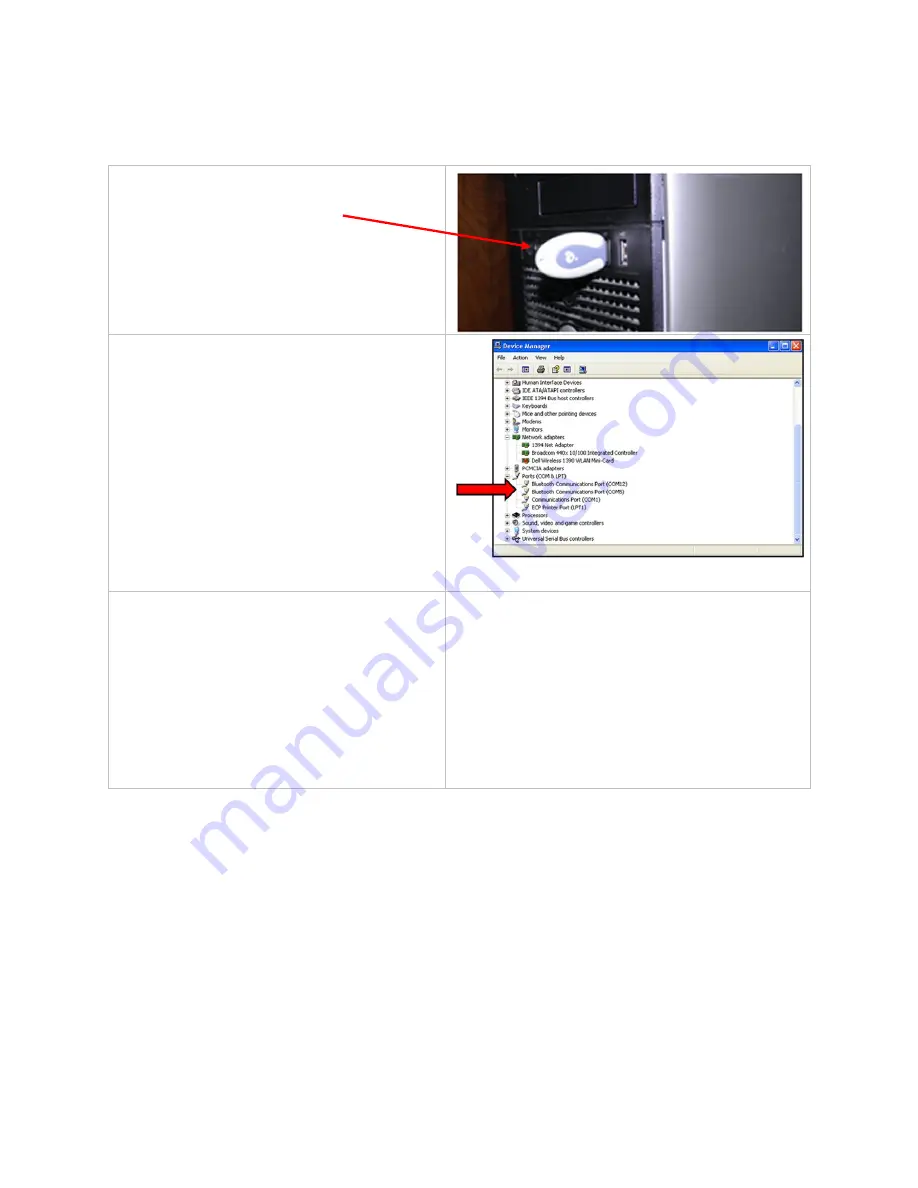
The IOGear USB Bluetooth is shown below, other manufacturer/models may be used.
1.
At the below decks, or portable laptop,
computer insert the Bluetooth Transmitter
into an available USB port.
2.
The computer should automatically detect
new hardware and setup the Bluetooth
connection. In case the Bluetooth
connection is not automatically detected
you should use the CD that is included with
each Bluetooth dongle. Install that software
if necessary.
3.
Once the setup is completed, you should be
prompted to enter a Password to establish a
link from Master (TX) to Slave (dongle-RX).
4.
The computer will automatically assign a
virtual port for the USB connection. If you
are unaware of which serial connection has
been assigned, open the Device Manager
and check com port assignments.
5.
Identify the correct COM port for your
Bluetooth device.
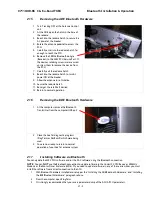
6.
Once COM port is selected, open a
compatible Sea Tel diagnostic program
(ProgTerm or DacRemP).
7.
In the Sea Tel diagnostic program select the
appropriate COM port for the Bluetooth
(refer to help in ProgTerm or DacRemP as
appropriate).
8.
You are now ready to communicate
wirelessly to your Sea Tel antenna system.
21.4.
Diagnostic Mode
If you are doing diagnostics and will NOT be using the system in normal operation, follow the instructions below.
If you WILL be operating normally, refer to the next section.
1.
If you are diagnosing a problem (using DacRemP), use the desired diagnostic recording module(s).
2.
Issue other commands as desired.
3.
If ON satellite testing is to be done, target and acquire the desired satellite at the antenna control unit, or
from DacRemP.
4.
If tracking is required, turn Tracking ON at the antenna control unit, or from DacRemP.
5.
If the Bluetooth hardware is not to remain installed, refer to the sections below to remove the hardware from
ADE & BDE, before returning to normal operation.
6.
When use of diagnostic mode is completed, refer to Operation mode.
Содержание 9711QOR-86
Страница 4: ......
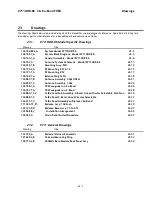
Страница 13: ...Table of Contents xiii 23 1 9711QOR 86 MODEL SPECIFIC DRAWINGS 23 1 23 2 9711 GENERAL DRAWINGS 23 1 ...
Страница 14: ...Table of Contents xiv This Page Intentionally Left Blank ...
Страница 26: ...Site Survey 9711QOR 86 C Ku Band TXRX 2 8 This Page Intentionally Left Blank ...
Страница 70: ...Installation 9711QOR 86 C Ku Band TXRX 3 44 This Page Intentionally Left Blank ...
Страница 74: ...Basic Setup of the ACU 9711QOR 86 C Ku Band TXRX 4 4 This Page Intentionally Left Blank ...
Страница 78: ...Setup Ships Gyro Compass 9711QOR 86 C Ku Band TXRX 6 2 This Page Intentionally Left Blank ...
Страница 80: ...Setup Band Reflector Select 9711QOR 86 C Ku Band TXRX 7 2 This Page Intentionally Left Blank ...
Страница 86: ...Setup Home Flag Offset 9711QOR 86 C Ku Band TXRX 9 4 This Page Intentionally Left Blank ...
Страница 90: ...Setup Targeting 9711QOR 86 C Ku Band TXRX 10 4 This Page Intentionally Left Blank ...
Страница 96: ...Setup Searching 9711QOR 86 C Ku Band TXRX 11 6 This Page Intentionally Left Blank ...
Страница 122: ...Antenna Specific Operation 9711QOR 86 C Ku Band TXRX 16 12 This Page Intentionally Left Blank ...
Страница 126: ...Functional Testing 9711QOR 86 C Ku Band TXRX 17 4 This Page Intentionally Left Blank ...
Страница 142: ...Installation Troubleshooting 9711QOR 86 C Ku Band TXRX 18 16 This Page Intentionally Left Blank ...
Страница 188: ...9711QOR 86 Technical Specifications 9711QOR 86 C Ku Band TXRX 22 8 This Page Intentionally Left Blank ...
Страница 190: ...Drawings 9711QOR 86 C Ku Band TXRX 23 2 This Page Intentionally Left Blank ...
Страница 196: ......
Страница 199: ......
Страница 233: ......
Страница 234: ......
Страница 239: ......
Страница 241: ......
Страница 243: ......