


Version 1 .0
| 31
7 .7 SAMPlE ANAlYSIS
When all the solutions are prepared, turn on the instrument and begin sample analysis.
7.7.1 Day 0
•
In "
Admin-tools
": Select one standard method.
•
In "
utilities
": Select Day 0; choose bottle capacity between 300 ml and 60 ml.
•
In "
Process
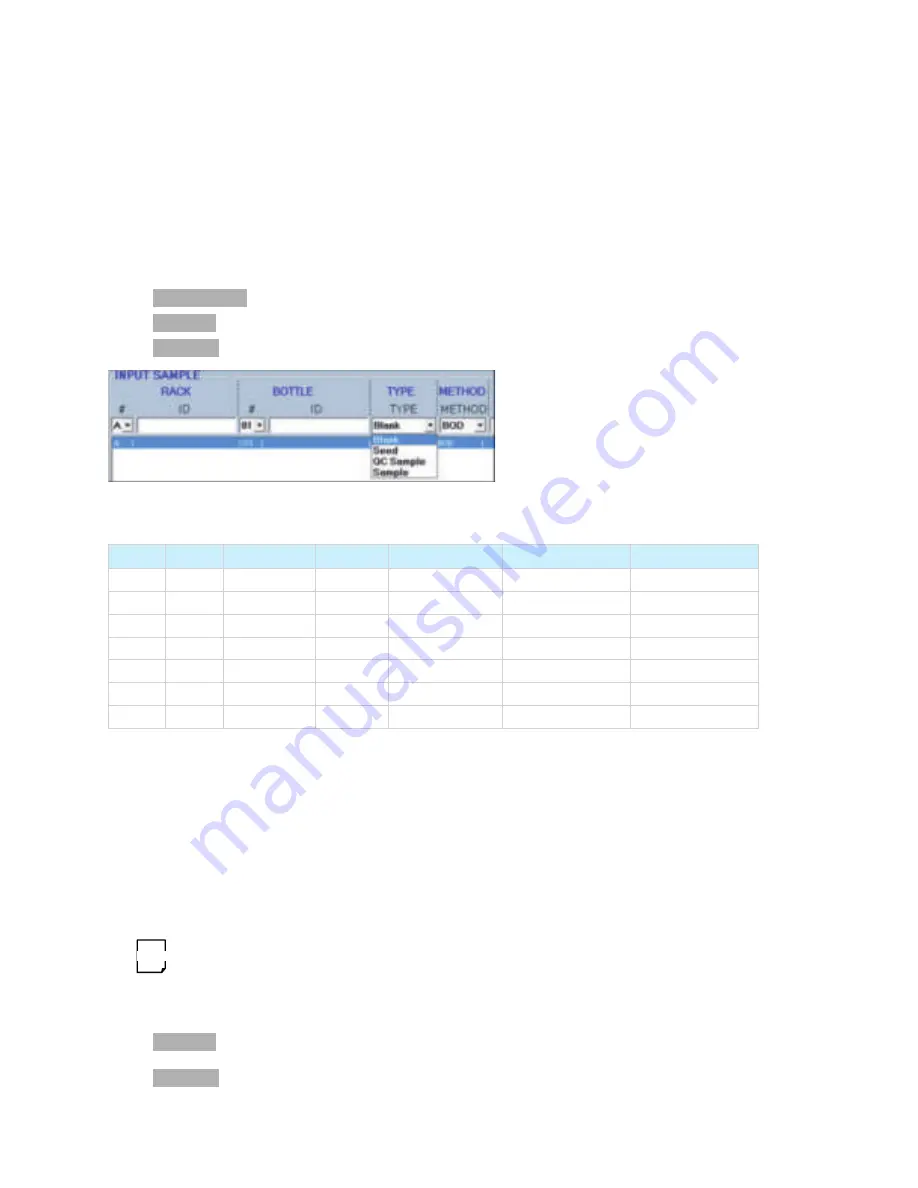
": Edit test sequence (refer to 6.2.2).
Figure 31. Screenshot of input sample
The following is an example of BOD analysis sequence.
Rack #
Bottle#
Type
Method
Sample ID
Sample Volume
Seed Volume
A
01
Blank
BOD
Dilution Water blank
0
0
A
02
Seed Control
BOD
Seed Control #1
0
15
A
03
Seed Control
BOD
Seed Control #1
0
20
A
04
Seed Control
BOD
Seed Control #1
0
25
A
05
QC Sample
BOD
GGA#1
6
5
A
06
QC Sample
BOD
GGA#1
6
5
A
07
QC Sample
BOD
GGA#1
6
5
The other option is to press the “Open” button and select the file ‘Demo process’ and make the necessary modifications on the
populated sequence.
•
Click on “Run” button to run the sequence.
Dilution water and seed/nitrification inhibitor are added to the bottles containing samples manually poured in. After liquid
dispensing, the probe lowers into the BOD bottle and measures the dissolved oxygen. The probe is rinsed in the rinse station
between each sample if rinse is chosen. The Day 0 measurement is reported in column ‘Initial DO’.
•
Once the analysis is completed, the result table is stored in the folder (path = C:\Program Files (x86)\
EasyPREP
\Results) and will be
needed in the next task.
One can select rinsing between each sample or between different types of samples.
7.7.2
Day 5 or 7
•
In "
utilities
": Switch to Day 5 or Day 7, according to the task specification. Press Ok when warned that the Process list will be
cleared.
•
In "
Process
": Select Rack # A. Press “ADD” and select previous run result file to load back the data of tests done on Day 0 from file
location C:\Program Files (x86) \BOD300\ ProcD0\ RackA.
NOTE


