


3: Working on the PaperPort Desktop
44
Table
of Contents
D
ISPLAYING
AND
H
IDING
THE
A
NNOTATION
T
OOL
B
AR
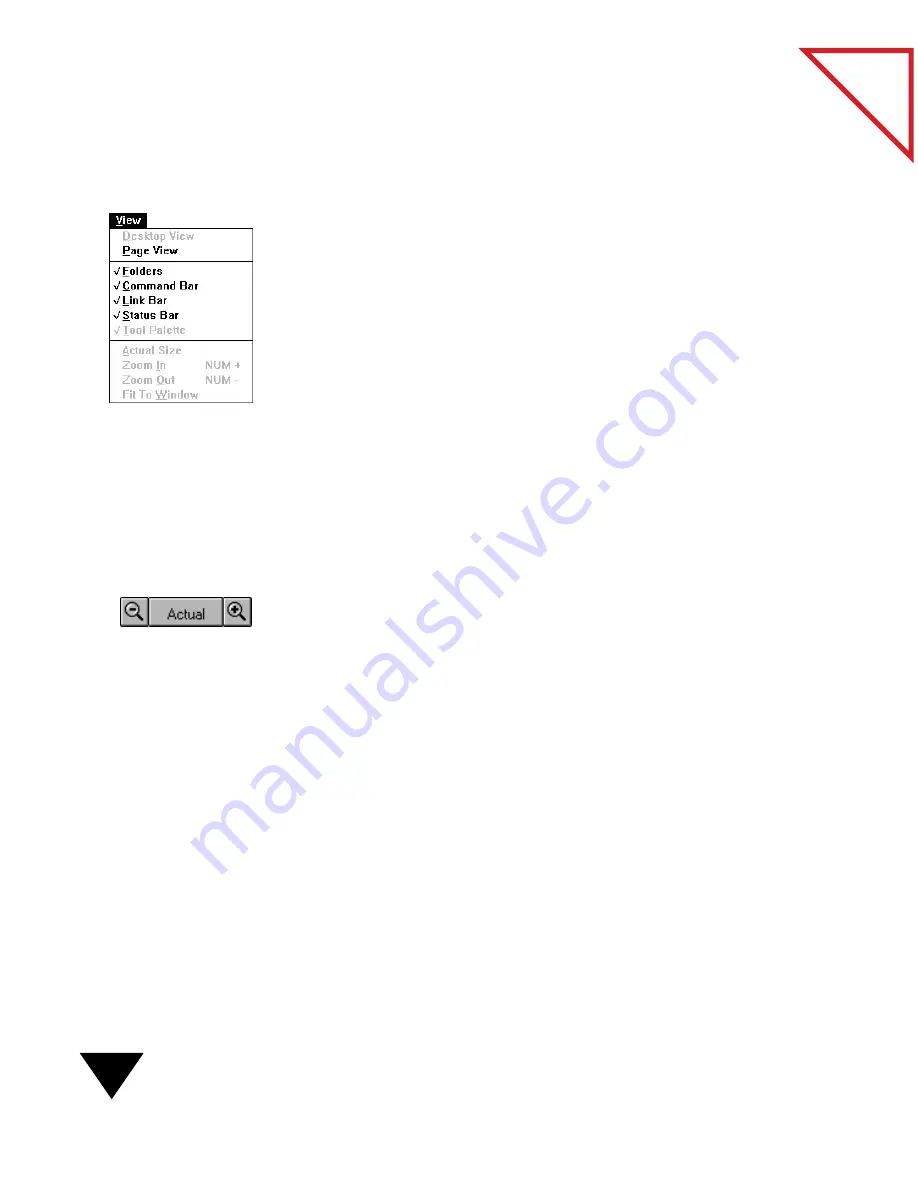
Using the View menu, you can display or hide the Annotation Tool Bar.
To display or hide the Annotation Tool Bar:
1. From the View menu, choose Tool Palette. A checkmark means that
the Tool Bar will be displayed.
2. These choices are “toggles.” Choose the appropriate command to
display or hide the visual element on the PaperPort Desktop.
Z
OOMING
I
N
OR
O
UT
ON
A
P
AGE
In Page View, you can zoom in to display the details of a page, or zoom
out to make the page smaller on the screen. When you zoom in, the page’s
contents are larger on the screen and are easier to see. By zooming out you
can see more of the page.
To zoom in or out on a page:
1. Display the page in Page View.
2. From the View menu, choose Zoom In
or
Zoom Out, or click the
plus (+) or minus
(-) magnifying glass buttons on the Zoom
Navigator. The page magnification changes as you click the buttons
or repeat the Zoom commands.
The actual page magnification is shown on the Status Bar.
▼
NOTE: Zooming in or out does not change the actual size of the page.
To see the page at its actual size (100 percent) choose Actual Size from
the View menu or click Actual on the Zoom Navigator.
F
ITTING
AN
I
TEM
INTO
A
W
INDOW
An image of an item will often be larger than the Page View window. To
fit the entire image into the Page View, you can use the Fit To Window
command.
Содержание SCANSOFT PAPERPORT 3.6
Страница 6: ...viii...
Страница 7: ...V I S I O N E E R T a b l e o f C o n t e n t s P A R T O N E Getting Started...
Страница 8: ...T a b l e o f C o n t e n t s...
Страница 28: ...1 Quick Guide 20 T a b l e o f C o n t e n t s...
Страница 29: ...V I S I O N E E R T a b l e o f C o n t e n t s P A R T T W O Using PaperPort...
Страница 30: ...T a b l e o f C o n t e n t s...
Страница 42: ...2 Scanning Items 34 T a b l e o f C o n t e n t s...
Страница 58: ...3 Working on the PaperPort Desktop 50 T a b l e o f C o n t e n t s...
Страница 104: ...6 Getting Items On and Off the PaperPort Desktop 96 T a b l e o f C o n t e n t s...
Страница 126: ...7 Annotating Items 118 T a b l e o f C o n t e n t s...
Страница 142: ...8 Using PaperPort Links 134 T a b l e o f C o n t e n t s...
Страница 143: ...V I S I O N E E R T a b l e o f C o n t e n t s P A R T T H R E E Appendixes...
Страница 144: ...T a b l e o f C o n t e n t s...
Страница 152: ...A Messages 144 T a b l e o f C o n t e n t s...
Страница 166: ...C Obtaining and Installing PaperPort Viewer 158 T a b l e o f C o n t e n t s...
Страница 170: ...D Technical Information 162 T a b l e o f C o n t e n t s...
Страница 186: ...178 T a b l e o f C o n t e n t s...
Страница 187: ...179 1 Cut along the dotted line 2 Insert the page this way into the scanner Use this page to calibrate your scanner...
Страница 188: ......


