


8: Using PaperPort Links
120
Table
of Contents
O
VERVIEW
OF
U
SING
L
INKS
PaperPort Links let you send an item to another application without
leaving the PaperPort application. PaperPort automatically displays link
icons for your printer, and the applications that PaperPort supports,
including word processing and spreadsheet applications, electronic fax,
e-mail, graphics, and Optical Character Recognition (OCR) applications.
T
HE
P
APER
P
ORT
L
INKS
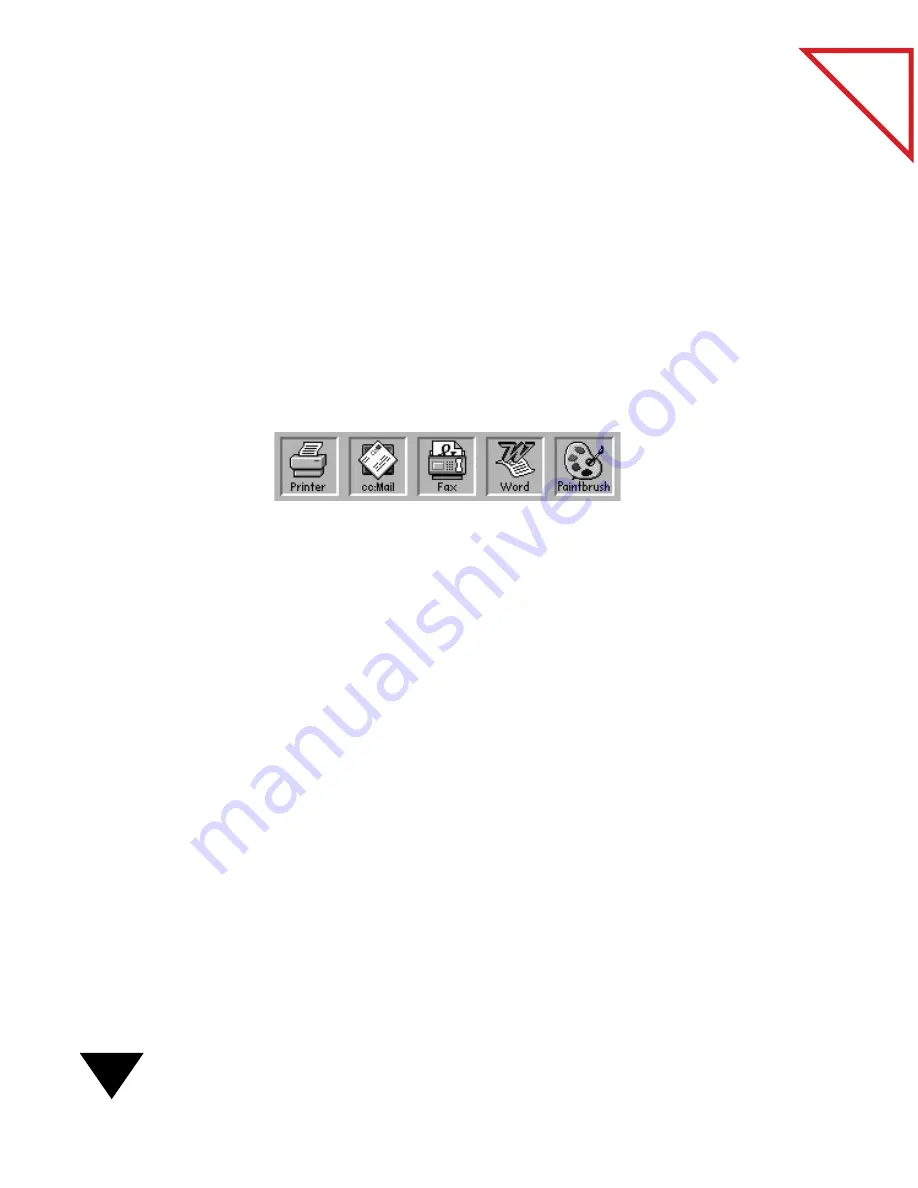
The following figure shows five typical link icons, but the icons on your
computer may be different.
Printer link—This icon lets you print items. Rather than choose the
Print command from the File menu, simply drag the item you want to
print onto the Printer icon.
E-mail link(s)—Use the e-mail icon to send a PaperPort item as an
attachment to an e-mail message. The Link Bar displays an e-mail icon
for each e-mail application that is installed on your computer (if
PaperPort works with that application).
Electronic fax link(s)—The fax icon lets you fax items from the
PaperPort Desktop using your fax software. If you are using one of the fax
applications that PaperPort supports, the icon for that application will
appear. If you are using another fax application, the icon will be a generic
fax icon (as shown above). You can select that fax application in the
PaperPort Preferences dialog box.
The PaperPort link
icons are at the
bottom of the
Desktop View.
Содержание SCANSOFT PAPERPORT 3.6
Страница 6: ...viii...
Страница 7: ...V I S I O N E E R T a b l e o f C o n t e n t s P A R T O N E Getting Started...
Страница 8: ...T a b l e o f C o n t e n t s...
Страница 28: ...1 Quick Guide 20 T a b l e o f C o n t e n t s...
Страница 29: ...V I S I O N E E R T a b l e o f C o n t e n t s P A R T T W O Using PaperPort...
Страница 30: ...T a b l e o f C o n t e n t s...
Страница 42: ...2 Scanning Items 34 T a b l e o f C o n t e n t s...
Страница 58: ...3 Working on the PaperPort Desktop 50 T a b l e o f C o n t e n t s...
Страница 104: ...6 Getting Items On and Off the PaperPort Desktop 96 T a b l e o f C o n t e n t s...
Страница 126: ...7 Annotating Items 118 T a b l e o f C o n t e n t s...
Страница 142: ...8 Using PaperPort Links 134 T a b l e o f C o n t e n t s...
Страница 143: ...V I S I O N E E R T a b l e o f C o n t e n t s P A R T T H R E E Appendixes...
Страница 144: ...T a b l e o f C o n t e n t s...
Страница 152: ...A Messages 144 T a b l e o f C o n t e n t s...
Страница 166: ...C Obtaining and Installing PaperPort Viewer 158 T a b l e o f C o n t e n t s...
Страница 170: ...D Technical Information 162 T a b l e o f C o n t e n t s...
Страница 186: ...178 T a b l e o f C o n t e n t s...
Страница 187: ...179 1 Cut along the dotted line 2 Insert the page this way into the scanner Use this page to calibrate your scanner...
Страница 188: ......


