


3: Working on the PaperPort Desktop
38
Table
of Contents
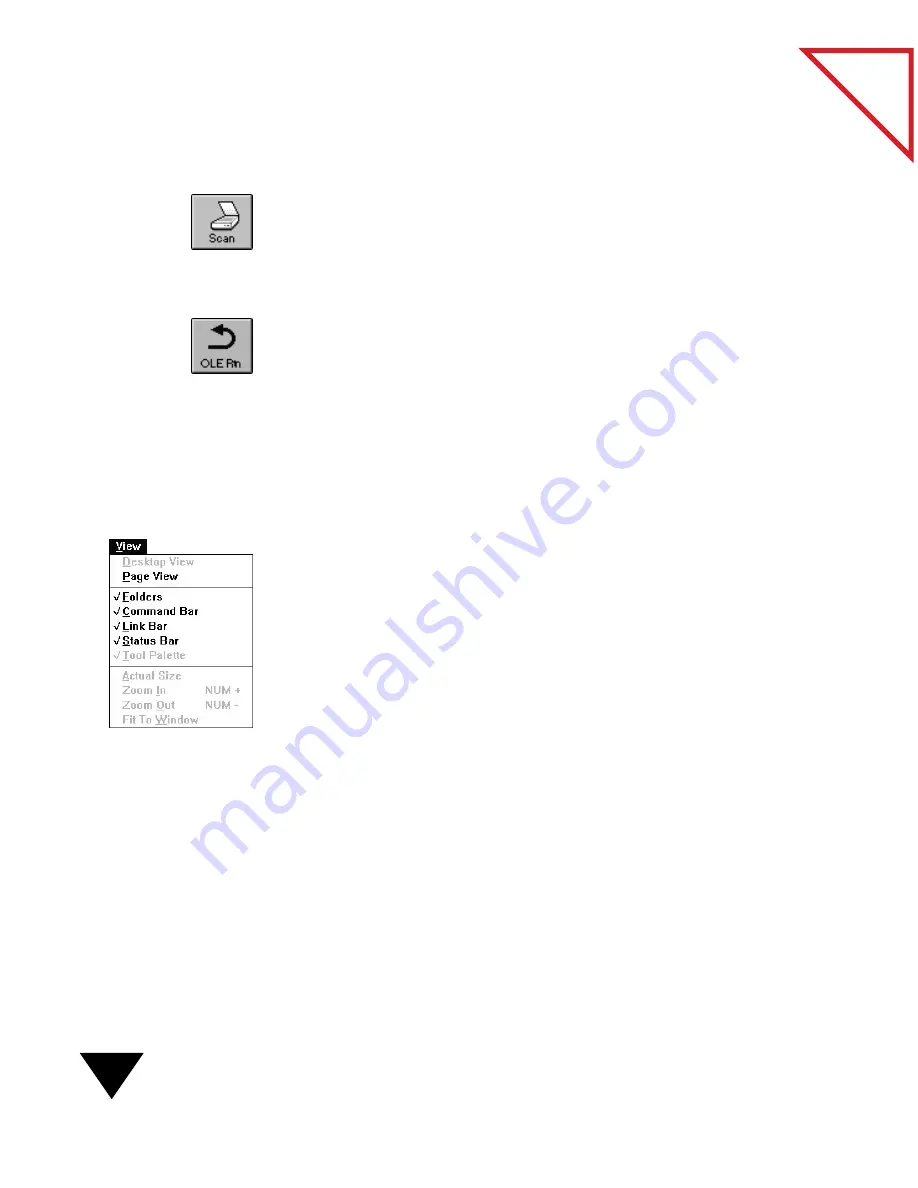
Two other buttons may appear on the Command Bar depending on how
you are using the PaperPort software.
Scan. This button appears if you attach another scanner to your
computer. After you use the Acquire Source command on the File menu
to choose the scanner’s proper driver program, clicking this button starts
that scanner. This button is not used for a PaperPort scanner because it
starts automatically when you insert an item to be scanned.
OLE Return. This button appears when you are using Windows OLE.
Clicking this button returns to the Windows application that you were
previously using for OLE. For more information about OLE, see
Chapter 6, “Getting Items On and Off the PaperPort Desktop.”
D
ISPLAYING
AND
H
IDING
D
ESKTOP
F
EATURES
Using the View menu, you can decide which PaperPort features you want
to display in Desktop View.
To display or hide PaperPort Desktop features:
1. From the View menu, choose the features that you want. The choices
are Folders, Command Bar, Link Bar, and Status Bar.
A checkmark means that the visual element will be displayed on the
PaperPort views.
2. These choices are “toggles.” Choose the appropriate command to
display or hide the visual element on the PaperPort Desktop.
Содержание SCANSOFT PAPERPORT 3.6
Страница 6: ...viii...
Страница 7: ...V I S I O N E E R T a b l e o f C o n t e n t s P A R T O N E Getting Started...
Страница 8: ...T a b l e o f C o n t e n t s...
Страница 28: ...1 Quick Guide 20 T a b l e o f C o n t e n t s...
Страница 29: ...V I S I O N E E R T a b l e o f C o n t e n t s P A R T T W O Using PaperPort...
Страница 30: ...T a b l e o f C o n t e n t s...
Страница 42: ...2 Scanning Items 34 T a b l e o f C o n t e n t s...
Страница 58: ...3 Working on the PaperPort Desktop 50 T a b l e o f C o n t e n t s...
Страница 104: ...6 Getting Items On and Off the PaperPort Desktop 96 T a b l e o f C o n t e n t s...
Страница 126: ...7 Annotating Items 118 T a b l e o f C o n t e n t s...
Страница 142: ...8 Using PaperPort Links 134 T a b l e o f C o n t e n t s...
Страница 143: ...V I S I O N E E R T a b l e o f C o n t e n t s P A R T T H R E E Appendixes...
Страница 144: ...T a b l e o f C o n t e n t s...
Страница 152: ...A Messages 144 T a b l e o f C o n t e n t s...
Страница 166: ...C Obtaining and Installing PaperPort Viewer 158 T a b l e o f C o n t e n t s...
Страница 170: ...D Technical Information 162 T a b l e o f C o n t e n t s...
Страница 186: ...178 T a b l e o f C o n t e n t s...
Страница 187: ...179 1 Cut along the dotted line 2 Insert the page this way into the scanner Use this page to calibrate your scanner...
Страница 188: ......


