8: Using PaperPort Links
122
Table
of Contents
B
ASIC
S
TEPS
FOR
U
SING
L
INKS
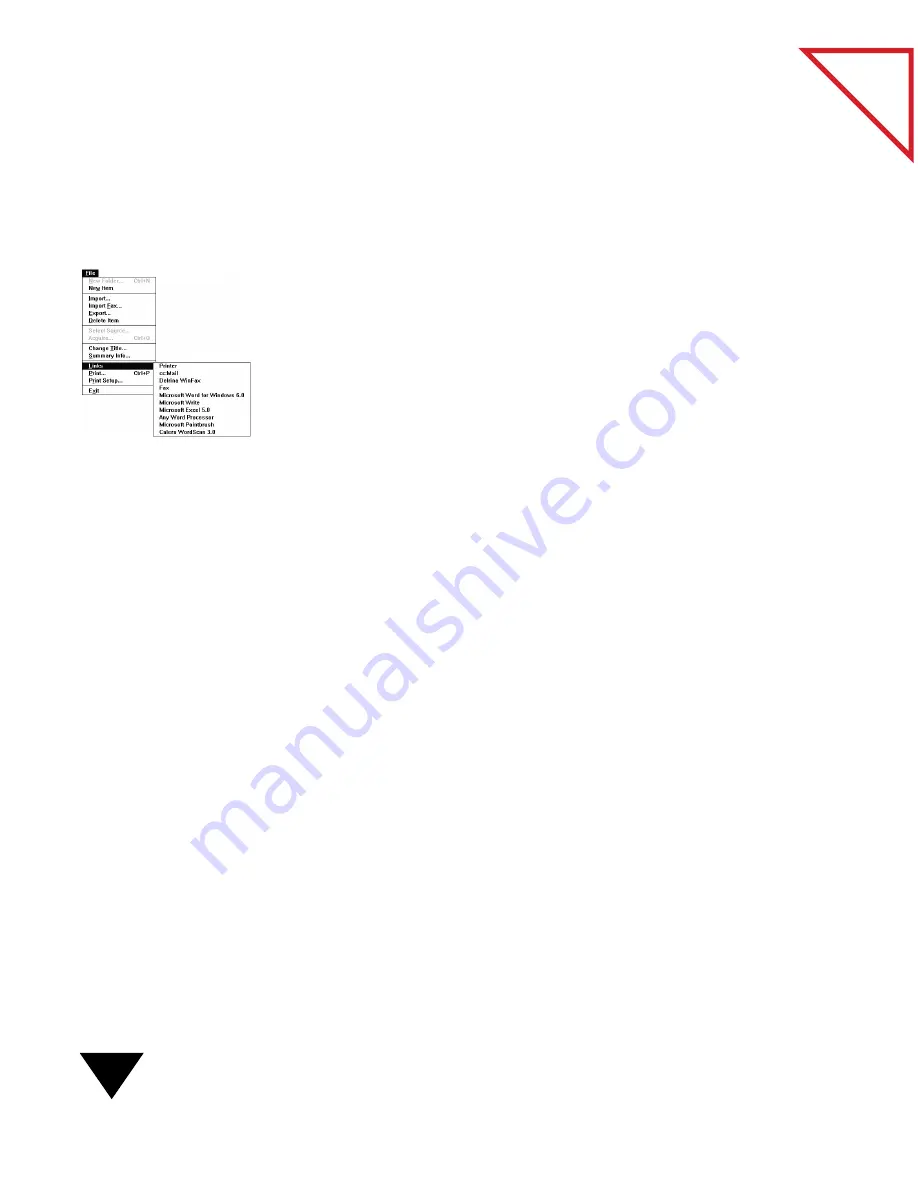
The steps for using links are similar for each link:
1. Prepare all items. For example, scan or print items onto the PaperPort
Desktop and create stacks.
2. Drag and drop documents onto the appropriate link icon on the
Link Bar, or choose Links from the File menu and select the
appropriate link application from the Links submenu.
You can also select the item(s) and just click the link icon.
3. The linked application opens. Use the linked application as you
normally do. For example, if you are using an electronic fax link to
send a document, address the electronic fax and send it.
▼
NOTE: Some applications limit the number of pages or documents
that can be received from the PaperPort link. If you have trouble, try
sending the PaperPort items in smaller batches. Some applications,
such as graphics applications, accept only one page at a time.
C
ONVERTING
T
EXT
WITH
OCR S
OFTWARE
A scanned document is an image, and you cannot edit its text in PaperPort.
However, you can use PaperPort with OCR software to process a scanned
item. The OCR software processes, or converts, the scanned text image to
editable text; it does not translate photos or graphics.
You have several options for using OCR software with PaperPort:
• Use the OCR software provided with PaperPort. Use the word-processing
or spreadsheet icons on the Link Bar. The text is processed by the OCR
software, and then opened in your selected word-processing or
spreadsheet application.
• Use another OCR software link. If you have a full OCR application on
your computer, such as TextBridge Professional, you can use it to
process the text. Use that OCR’s icon on the Link Bar. That OCR
application opens and displays the text.
Содержание SCANSOFT PAPERPORT 3.6
Страница 6: ...viii...
Страница 7: ...V I S I O N E E R T a b l e o f C o n t e n t s P A R T O N E Getting Started...
Страница 8: ...T a b l e o f C o n t e n t s...
Страница 28: ...1 Quick Guide 20 T a b l e o f C o n t e n t s...
Страница 29: ...V I S I O N E E R T a b l e o f C o n t e n t s P A R T T W O Using PaperPort...
Страница 30: ...T a b l e o f C o n t e n t s...
Страница 42: ...2 Scanning Items 34 T a b l e o f C o n t e n t s...
Страница 58: ...3 Working on the PaperPort Desktop 50 T a b l e o f C o n t e n t s...
Страница 104: ...6 Getting Items On and Off the PaperPort Desktop 96 T a b l e o f C o n t e n t s...
Страница 126: ...7 Annotating Items 118 T a b l e o f C o n t e n t s...
Страница 142: ...8 Using PaperPort Links 134 T a b l e o f C o n t e n t s...
Страница 143: ...V I S I O N E E R T a b l e o f C o n t e n t s P A R T T H R E E Appendixes...
Страница 144: ...T a b l e o f C o n t e n t s...
Страница 152: ...A Messages 144 T a b l e o f C o n t e n t s...
Страница 166: ...C Obtaining and Installing PaperPort Viewer 158 T a b l e o f C o n t e n t s...
Страница 170: ...D Technical Information 162 T a b l e o f C o n t e n t s...
Страница 186: ...178 T a b l e o f C o n t e n t s...
Страница 187: ...179 1 Cut along the dotted line 2 Insert the page this way into the scanner Use this page to calibrate your scanner...
Страница 188: ......


