40
Processing documents
This section presents the following topics:
u
Creating zones automatically
u
Specifying zone types
u
Drawing zones manually
u
Modifying zones
Creating zones automatically
OmniPage Pro can create zones automatically for you. To do so, it uses
the selected page layout description to find blocks of text and graphics
on the page, place these in zones and decide a reading order.
t
To run auto-zoning during automatic processing:
1. Choose a setting in the Original Layout pop-up menu that most
closely matches the layout of your page or pages.
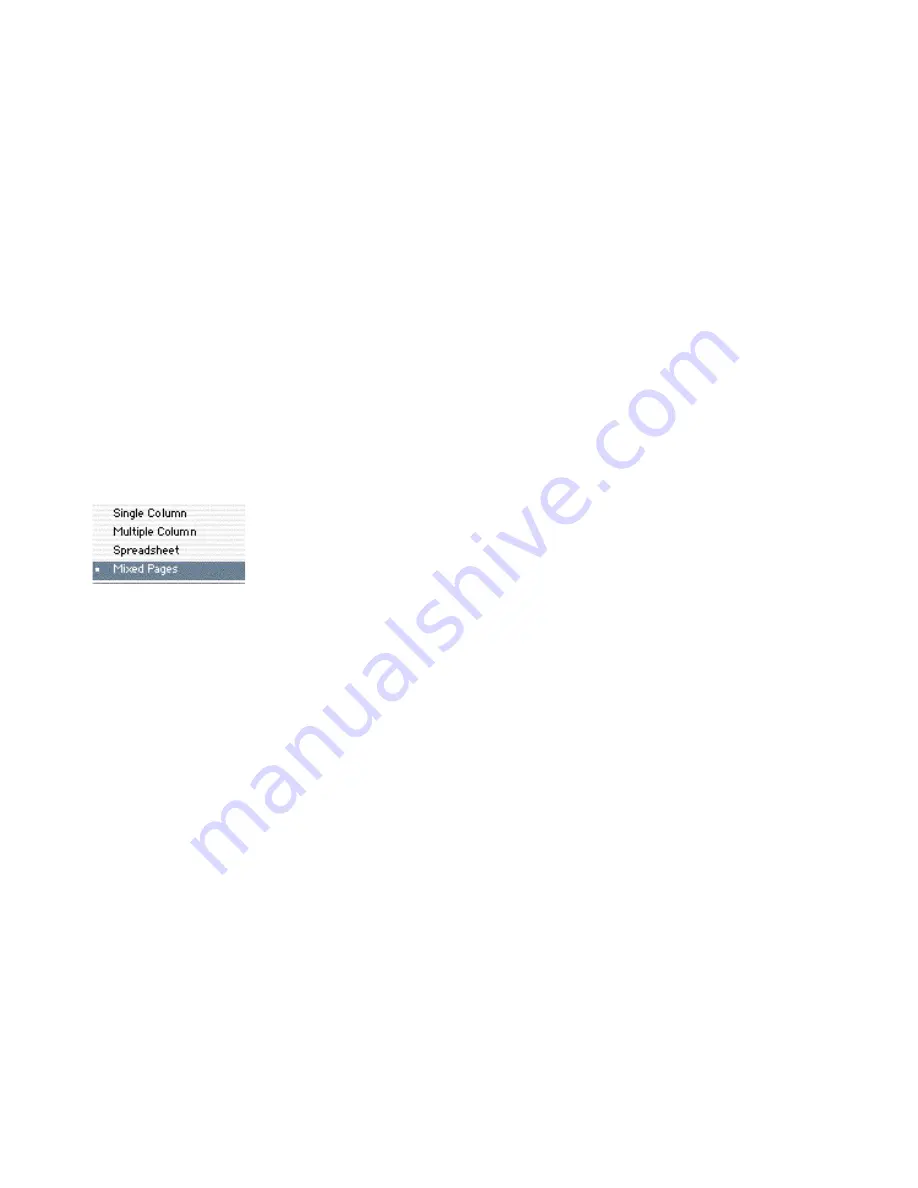
Select Single Column, Multiple Column, Spreadsheet, Mixed
Pages, or a template of your own. See Original Layout options on
page 72 for more information on these settings.
2. Check all other settings, then click the Start button to begin
automatic processing. This will include auto-zoning (unless you
applied a template and chose Use Only Current Zones).
After recognition, the automatically detected zones are displayed
in Image view. Each zone has a number indicating the order in
which it was recognized. The zone icon next to the number
indicates the zone type. If the zone locations, types or order are
not suitable, change the zoning and then re-recognize the page.
t
To run auto-zoning during manual processing:
1. Choose a setting in the Original Layout pop-up menu that most
closely matches the layout of your page or pages.
2. Click the OCR button to have the current page zoned and
recognized. If there are no zones on the page, OmniPage Pro will
automatically create zones and display them after recognition. If
the page has at least one zone, the Zoning Instructions dialog box
offers the following choices:
Содержание OMNIPAGE PRO X
Страница 1: ......


