Chapter 3
Automatic processing
29
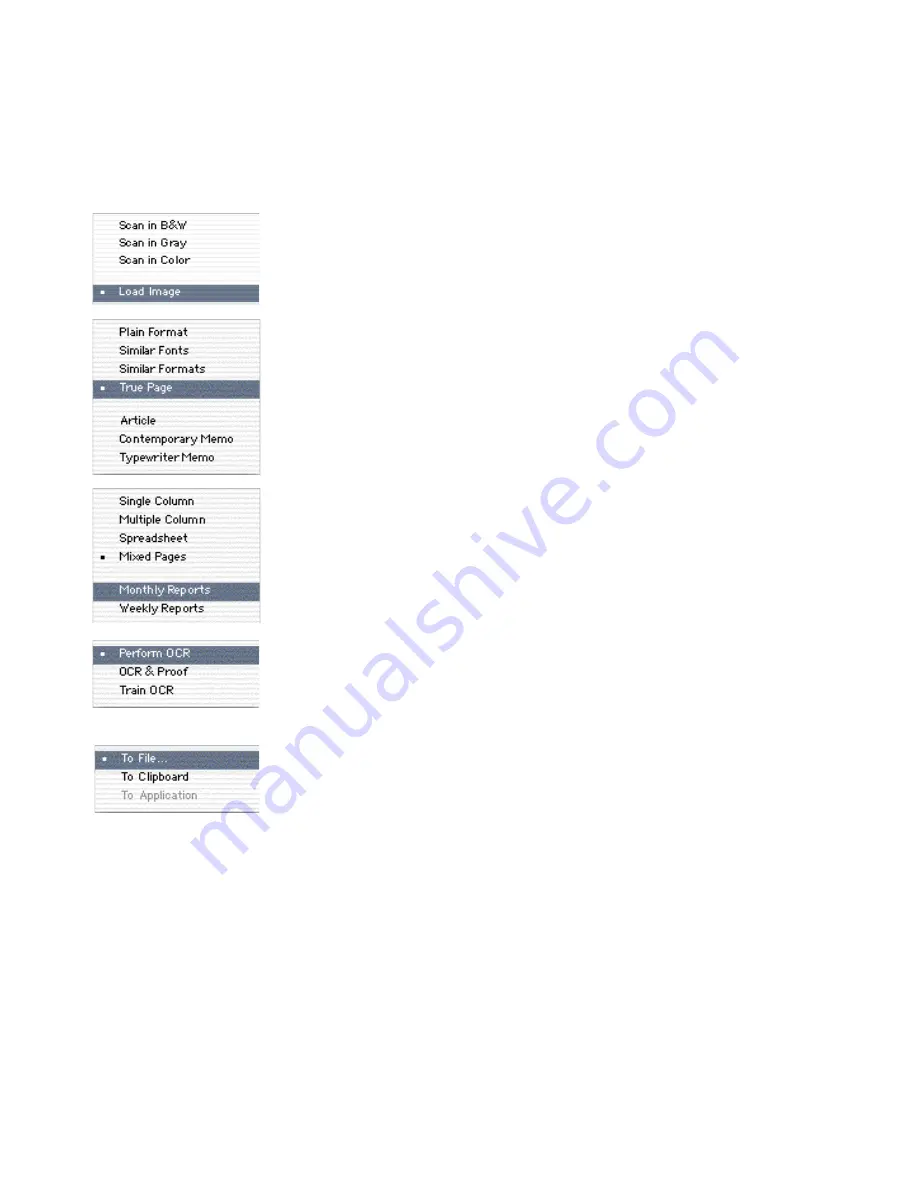
To prepare for automatic processing
1. Select the source for one or more page images
.
Choose Load image to open one or more page images from file.
Choose Scan in B&W to scan in black-and-white.
Choose Scan in Gray to scan in grayscale.
Choose Scan in Color to scan in color (with a color scanner).
See Bringing page images into OmniPage Pro on page 36 and Get
Page options on page 70 for information on these choices.
2. Select a style set.
Choose a style set to define the formatting level and page layout
you want applied to the recognition results.
See page 72 and page 73 for information on these choices.
3. Select a page layout description.
Choose a page layout description to influence the auto-zoning.
Choose from Single Column, Multiple Column, Spreadsheet or
Mixed Pages. Or choose a zone template if you have one.
4. Select the type of recognition you want.
Choose Perform OCR to have recognition without proofing. You
can still proof the text later, after its first export. See from page 50.
Choose OCR & Proof to have proofing started as soon as all pages
are recognized. See page 51.
5. Select an export target for the document.
You can direct your document to be saved to a file whose name,
location and type you define, or have the recognition results
copied to the Clipboard. See page 64.
6. Ensure all other settings are in order.
Further settings are located in the Preferences dialog box (see
chapter 4). These include recognition languages, user dictionaries
and scanner settings. If you are scanning, place your page(s)
correctly in the scanner. To scan multiple pages from an ADF,
select Scan Until Empty in the Scanner Panel of the Preferences
dialog box.
7. Click the Start button to launch automatic processing.
Automatic processing proceeds as described in the next topic.
Содержание OMNIPAGE PRO X
Страница 1: ......


