ESPAÑOL
✤
Esta videocámara es compatible con el formato de impresión
DPOF (Digital Print Order Format).
✤
Es posible imprimir de manera automática imágenes fijas grabadas
en un Memory Stick con una impresora compatible con DPOF.
✤
Hay dos maneras de hacer una marca de impresión.
■
THIS FILE (este archivo): se puede poner una marca de
impresión en la imagen que aparece en la pantalla LCD.
■
ALL FILES (todos los archivos): se imprime una copia de cada
una de las imágenes guardadas.
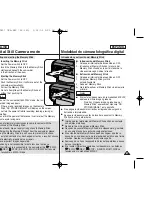
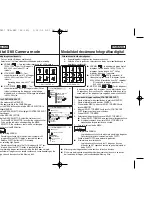
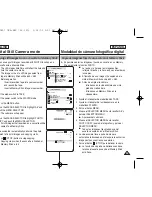
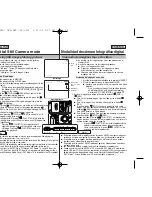
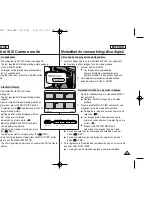
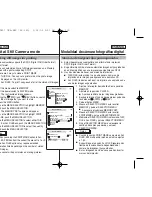
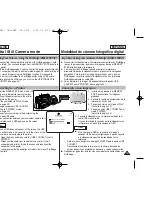
1. Ajuste el interruptor de modalidad en la posición
MEMORY.
2. Ajústelo en la posición PLAYER.
■
Aparece la última de las imágenes grabadas.
3. Busque la imagen fija que desee marcar pulsando
los
botones (FWD)
y (REV).
4. Pulse el botón MENU.
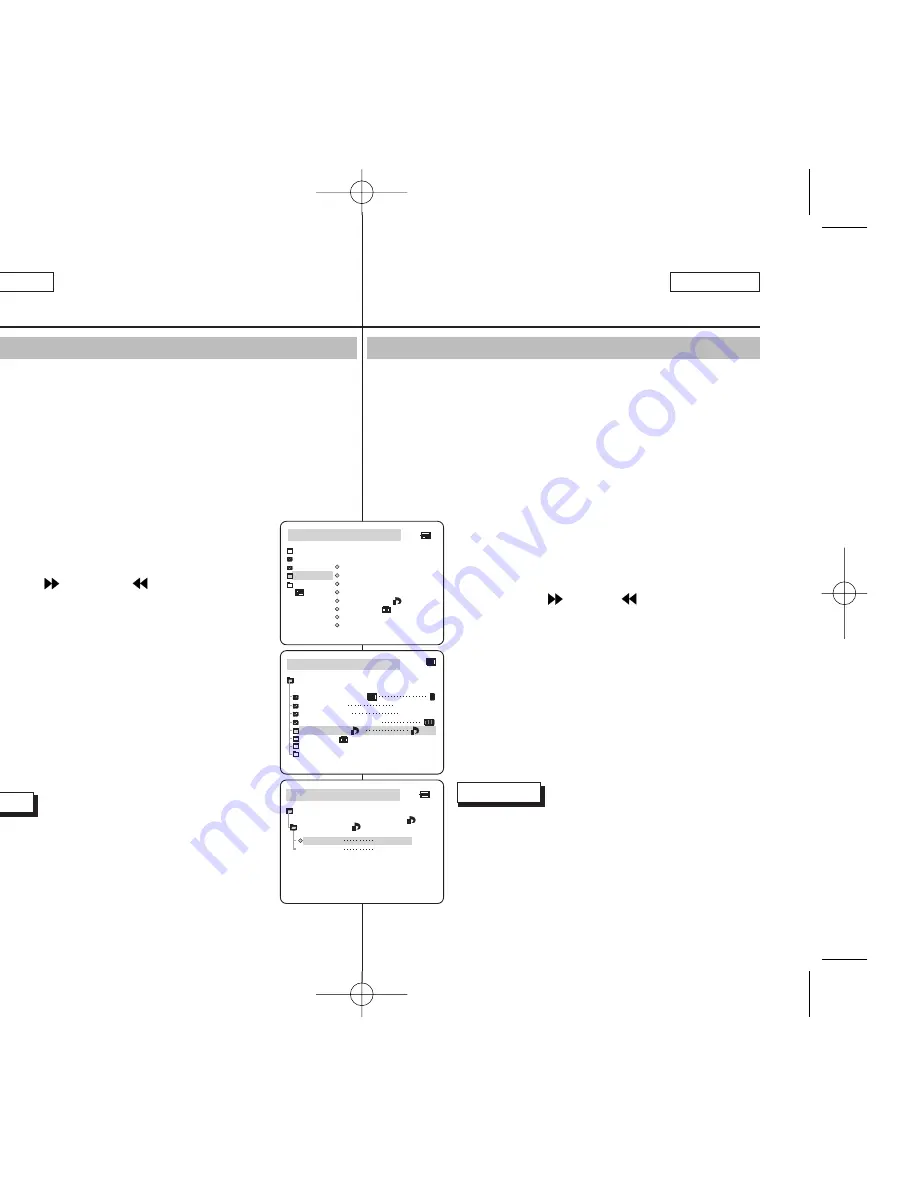
5. Mueva el SELECTOR MENÚ hasta resaltar
MEMORY y pulse el SELECTOR MENÚ.
■
Aparecerá el submenú MEMORY SET.
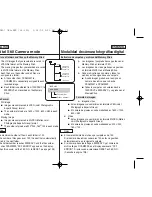
6. Mueva el SELECTOR MENÚ hasta resaltar
PRINT MARK y pulse el SELECTOR MENÚ.
7. Mediante el SELECTOR MENÚ, seleccione THIS
FILE o ALL FILES y pulse el SELECTOR MENÚ.
8. Gire el SELECTOR MENÚ para seleccionar la
cantidad de copias que desee y pulse el
SELECTOR MENÚ.
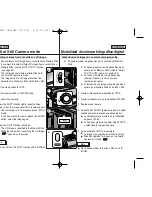
Notas
■
Cuando la opción PRINT MARK se ajusta en ALL
FILES, 999 archivos del archivo actual se ajustan
a 1 ó 0.
■
Es posible que la opción ALL FILES requiera más
tiempo de funcionamiento, dependiendo del
número de imágenes fijas guardadas.
■
En las imágenes de vídeo no se pueden insertar
marcas de impresión.
Marcado de imágenes fijas para imprimirlas
Modalidad de cámara fotográfica digital
ENGLISH
100
100
Digital Still Camera mode
✤
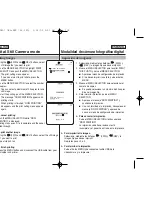
This camcorder supports the DPOF (Digital Print Order Format)
print format.
✤
You can automatically print still images recorded on a Memory
Stick with a printer supporting DPOF.
✤
There are 2 ways to make a PRINT MARK.
■
THIS FILE: You can set a print mark on the photo image
displayed on the LCD monitor.
■
ALL FILES: To print 1 copy each of all of the stored still images.
1. Set the mode switch to MEMORY.
2. Set the power switch to PLAYER mode.
■
The last recorded image appears.
3. Using the
(FWD) and
(REV) buttons, search
for the still image that you want to mark.
4. Press the MENU button.
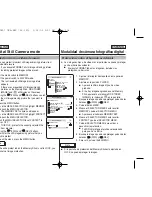
5. Move the MENU SELECTOR to highlight MEMORY
and push the MENU SELECTOR.
■
The MEMORY SET submenu will appear.
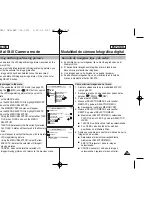
6. Move the MENU SELECTOR to highlight PRINT
MARK, push the MENU SELECTOR.
7. Use the MENU SELECTOR to select either THIS
FILE or ALL FILES and push the MENU SELECTOR.
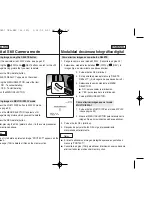
8. Use the MENU SELECTOR to select the quantity
and push the MENU SELECTOR.
Notes
■
When you setup the PRINT MARK option to ALL
FILES, 999 files from the current file are set to 1 or 0.
■
The ALL FILES option may require extended
operation time depending on the number of stored
still images.
■
You cannot write print marks on moving pictures.
Marking still images for printing
M.PLAY MODE
MEMORY SET
PRINT MARK
PHOTO QUALITY
DELETE
FORMAT
IMAGE SIZE
MJPEG SIZE
320X240
1600X1200
000
CONTINUOUS SHOT
PROTECT
M.PLAY MODE
INITIAL
PRINT MARK
PHOTO QUALITY
DELETE
FORMAT
IMAGE SIZE
MJPEG SIZE
CONTIN. SHOT
CAMERA
A/V
MEMORY
VIEWER
PROTECT
M.PLAY MODE
THIS FILE
NUM:000
000
[15/22]
ALL FILES
MEMORY SET
NUM:000
PRINT MARK
00811D SCD907 USA+ESP (66~120) 3/16/05 9:51 AM Page 100


