Cascade Installation Guide
57
4.
In the
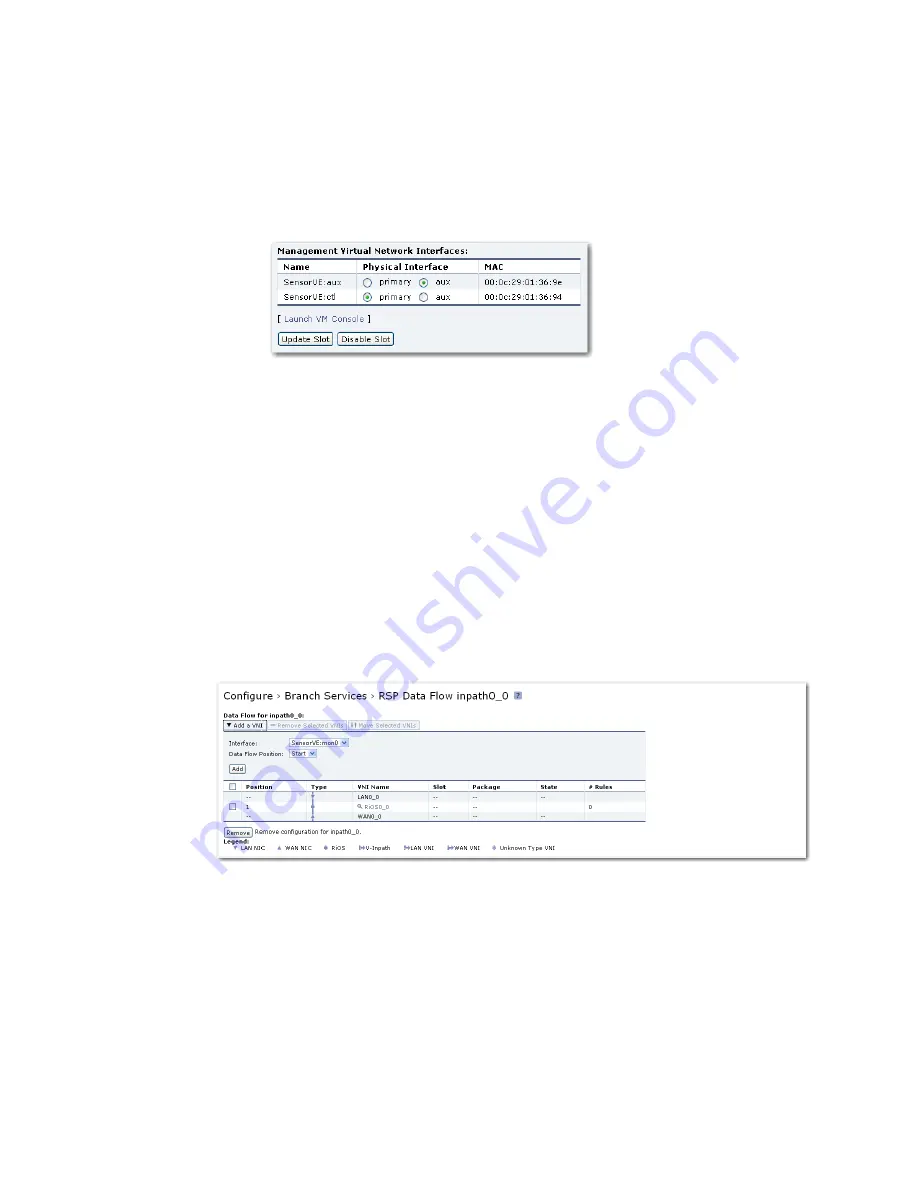
Management Virtual Network Interfaces
section:
•
Assign the Sensor-VE
aux
virtual interface to the Steelhead
aux
physical
interface.
•
Assign the Sensor-VE
ctl
virtual interface to the Steelhead
primary
physical interface.
5.
Click
Update Slot
and wait for the display to refresh.
6.
When the slot update operation completes, click
Enable Slot
. This starts the
Sensor-VE software.
Configure the Sensor-VE monitor interfaces
Traffic from each Steelhead LAN interface-to-WAN interface traffic path (e.g.,
inpath0_0) must be copied to a corresponding Sensor-VE monitor interface (e.g.,
mon0). The Sensor-VE must monitor traffic right at the start of the path, at the
LAN interface.
1.
Go to the Configure > Branch Services > RSP Data Flow page for the first
Steelhead LAN-to-WAN data path. For example, navigate to:
Configure > Branch Services > RSP Data Flow inpath0_0
2.
Click
Add a VNI
to expand the display.
3.
In the
Interface
list box, select the first Sensor-VE monitor interface (e.g.,
Sensor-VE:mon0).
4.
In the
Data Flow Position
list box, select
Start
to place the Sensor-VE
monitor interface closest to the Steelhead LAN interface in the data flow.
5.
Click
Add
to assign the first virtual network interface of the Sensor-VE to the
first position in the data flow path.
Содержание Cascade Express
Страница 1: ...Cascade Installation Guide Version 9 0 February 2011 ...
Страница 4: ...iv 712 00058 07 ...
Страница 8: ...viii ...
Страница 10: ...x ...
Страница 21: ...Cascade Installation Guide 11 ...
Страница 32: ...Cascade Installation Guide 22 3 Fill in all the required fields marked with an asterisk on the Setup page ...
Страница 48: ...Cascade Installation Guide 38 ...
Страница 91: ......
Страница 92: ......


