HotSpot Printer Operator’s Guide
88
A
A
p
p
p
p
e
e
n
n
d
d
i
i
x
x
8
8
:
:
T
T
r
r
o
o
u
u
b
b
l
l
e
e
s
s
h
h
o
o
o
o
t
t
i
i
n
n
g
g
C
C
o
o
n
n
t
t
.
.
No.
Issue
Action
3
Service status
reads: [PrinterOn
x.x InternetDown]
(
Note
: To check
service status, press
[
?
] on HotSpot
keypad)
•
Confirm that there is Internet connectivity from another device (e.g., computer, laptop, etc.) by
using the same Ethernet cable and physical port connection.
•
Confirm that there a no authentication requirements for accessing the Internet (e.g.,
username/password, “click here to connect” messages, etc.
•
Ping or HTTP the HotSpot Printer’s IPv4 Address. For the IPv4 Address, print a Configuration
Page from the device control panel. For instructions, see
II. Installation,
Step A: Install Printer
.
•
Contact your IT department or ISP (Internet Service Provider) to confirm that the TCP/IP
settings used by the HotSpot Printer are valid.
•
Has DHCP been disabled? If so, static DNS values must be entered.
About DHCP
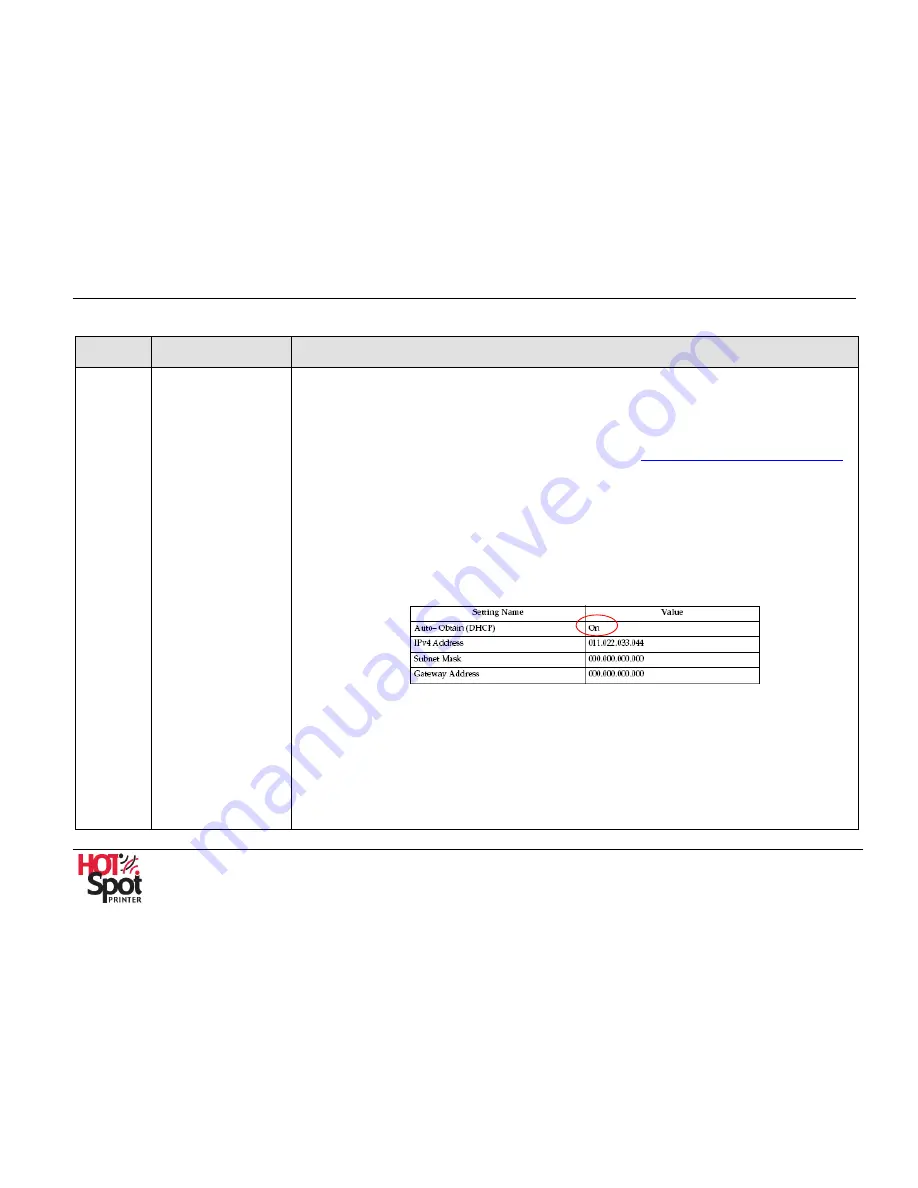
The HotSpot Printer’s default DHCP setting is “On”, in order for the DHCP Server to
automatically assign an IP Address, Subnet Mask, Gateway Address and DNS Address. If,
for example, the printer is turned off and moved to a new location, with DHCP set to “On,”
as shown below, the correct network settings are automatically assigned.
The problem arises when the printer settings are changed to DHCP “Off” and an IP Address is
manually assigned. If DHCP is “Off,” then the IP Address, Subnet Mask, Gateway Address
and DNS Address must be manually set. If any of these addresses are set incorrectly or
omitted, then the printer will not be able to communicate with the PrinterOn Server and vice
versa. This typically results in an "Internet Down" error message on the printer's LCD Panel.
With the Internet Down error, users are able to submit jobs to the PrinterOn Server, receive
their release code but, the job never downloads to the Printer because the printer can't
communicate over the Internet.


