25
ENGLISH
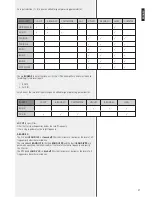
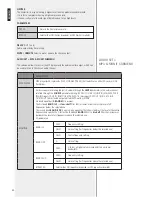
After entering the second submenu
DISABL
, choose among
System
(all the system),
Group
(a group or ‘ALL SITE’),
Zone, Boards, Paging console
(it is necessary to
select either PAGING 1 or PAGING 2),
Ampli
(amplifiers),
Spk-lines
(loudspeaker lines),
Accessories
(optional devices, i.e. TS 9918 remote controls, etc.).
Two parameters are available for every choice:
ENABLE:
It enables (
On
) / disables (
Off
) the selected item.
REQUEST:
It enables (
On
) / disables (
Off
) communication with the selected item.
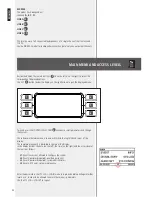
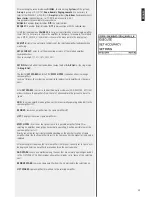
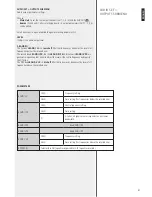
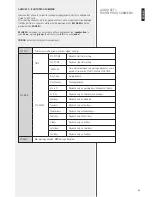
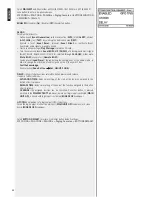
Select the third submenu
CALIBRAT
to carry out the calibration of each single amplifier
(note: first it is necessary to choose the amplifier, in the figure, for example, the selected
one is ‘UP01_AMPL4_A’, name that is shown in the menu path in the display top).
EXECUTE:
start of the automatic calibration of the selected amplifier loudspeaker line
monitoring.
SET ACCURACY:
enter to set the monitoring accuracy of the selected amplifier
loudspeaker lines.
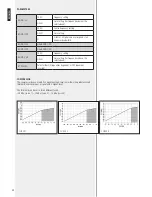
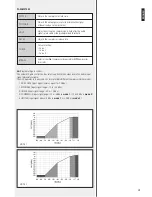
Choose among 5%, 10%, 15%, 20%, 25%.
SET RING:
select either the standard dual output mode (
A & B Out
) or the ring mode
(
A Ring B Out
).
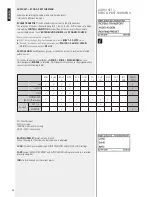
The fourth (
SET SPARES
) and the fifth (
MATCH SPRS
) submenus allow to manage
spare amplifiers.
In case of failures, the system can automatically replaces faulty amplifiers by the spare
ones.
Enter
SET SPARES
to access a further three-option submenu (ADD, REMOVE, LIST) that
allows to choose the amplifiers (from the list of all available in the system) to be set to
‘spare’.
ADD:
choose an amplifier among the ones that are normally operating and add it to the
spare amplifier LIST.
REMOVE:
remove an amplifier from the spare amplifier LIST.
LIST:
it displays the current spare amplifier list.
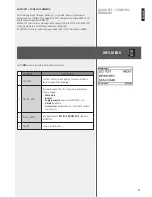
MATCH SPRS:
it sets how the system reacts to a possible amplifier failure. After
selecting an amplifier among the ones normally operating, it will be possible to match a
spare amplifier list to it.
Priority cannot be set, but is determined depending on the physical location of spare
amplifier chain: the faulty amplifier closest to the spare one has the highest priority and is
replaced.
After entering this submenu, the list of amplifiers that are not currently set to ‘spare’ will
be displayed. Select an amplifier to proceed and see the next submenu:
ADD SPARE:
choose an amplifier among the ones that are normally operating and add it
to the ‘LIST SPARES’ list (that includes all amplifiers already set to ‘spare’ of the selected
one).
REMOVE SPARE:
remove a spare amplifier from the list matched to the selected one.
LIST SPARES:
spare amplifier list matched to the selected amplifier.
Содержание MX 9502
Страница 2: ......

