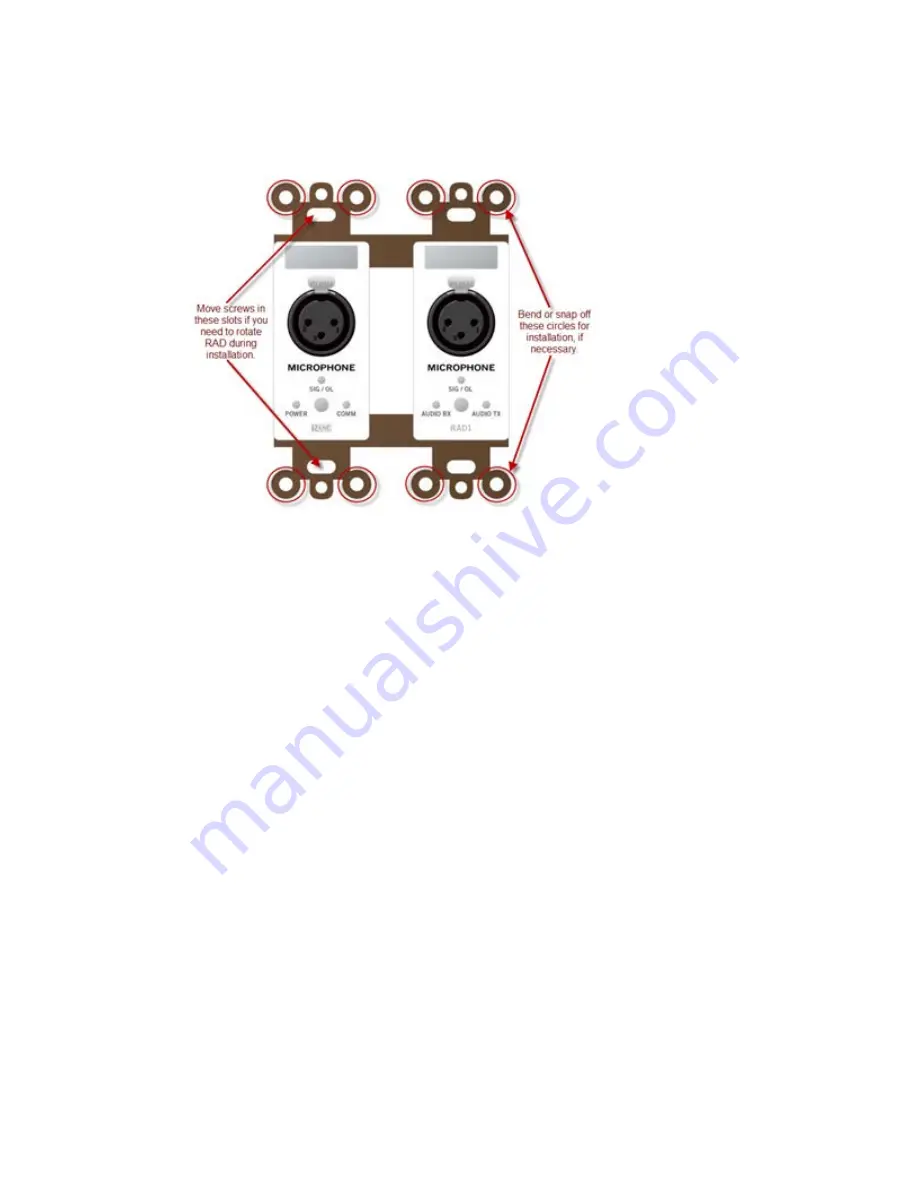
flush with the wall, you can slightly bend one or more of these circles to make the RAD
or DR flush with the wall. Also, using a pair of needle-nose pliers, you can easily snap
them off, and use them as washers behind the screws.
l
Attach the Decora plate using the provided hardware.
Installing a RAD or DR in an existing HAL System
There may be times when you need to install a new RAD or DR after a HAL System is already up and
running. Because the RADs and DRs are hot-swappable, in other words, you can replace a RAD or DR
without having to power down the system, the process is fairly simple. If you are installing a RAD or
DR in an existing HAL System, you are likely doing one of three things:
l
Installing a new RAD or DR
l
Replacing a RAD or DR that is not working
l
Replacing a RAD or DR with a different model
In all three situations, the HAL behavior is the same. It automatically detects the new RAD or DR and
compares its model number to the model number configured in the HAL for that port. If the model
numbers match, the HAL sends the relevant configuration data as well as any required firmware updates
to the RAD or DR. If the model numbers do not match, the HAL front panel LEDs flash yellow (for
RADs—the Enabled LEDs flash yellow, for DRs—its only LED flashes yellow). The mismatch is also
indicated on the devices themselves. On the RAD, the Power, Comm, Audio Rx, and Audio Tx LEDs
flash red. On the DR, a flashing exclamation mark appears along with the words
Configuration Mis-
match
.
Installing an additional RAD or DR into an existing system:
1. Follow the same procedure that was outlined in the previous section. You do not need to
power down the HAL before or after installing the RAD or DR.
2. Update the HAL configuration to reflect the additional RAD or DR. If you were given a
new configuration file that includes the additional RAD or DR, you need to load it into
the HAL. See "Task 3: Configuring HAL" on page 28 for details. If you do not have a con-
figuration file, you need to update the configuration on the live device. Remember to save
the new configuration to a file.
CHAPTER 3: Installing Your HAL System
35


