NOTE
:
If your HAL is located behind a router and Halogen is unable to find the HAL,
check with your IT department to find out if the router has NAT (Network Address Trans-
lation) enabled. If not, enable it and try again.
l
Although Halogen does not prevent you from adding a static IP that conflicts with a static IP on
another machine on the network, it
will
reject the addition of a static IP that conflicts with an IP
already configured on the HAL. If you attempt to add a conflicting IP address, Halogen displays a
failure message.
l
Similarly, enabling DHCP on a HAL that already has one or more static IPs configured can result
in a static IP being deleted if that static IP is on the same subnet as the dynamic IP acquired. HAL
deletes the conflicting static IP rather than reject the dynamic IP.
Task 2: Installing and Connecting HAL Expansion Units
Installing and connecting an EXP device is simple. Just as with the HAL device, you can rely on the
EXP's LED indicators to provide you with basic device and connection status information. The first EXP
that you install connects directly to the HAL. Subsequent EXP devices can be installed but are then
daisy-chained together. You will need FireWire cables to connect these devices.
NOTE
:
The HAL1 supports a maximum of four input EXP devices.
To install a single EXP device:
1. Attach the EXP device to the audio rack.
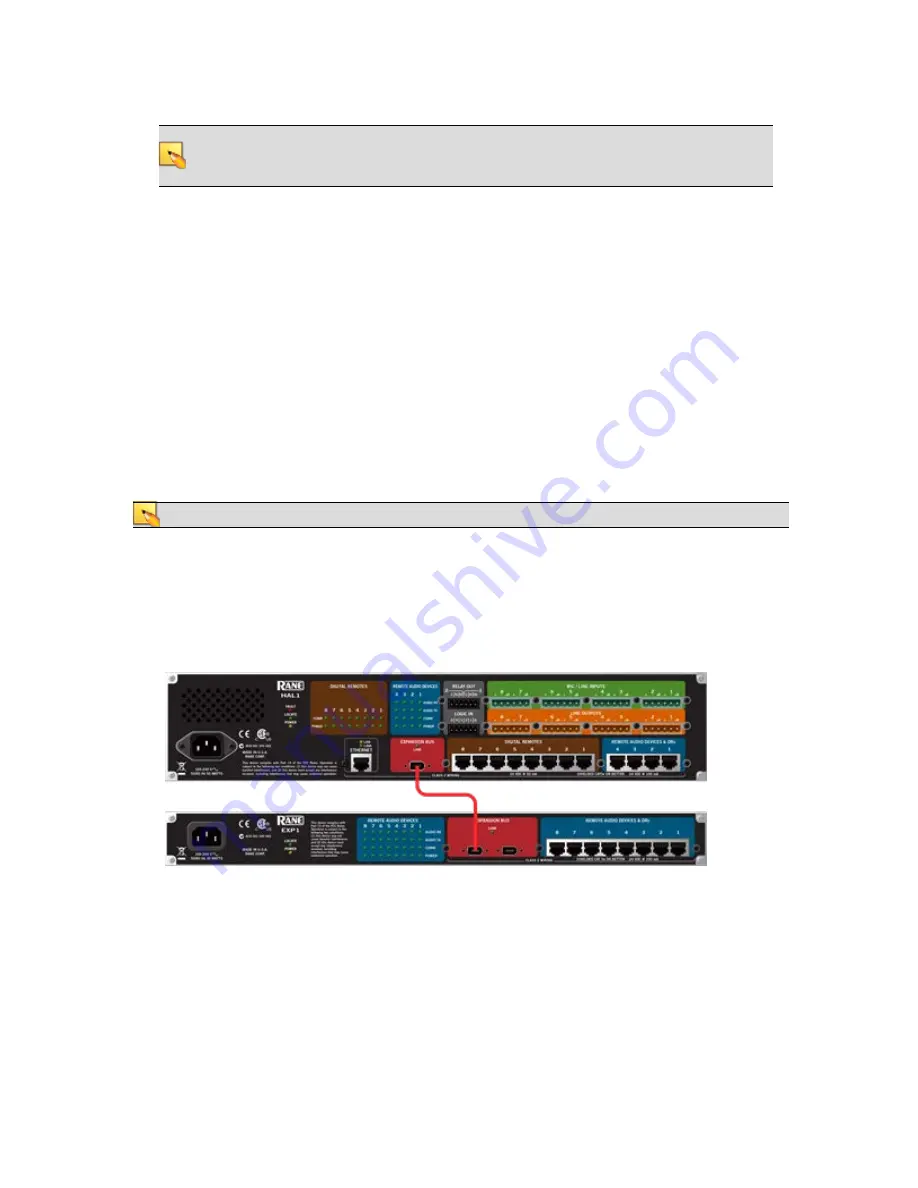
2. Connect the EXP device to the HAL. You need a FireWire cable for this connection, with a
maximum cable length of 15 feet. To connect the EXP to the HAL, plug one end of the Fire-
Wire cable into the Expansion Bus on the HAL. Plug the other end of the cable into one of the
Expansion Bus slots on the EXP. You can use either one of the slots:
When HAL recognizes the EXP device, the Link light on the EXP turns green.
CHAPTER 3: Installing Your HAL System
27


