32
6
Live (MCU)
FaderPort™ Multichannel Production Controllers
6
Live (MCU)
6.1
Getting Started
开始使用
6.1
Getting Started
Owner’sManual
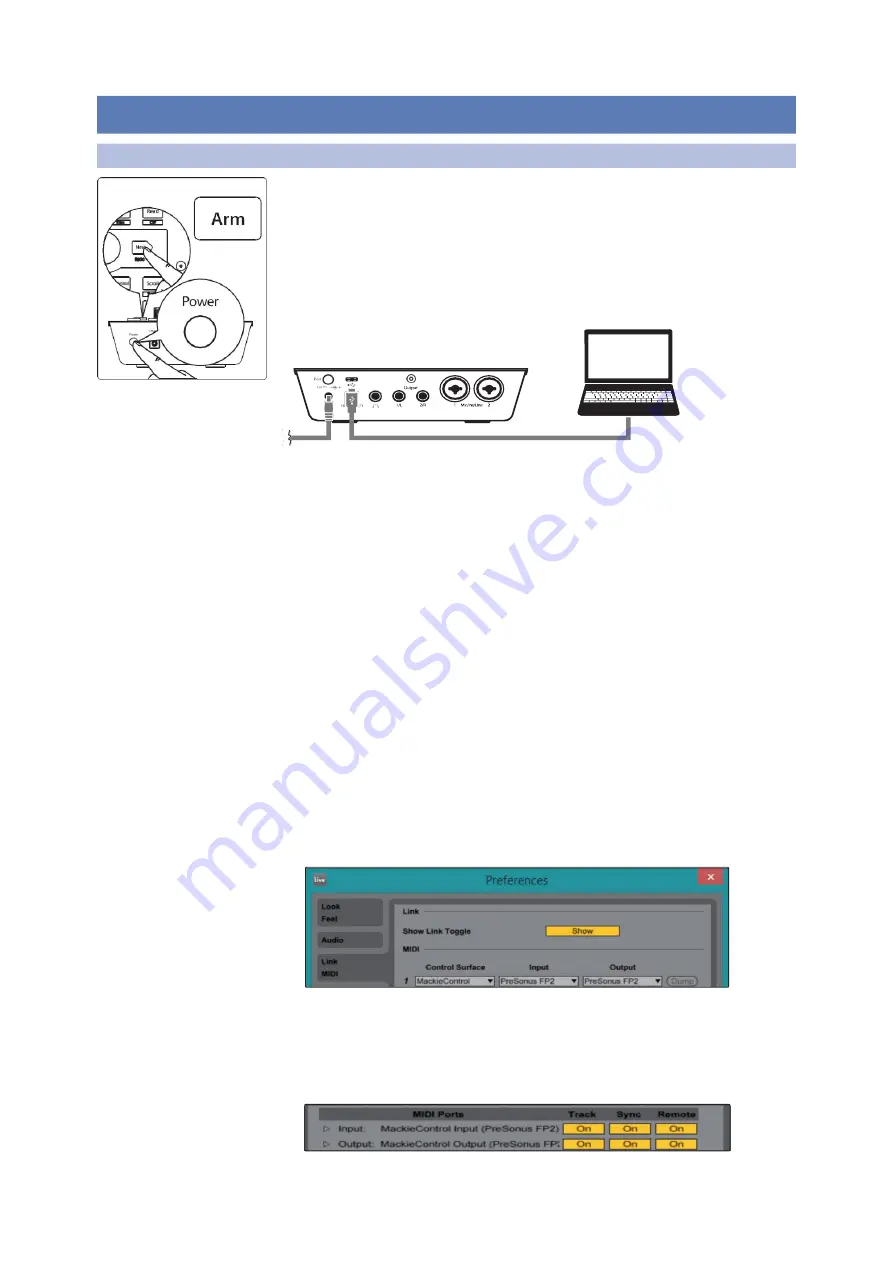
By default, the FaderPort is in Studio One operation mode. To
switch to Live operation, press and hold the NEXT button while
powering on your FaderPort, then press the Arm button to enable
Live (MCU) operation.
默认情况下,
FaderPort
处于
Studio One
操作模式。要切换到现
场操作,在打开
FaderPort
电源的同时,按住
NEXT
按钮,然后按
Arm
按钮,启用现场(
MCU
)操作。
The FaderPort is a class-compliant device in both macOS® and
Windows®. Simply connect your FaderPort to a free USB port on
your computer. No further installation is necessary.
FaderPort
在
macOS®
和
Windows®
中,都是一个符合等级标准
的设备。只需将
FaderPort
连接到电脑上的一个空闲
USB
端口。不
需要进一步安装。
Once you have connected your FaderPort to your computer and
the power supply, power it on and launch Live to set up the
FaderPort as a Mackie Control Universal device.
一旦你将
FaderPort
连接到你的电脑和电源上,打开电源并启动
Live
,将
FaderPort
设置为
Mackie Control Universal
设备。
1. Go to Live | Preferences
进入
Live |
首选项
2. Choose the Link MIDI tab and set Control Surface 1 to
Mackie Control and the Input and Output to “PreSonus
FP2.”
选择链接
MIDI
标签,将
Control Surface 1
设置为
Mackie
Control
,输入和输出设置为
"PreSonus FP2"
。
3. Make sure that Track, Sync, and Remote are all
enabled for both the Input and the Output of
“MackieControl.”
确保
"MackieControl "
的输入和输出,
Track
、
Sync
和
Remote
全被启用。
Your FaderPort is now ready to use. Enjoy!
你的
FaderPort
现在可以使用了。尽情享受吧
!
Live (MCU)


