142
Ch
ap
te
r
14
Cu
st
om
isin
g t
h
e A
u
d
io
S
et
tin
g re
la
te
d
wi
th
A
u
d
io
V
is
u
al
AV
1
Press the AV button to switch Audio oper-
ation screen.
2
Touch the source icon and then touch
[REAR SCREEN].
Each touch of [
REAR SCREEN
] changes the
settings as follows:
•
MIRROR
– The video on the front screen of
the navigation unit is output to the “Rear
display”
•
DVD
– The video and sound of the DVDs
are output to the “Rear display”
•
AV
– The video and sound of the
AV
INPUT
are output to the “Rear display”
❒
When
MIRROR
is selected, the following
restrictions are applied to “Rear display”.
– When the TV tuner is connected with AV-
BUS, its “Video image” cannot be output.
(Connect the TV tuner’s rear output to “Rear
display” directly.)
– When selecting [
Rear View
] in the map dis-
play, nothing is displayed.
– All sounds cannot be output for “Rear dis-
play”.
– There is no picture on “Rear display” while
[
Picture Adjust
] for [
Back-Camera
] is car-
ried out.
– The map screen navigation images output to
the “Rear display” differ from standard NTSC
format images. Therefore, their quality will be
inferior to the images that appear on the front
screen.
❒
When
DVD
is selected, the following
restrictions are applied to “Rear display”.
– When a CD or MP3 disc is set in the built-in
DVD drive, nothing is output.
❒
When
AV
is selected, the following restric-
tions are applied to “Rear display”.
– The “Video image” and sound are output
only when the
AV INPUT
has both video and
sound.
– The “Video image” and sound are output
only when the appropriate setting on [
AV
Input
] is [
Video
].
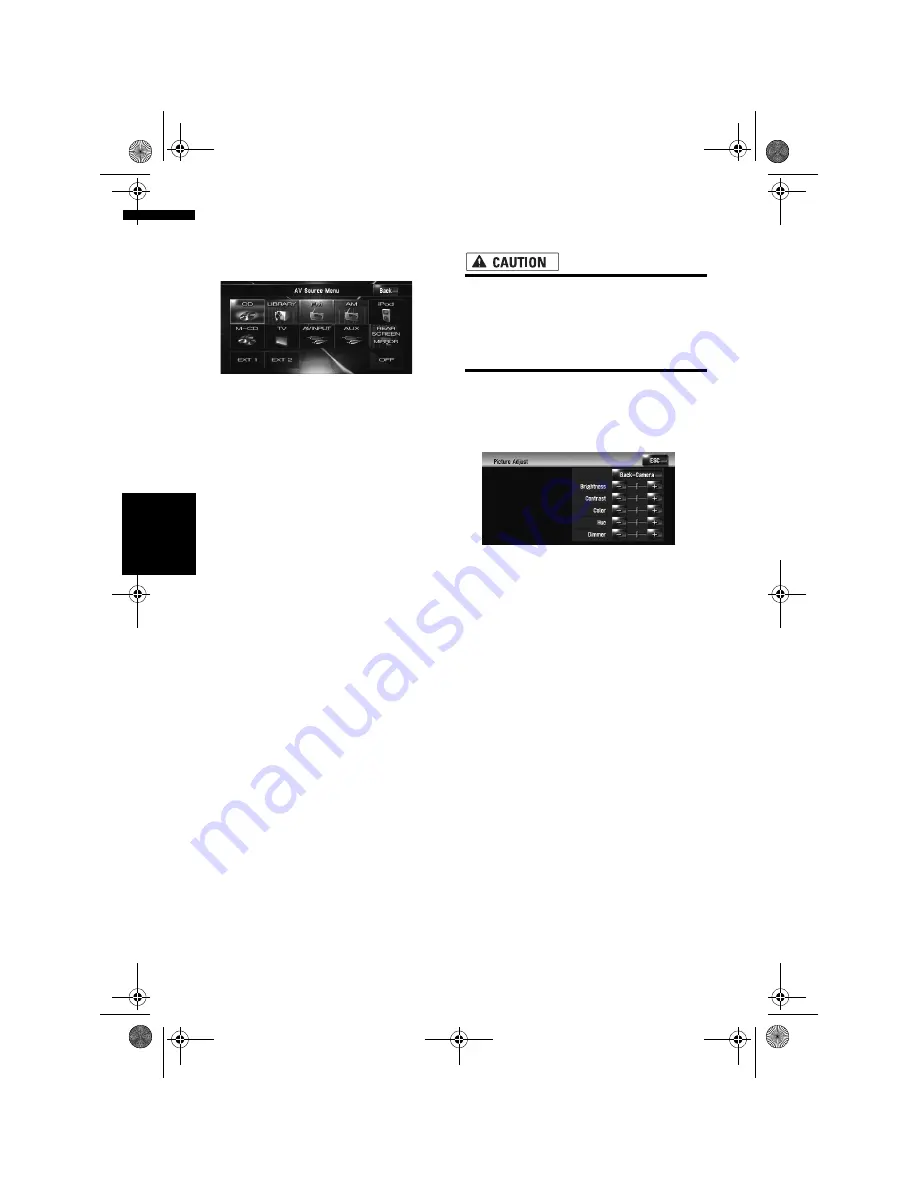
Operating the picture adjust-
ment
• For safety reasons, these functions are not
available while your vehicle is in motion.
To enable these functions, you must stop
in a safe place and put on the handbrake
before setting your route (see page 18 for
details).
You can adjust the picture for each source and
rear view camera.
1
Press the V button to display Picture
Adjust screen.
•
Brightness
– Adjusts the black intensity
•
Contrast
– Adjusts the contrast
•
Color
– Adjusts the colour saturation
•
Hue
– Adjusts the tone of colour (red is
emphasised or green is emphasised)
•
Dimmer
– Adjusts the brightness of display
• [
Back-Camera
] – Shows the picture
adjustment display for the rear view camera
❒
Touching [
Source
] while adjusting the
rear view camera image returns you to the
previous screen.
❒
The adjustments of
Brightness
,
Contrast
and
Dimmer
are stored separately when
your vehicle’s headlights are off (daytime)
and when your vehicle’s headlights are on
(nighttime). These are switched automati-
cally depending on the vehicle’s head-
lights are on or off.
❒
You cannot adjust
Color
and
Hue
for the
source without a video and navigation map
display.
❒
The setting contents can be memorised
separately for the following screen and the
“Video image”.
–
AM
/
FM
/
M-CD
/
iPod
/
AUX
screen
–
LIBRARY
(Music Library) screen
– Built-in DVD drive
–
TV
image
MAN-HD3-SOFTW-EN.book Page 142 Wednesday, January 10, 2007 9:33 AM
Содержание AVIC-HD3
Страница 18: ...16 MAN HD3 SOFTW EN book Page 16 Wednesday January 10 2007 9 33 AM ...
Страница 36: ...34 Chapter 2 Basic Operation NAVI MAN HD3 SOFTW EN book Page 34 Wednesday January 10 2007 9 33 AM ...
Страница 50: ...48 Chapter 4 Modifying Map Configurations NAVI MAN HD3 SOFTW EN book Page 48 Wednesday January 10 2007 9 33 AM ...
Страница 72: ...70 Chapter 7 Using Traffic Information NAVI MAN HD3 SOFTW EN book Page 70 Wednesday January 10 2007 9 33 AM ...
Страница 132: ...130 Chapter 13 Using the AV Source AV EXT AUX AV MAN HD3 SOFTW EN book Page 130 Wednesday January 10 2007 9 33 AM ...
Страница 200: ...198 Appendix NAVI AV MAN HD3 SOFTW EN book Page 198 Wednesday January 10 2007 9 33 AM ...
Страница 201: ...MAN HD3 SOFTW EN book Page 1 Wednesday January 10 2007 9 33 AM ...


