Configuration
11
2.
Enter a Unit Number for the system unit
Unit ID automatically begins with “1”, however any two-digit number may be entered.
Several separate units may be configured with a single MPU955A Admin Console,
however, Admin Console must be upgraded in order for those units to be linked together.
The unit number must match the number in the CPU System File, which resides on the
actual CPU, with the IP address that will be entered below. Contact your installer or
network administrator for more information on the CPU System File.
3.
Enter a Unit Name for the system unit
It is best if the name is practical, and easy to understand by anyone using the system.
4.
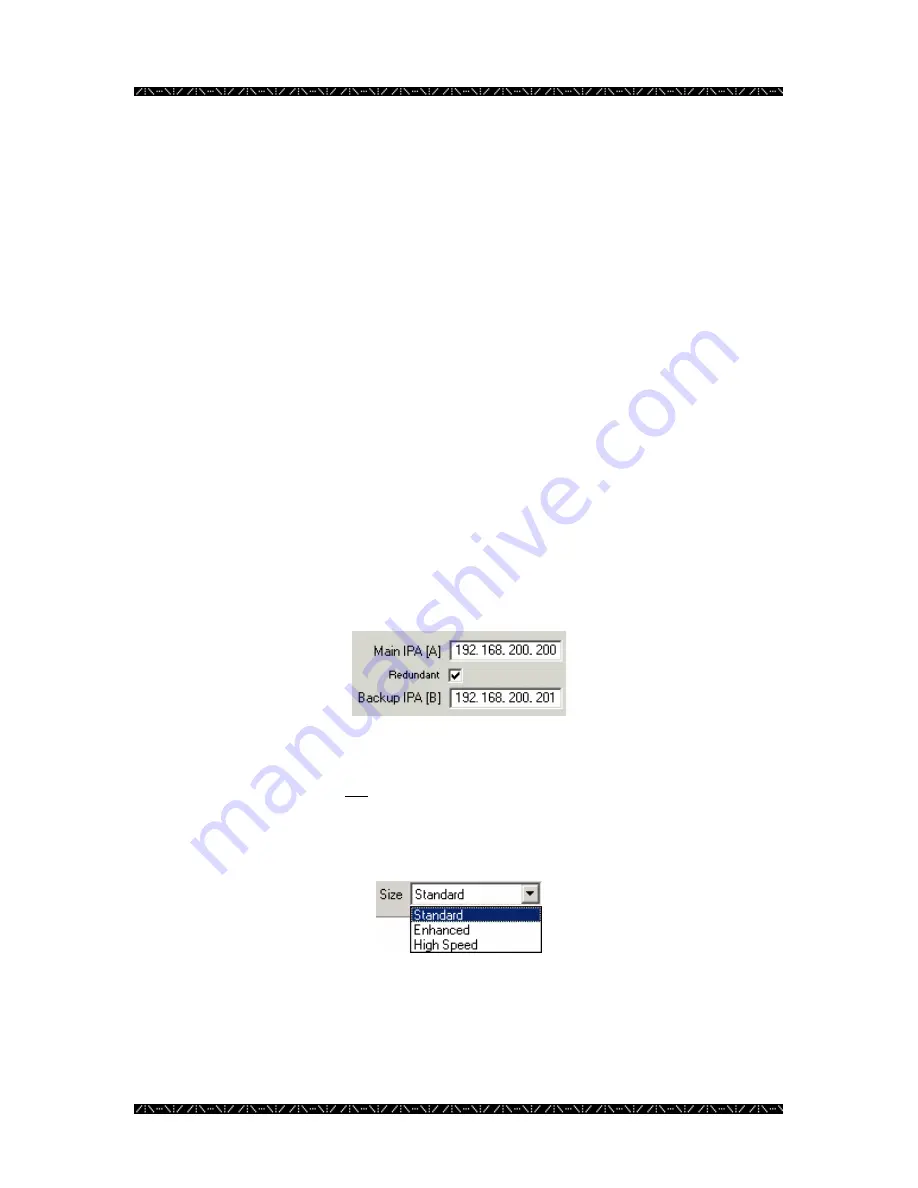
Enter the IP address for the Main A CPU
Ask your installer or network administrator for the IP address for the Main A CPU. This
will let the MPU955A Admin Console software know where to send the configuration
database later.
5.
If your system is equipped with a redundant CPU, then select the Redundant
check box and enter the IP address for the Main B CPU
Ask your installer or network administrator for the IP address for the Main B CPU. If the
system has just a single CPU, leave the redundant check box blank. In that case, the
Main B CPU IP address will not be required.
6.
Choose the configuration size for the NSS CPU from the Size drop-down
menu
The
Size Configuration
section of this window is where you will see the details on the
size the CPU you select. As you choose Standard, Enhanced, or High-Speed, from the
Size
drop-down menu, the maximum capacities of each size will display. The maximum
capacity is the largest supported number of each of the components listed. You must
match the actual CPU Unit capacity with the capacity in this window.
Содержание WJMPU955A - CENTRAL PROCESSING UNIT
Страница 6: ...2 This page intentionally left blank ...


