


162
Parameter Function
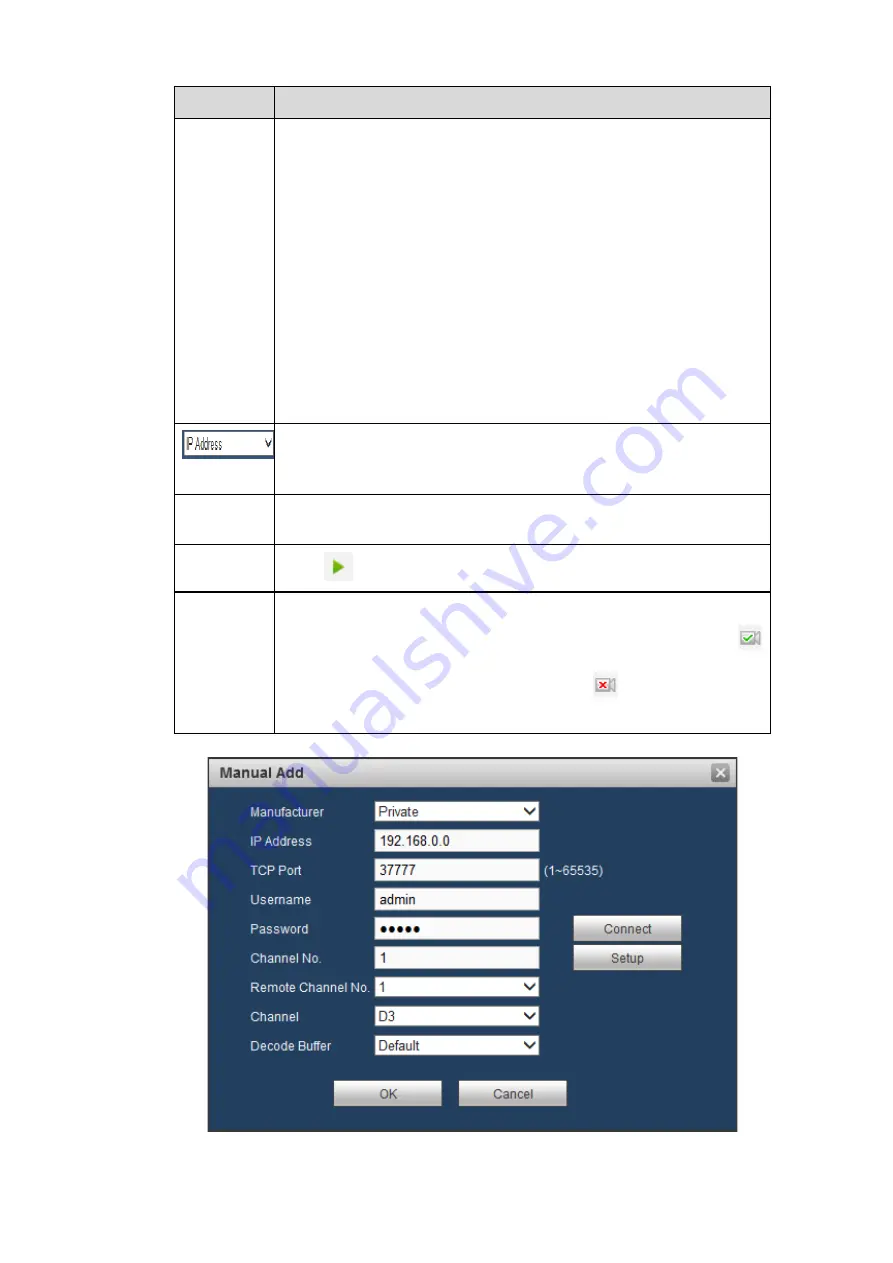
Manual
Add
Click it, the interface is shown as in Figure 5-18. Here you can add
network camera manually.
You can select a channel from the dropdown list (Here only shows
disconnection channel.)
Note:
System supports manufactures such as Private, Panasonic,
Sony, Dynacolor, Samsung, AXIS, Arecont, Dahua and Onvif
standard protocol.
If you do not input IP address here. System uses default IP
192.168.0.0 and system does not connect to this IP.
Cannot add two devices at the same time. Click Save button
here, system only connect to the corresponding device of current
channel.
Select IP address or the MAC address from the dropdown list and
then input the corresponding information, click Search button to view
the results.
Uninitialize
d
Click to search the initialized devices. Select an uninitialized device
and then click the Initialize button to set the account.
Preview
Click
to view the preview video of the remote device.
State
It is to display the device has been initialized or not. That is to say,
the remote device has set the initial account information or not.
means the remote device has initialized,
means the remote
device has not been intialized.
Figure 5-18
Содержание K-NL404K/G
Страница 1: ...Network Disk Recorder User s Manual Model No K NL404K G K NL408K G K NL416K G Version 1 0 1 ...
Страница 25: ...19 3 4 Connection Sample Please refer to Figure 3 1 for connection sample Figure 3 1 ...
Страница 69: ...63 Figure 4 61 Figure 4 62 ...
Страница 90: ...84 Figure 4 78 Figure 4 79 ...
Страница 91: ...85 Figure 4 80 Figure 4 81 ...
Страница 99: ...93 Figure 4 87 Figure 4 88 ...
Страница 100: ...94 Figure 4 89 Figure 4 90 ...
Страница 101: ...95 Figure 4 91 Figure 4 92 ...
Страница 104: ...98 Figure 4 94 Figure 4 95 ...
Страница 112: ...106 Figure 4 104 Figure 4 105 ...
Страница 121: ...115 Figure 4 115 ...
Страница 124: ...118 Figure 4 117 In Figure 4 117 click one HDD item the S M A R T interface is shown as in Figure 4 118 ...
Страница 127: ...121 Figure 4 120 Figure 4 121 ...
Страница 132: ...126 Figure 4 125 Figure 4 126 ...
Страница 139: ...133 Figure 4 133 Figure 4 134 ...
Страница 141: ...135 Figure 4 136 ...
Страница 143: ...137 ...
Страница 146: ...140 Figure 4 140 Step 2 Click Add user button Enter Add user interface See Figure 2 141 ...
Страница 151: ...145 Figure 4 144 1 ...
Страница 157: ...151 ...
Страница 158: ...152 Please input your username and password Figure 5 3 ...
Страница 163: ...157 Figure 5 11 You can click this icon to display or hide the PTZ control platform 3D Intelligent Positioning Key ...
Страница 191: ...185 Figure 5 41 ...
Страница 192: ...186 Figure 5 42 ...
Страница 193: ...187 Figure 5 43 Figure 5 44 Figure 5 45 ...
Страница 198: ...192 ...
Страница 199: ...193 Figure 5 49 ...
Страница 205: ...199 Figure 5 55 Figure 5 56 ...
Страница 208: ...202 Figure 5 60 Figure 5 61 Figure 5 62 ...
Страница 239: ...233 ...


